Eat Simply, Eat Well

Healthy recipes & tips to help you live the good life. by Ann Plough

Make Fresh Apple Juice – Without A Juicer!

August 15, 2016 by aplough

20160815_Hand-pressed Apple Juice_main

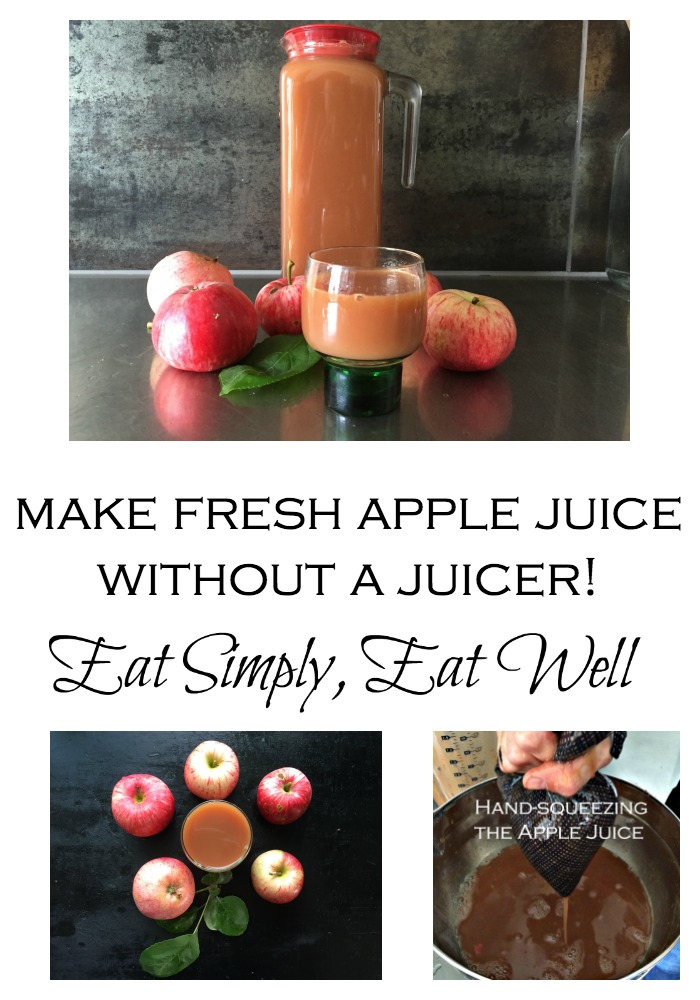
Ladies and gentlemen, apple season is upon us. With the warm spring, the apple blossoms were more abundant than they’ve been in 10 years in Finland. The pollinators got busy, and with sunny days and no rain during this glorious Spring it appears they’ve done their job well. We are now looking at apple trees loaded with apples, everywhere we go. There’s no better time to make fresh apple juice. 

But if you don’t own a juicer or a juice press, how in the world are you gonna make apple juice? Turns out – there’s an easy way to get the job done.

We don’t own any apple trees ourselves, but we do own “apple shares” in an organic apple farm, from which we get boxes full of beautiful, delicious Amarosa apples every October. No worries, though: my father-in-law has 2 apple trees in his yard that are ripe and loaded, and he’s more than happy to share.

He sent me home with a big pail of apples. There could have been more, but I declined, because I reasoned: “what are two people going to do with more than 5 kg of apples”. But these apples. They were clearly apples meant to be pressed into juice. Heavy for their size, and so juicy you couldn’t bite into one without juice running down the apple, onto your hand and dripping on the floor, there would have been no point in trying to turn these into sauce or pie. But I had a load of them, and no juicer.

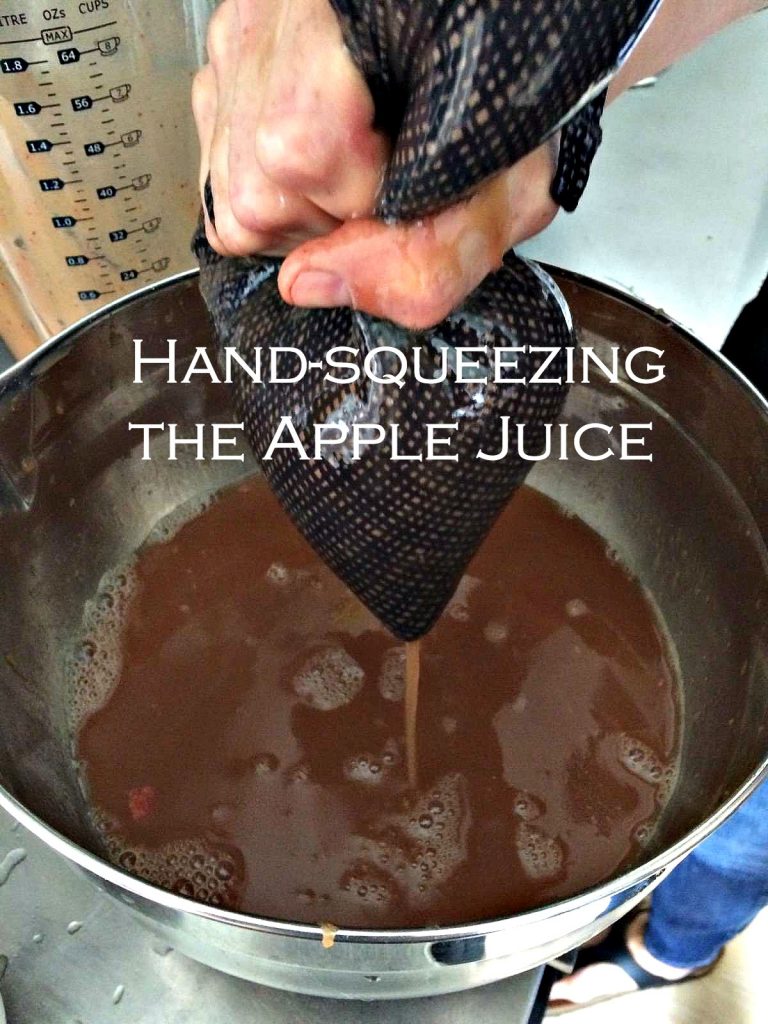
So I decided to hack a juicer – with my blender + a linen bag. I washed the apples, removed the cores, left the skin on, and chopped them into thumb-sized chunks. I filled my trusty blender to the brim, and sent the blades spinning. After tamping the apples a few times, the blender made short work of the apples, and I was left with apple puree. I poured this through into a linen bag (a nut milk bag or old, clean t-shirt would work as well) twisted the top, and “milked” the juice out of the bag.

20160815_hand-squeezing-apple-juice

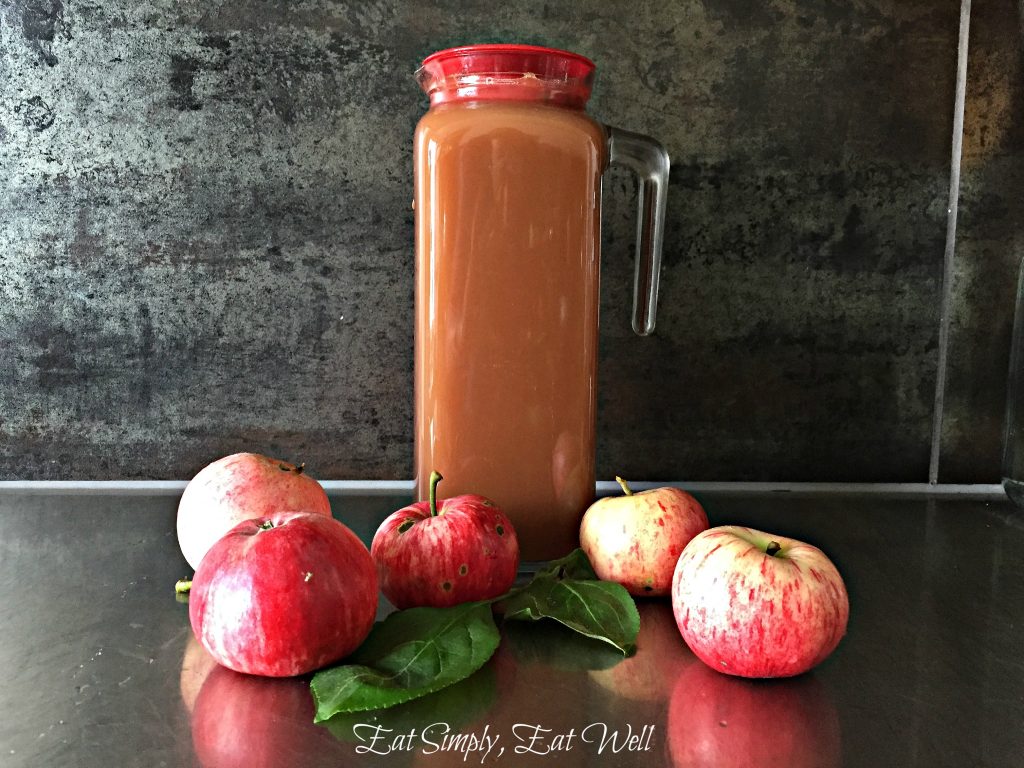
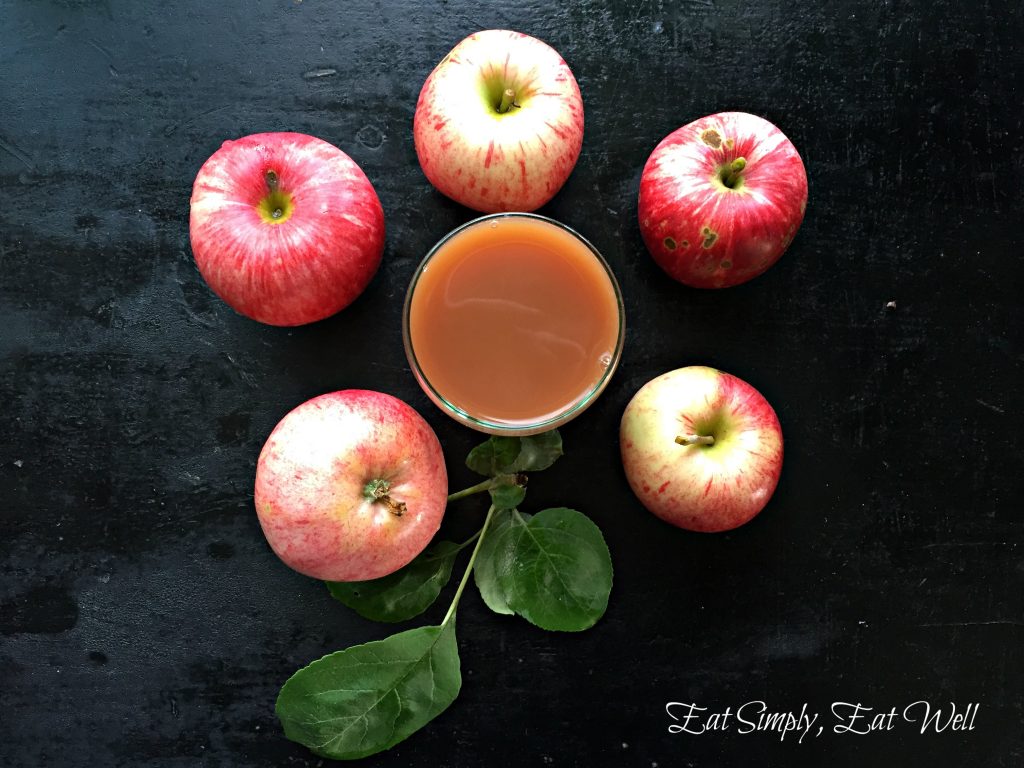
My oh my. I wish I’d accepted more apples. We may need to go back for another visit tomorrow. This is seriously some of the best apple juice I’ve ever tasted. Fresh, clean, sweet, crisp, with just the right balance of tartness, I can’t say I’ve had better apple juice anywhere.

And, well, it does give a whole new meaning to the concept of “hand-pressed juice”.

So now, I’m on the lookout for more free apples (anyone?!?). I’m confident (er, strongly hoping) that apples will be available  any day now – the neighbors down the road have the same challenge my father-in-law did does – more apples than they can eat off of trees producing record quantities.

But now, that’s more a pleasure than a problem: forget making lemons into lemonade – it’s apple juice we’re talking about, and it’s way, way better. 

I used some of this fresh apple juice to create a new recipe for granola, and turned out the crispiest, chunkiest granola on record. Recipe to follow.

But for now, apple juice. Unless of course you own a juicer; then use that.  Though you’ll miss out on all the fun that’s about to follow, so you may want to try this anyway.

And then, when you get sick of juice, well, there are other options, too. Try these:

  • Cranberry Apple Ginger Smoothie
  • Celeriac, Apple and Tarragon Soup
  • Beluga Lentil Salad with Apple and Summer Herbs
  • Spiced Apple Cider
  • and to indulge with: Apple Almond Cake with Crumble Topping

The fun is just beginning! What are you going to do with all this your bounty?

20160815_apple juice with apples

Hand-pressed Apple Juice

You’ll need:

  • 5 kg/8 liters fresh juicing apples
  • knife + cutting board + apple core remover (not essential, but faster. I use this one).
  • blender
  • linen bag, nut milk bag, or old, clean cotton t-shirt
  • Large bowl to catch the juice

Wash the apples to remove all excess dirt or grit. Remove the cores. Cut the apples into thumb-sized pieces (larger pieces are hard for the blender to deal with and get stuck on the blade if you fill the blender – which you will). Fill the blender container to the top and secure the lid. Turn the blender on to medium low heat, and blend the apples until they become a uniform puree. You may need to stop the blender a few times to stir the mixture if the apples get stuck.

Pour the apple puree into your linen bag or milk bag. Twist the top of the bag several times, and hold the twist in your non-dominant hand. Hold the (now dripping) bag over a large bowl to catch the juices, and with your dominant hand (the one you write with), squeeze the mass of apple puree to “milk” the juice out. Continue pressing and squeezing the bag until the mass left in the bag is really small and very little juice is being extracted. You should get around 1.5 liters of juice from around 5 kg of apples, depending on how juicy your apples are.

Serve immediately; store in the refrigerator for up to 5 days; or freeze for later use.

Makes approximately 1.5 liters/6 cups of juice.

Did you enjoy this recipe? Do you have other tricks up your sleeve for using a bounty of fresh apples this season? Please share them below – I’d love to know! 

Have you signed up for the ESEW newsletter yet? Scroll back up to the top and fill out the form at the top, right-hand side of the page to get free tips and recipes I share there. 

Eat Simply, Eat Well,

Ann

20160815_apple-juice-no-juicer_pinterest

Filed Under: Drinkable, Make it yourself

6 Top Food & Nutrition News This Week + Food For This Weekend

April 15, 2016 by aplough


top-reads_wkd-recipes_20160415_1

Do you ever find yourself glancing at interesting links as you scroll through your social media accounts & news feeds during the week, only to find you can’t keep up with them all? I know I do.

Every week, I find myself saving a long list of links to read later. There is a lot happening in the food-nutrition-tech world, and I just can’t get to them all during my Monday-Friday, 8-5, so I typically read some and save the rest to read Saturday morning as I sip my coffee. It’s the perfect way to begin a relaxing & refreshing weekend – and there are so many things I’d love to start a conversation about.

So beginning today, I’ll be sharing the best of digital news on the blog – with you!

Yup! Every Friday, just in time for the weekend, I will bring you my short list of top reads from the past week covering food, nutrition, and food tech, and definitely some fun surprises thrown in there too. If there’s something that catches your eye, makes you smile or makes you grumpy – let me know in the comments! I’d love to hear what you think.

Settle into your favorite reading spot and enjoy!

  1. Is fat good or bad; and what the deal is with sugar? The Guardian’s Ian Leslie weighs in on The Sugar Conspiracy. (It’s even more complicated and fascinating than you think).
  2. Eco Watch‘s newest list is out: Top Fruits and Veggies that you should always buy organic.
  3. Looking for clear, glowing skin? It’s all in what you eat. Dr. Sara Gottfried shares her tips for great skin.
  4. This article about skim milk labels got me thinking: what’s real and what’s natural when it comes to milk?
  5. Big Food labels GMOs; but, as Marion Nestle reminds: No amount of labeling makes processed food good for you.
  6. And then things get crazy in Japan with food tech: a new fork could help bland food seem salty. Say what?

top-reads_wkd-recipes_20160415_2

Wondering what to eat this weekend? Try these delicious Spring recipes.

  • Cilantro Parsley Avocado Dip will make any party better.
  • What’s better than pizza on the weekend? Seriously Simple Pizza Sauce makes it easy. Especially if you keep it healthy and use whole wheat tortillas as the base, spread a little sauce over the surface, and let everyone add their favorite toppings. You can do it tonight – very little advanced planning required. You’re welcome.
  • Wake up on the right side of life tomorrow morning with this All Green Smoothie.
  • Or start prepping for mornings all next week with this Healthy & Homemade Granola – a favorite on this blog.
  • Let them eat cake! My Lemon Vanilla Polenta Cake is light, healthy, and has half the sugar of most polenta cakes. Grab some lemons and enjoy this cake all weekend.
  • Busy, active weekend ahead? These Lemon Vanilla Coconut Snack Bites are the key to keep you happy & energized.
  • This super-quick Israeli Couscous with Tomatoes, Basil and Mozzarella will make nearly everybody happy. Sub in regular couscous if you can find Israeli couscous.

top-reads_wkd-recipes_20160415_3

Enjoy the weekend, wherever you and however you spend it.

To your health and joy,

Ann

Have you signed up for the ESEW newsletter yet? Go get yours by filling out the form at the top right of this page. 

Did you like this post? Let me know in the comments below, and share it with your friends on social media!


Filed Under: Breakfast, cake, Drinkable, Main Course

Make it Yourself: Almond Milk

September 23, 2015 by aplough

Almond_Milk_20150923

If you are trying to avoid dairy, or if you are on a plant-based diet, one of the main ingredients in a lot of the recipes you’ll find is nut milk – in particular, almond milk.

Nut milk has the creamy white color we associate with dairy milk: cow or goat products, and much of the same creaminess. It is mild in flavor and works well in nearly any recipe that calls for dairy milk. For savory baked dishes such as quiches, tarts, pies and casseroles that call for some kind of milk, I prefer to use oat milk. I like the way it thickens a little when heated and the texture resembles that of cow’s milk – particularly in the béchamel I use in my lasagna. However, if you prefer, nut milk works here, too.

But when it comes to sweet baked goods, smoothies, or warm drinks made with milk like cocoa or chai tea, I prefer to use nut milk, and it’s nearly always almond milk.

You can purchase your own almond milk in the non-dairy refrigerated section of your grocery store next to soy and rice milks. The only challenge here is avoiding the thickeners and fillers these milks often contain in order to make them shelf stable (more on this here).

Almond milk is fairly expensive to buy: at my local store it runs around €3.90 per liter and isn’t organic, so making it yourself is a good way to get a great product. Organic almonds is around €25 per kilogram (around €11.50 per pound) in Finland (prices may be better elsewhere), so this means you can make my own organic almond milk for roughly the same price as you can buy the preservative-loaded commercial almond milk, and even less if you don’t buy organic almonds. Many people prefer organic almonds, but the choice is up to you.

All you really need in order to make almond milk are almonds and clean, pure water. I sometimes add a pinch of sea salt to add minerals into the milk, but this is optional. For those of you who are used to the sweetness of cow’s milk or commercial almond milk, you can achieve the same flavor by adding a date or two.

Almond milk is a healthy alternative for those avoiding dairy and soy.

One cup unsweetened almond milk contains:

  • 30-40 calories
  • 1 g fiber
  • 1 g protein
  • 2.5 g fat
  • good source of manganese (for strong teeth and bones), selenium (supports immune system) and vitamin E (helps fight free radicals), vitamin B2 (helps produce red blood cells)
  • free of cholesterol and saturated fats

Sources: fitday.com and livescience.com.

While I highlight almonds in this recipe, nearly any nut or seed can be made into milk using the same method. You can always add salt and sweetener to your taste (I prefer dates, but pure maple syrup is also good). The flavor is milk and sweet with a nice, light almond flavor – delicious!

Almond milk

  • 1 cup / 2.5 dl / 130g raw almonds + 2 cups cold, pure water
  • 1 quart / 4 cups / 1 liter pure, cold water
  • pinch of sea salt, optional
  • 1-2 fresh dates, optional

Soak the almonds in 2 cups of water for at least 4 hours, preferably overnight. Drain and rinse the almonds and pour them into a blender. Add the fresh water, and salt and dates if using. Process on high speed for one minute. Strain through a nut milk bag (preferred for the smoothest texture), an old, clean t-shirt (seriously a very good option), or a fine mesh strainer (what I usually do).

If using a milk bag or t-shirt, you’ll need to squeeze it really well, almost like you are milking it, in order to extract all of the almond milk.

If you are using a fine-mesh strainer, you can press on the solids with the back of a spoon or rubber spatula. If you do this, you will get some almond meat particles in your milk. My suggestion is to rinse the strainer, then strain the milk one more time.

Store in a glass jar in the refrigerator. Almond milk should be used in 2-3 days as it is a very fresh product.

Makes 1 quart/4 cups/1 liter.

Have you made your own almond milk or other non-dairy milks? What is your experience? We’d love to hear more from you in the comments below.

Filed Under: Dairy-free, Drinkable, Gluten-free, Make it yourself, Vegan

  • 1
  • 2
  • 3
  • Next Page »

Find me on social media

  • Bloglovin
  • Facebook
  • Instagram
  • Pinterest
  • Twitter

Looking for something?

Eat Simply, Eat Well 's gallery on Punk Domestics
  • Bloglovin
  • Facebook
  • Instagram
  • Pinterest
  • Twitter

Copyright © 2025 · Foodie Pro Theme by Shay Bocks · Built on the Genesis Framework · Powered by WordPress