Even the mention of Blueberry Buckle brings back fond memories from my childhood. Every Summer, the fruit crop most anticipated was the blueberry crop. Down the hill from our house – oh, 7 miles or so toward Snohomish, was, and still is, the Mountain View Berry Farm. For my siblings and me, not only was this the source of our beloved blueberries, it was also the source of our Summer income. Starting in July with the first ripening berries until just into August when the fruit was picked and the bushes emptied, we’d ride down to the farm with my Dad, who would drop us off on his way to the office. We’d pick all day, in the company of other junior high kids like ourselves, and get paid by the flat.
Our goal starting at the very beginning of the Summer was to pick as fast as we could to get that first flat of the season into the row bosses, racing to see who could get card #1. That set the tone for the season: the more we picked, the more money we’d have for school clothes. So we’d pick and pick and pick – and although this may sound agonizing for some, I loved it. I’d wear one of my dad’s old leather belts around my waist, from which I’d hang 3 gallon-sized coffee cans fitted with a heavy-duty wire hook provided by the farm. Typically it was suggested that you carry one bucket, but that was inefficient: running to the end of the row and emptying the bucket took time, and when you had an 8-hour picking day with a 30-minute lunch break and were there to make Summer cash, well, you figured out how to eliminate any inefficiencies. Plus, 2.5 cans made a flat, which meant that once all of my cans were full, I’d have a flat-plus – a full box plus a start on the next one – always a motivating factor. The blueberry bushes were huge, and so were many of the berries. They hung from the bushes in grape-like clusters, and once you learned how to use both hands to coax the ripe ones off directly into your bucket, leaving the raw ones behind, you could fill a bucket in 5-8 minutes, popping a few in your mouth to provide sustenance along the way.
The other inefficiency came when you had to switch rows – something that increased in frequency if you shared a row. You needed to notify the row bosses that you were done; have them check the row to make sure you hadn’t scatter-picked the whole thing (leaving good berries behind); and wait while they found the next one. So I’d negotiate at the beginning of every season that I’d always pick the row by myself and that I would pick it clean so that they didn’t need to check my work. Then, as I was nearing the end of the row, I’d ask them where I was going next so as to not waste precious money-earning time.
It was a great experience for a young kid: I learned the value of hard work and of negotiating up front so you didn’t have to deal with a set of rules that didn’t always apply; to build good relationships with people who could make your life easier; and to be independent. I learned I didn’t like being told what to do, and the surest way to avoid it is was to demonstrate respectfully that you were capable of doing the right thing and doing it well, when left alone.
I also learned that picking blueberries (or manual labor generally), while a decent job for a teenager, was no way to earn a good living in the long term because your earning power was capped by what you as an individual could create in a day, and there was only so much tweaking of the existing system that was possible for your potential was maxed out. Further, your work was only good for that one day. Every morning, you started over. On the best of days, I’d pick 18 flats of berries, so 180 pounds of blueberries. On the worst days, I’d eke out 11 flats. At the end of my 4 summers working there, the going rate was $2 per flat, which felt like a lot for a teenager hoping to earn enough for a cute pair of Gap jeans and some crisp, white Keds. And when the minimum wage was $4.25 per hour, I could earn just slightly more than that on most days.
By then end of the Summer, I’d have somewhere around $400 in the bank, and what I felt was a great Summer behind me: spent outside, working hard, producing something. If you’ve ever worked on a farm picking anything, perhaps you know what I mean. It was a good life, then.
With blueberries in abundance all Summer long, my Mom would go down and pick on Saturdays as well, taking advantage of the U-pick option to fill our freezer with berries for the Winter. And we’d have Blueberry Buckle.
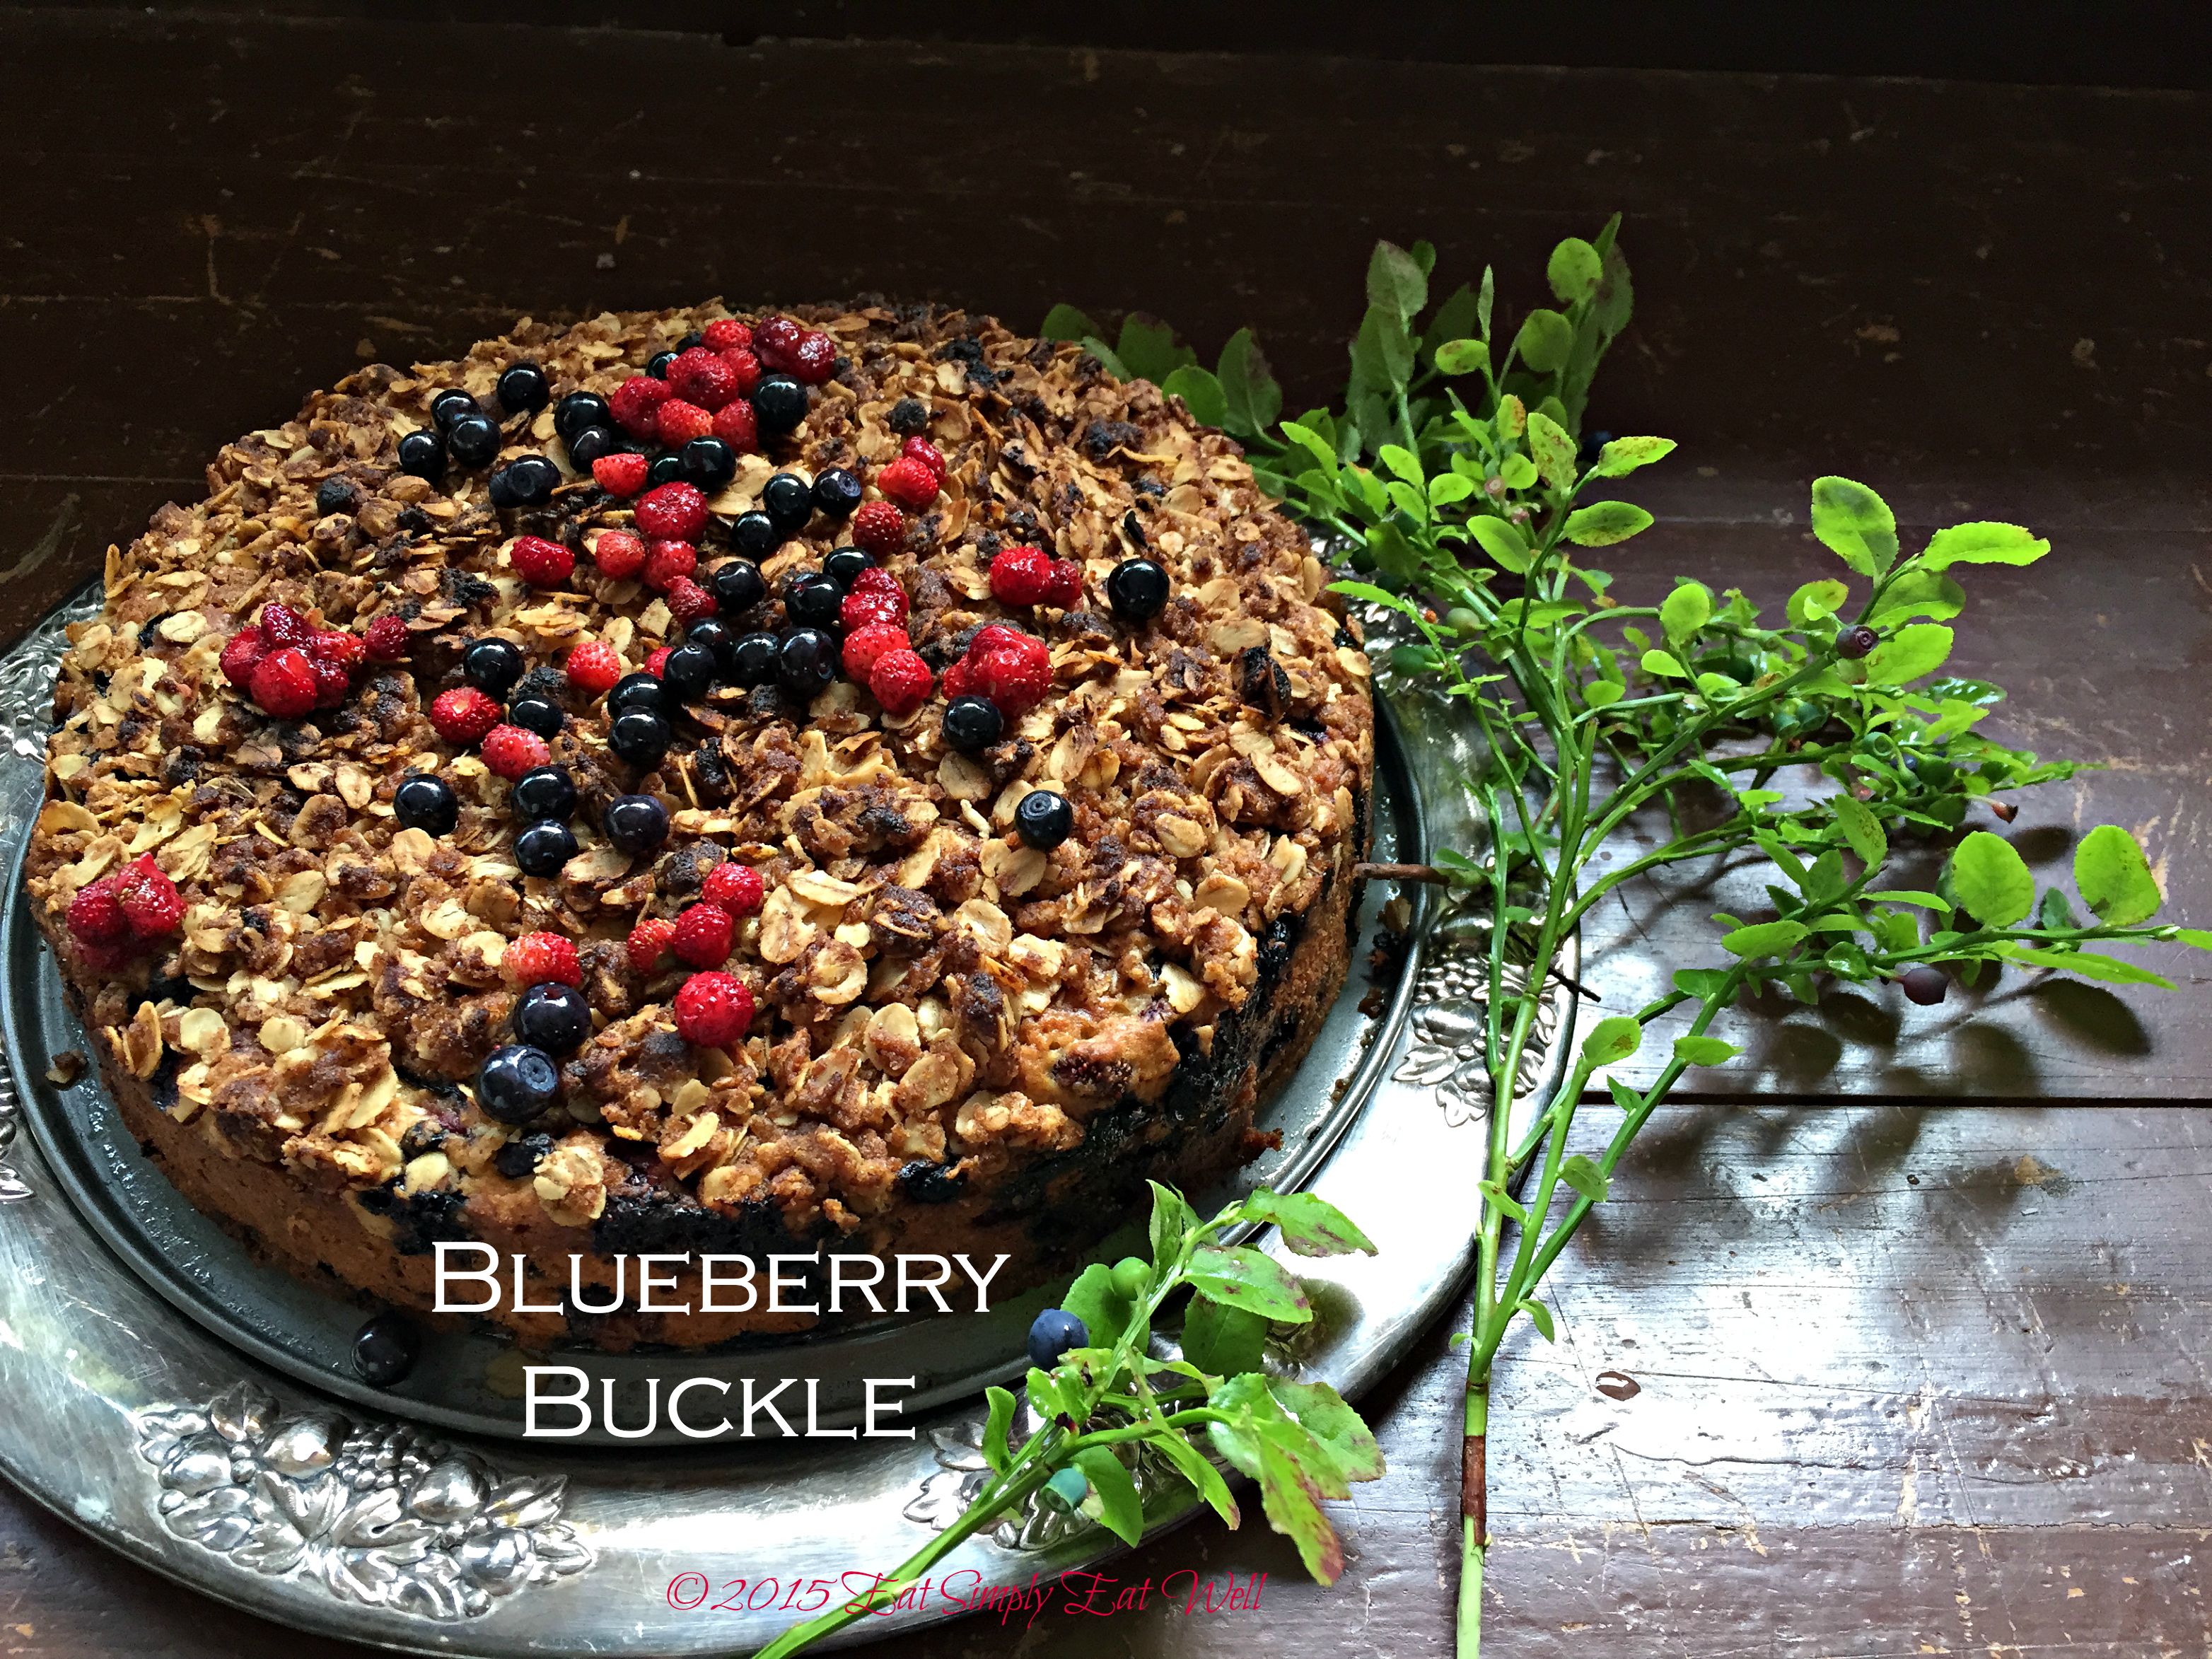
Always at some point in the season, someone at our house would make a Blueberry Buckle and it would land on the table at coffee/snack time. If we were lucky, there would be vanilla ice cream to go with it, though ice cream is by no means necessary with this cake as it is really delicious all by itself.
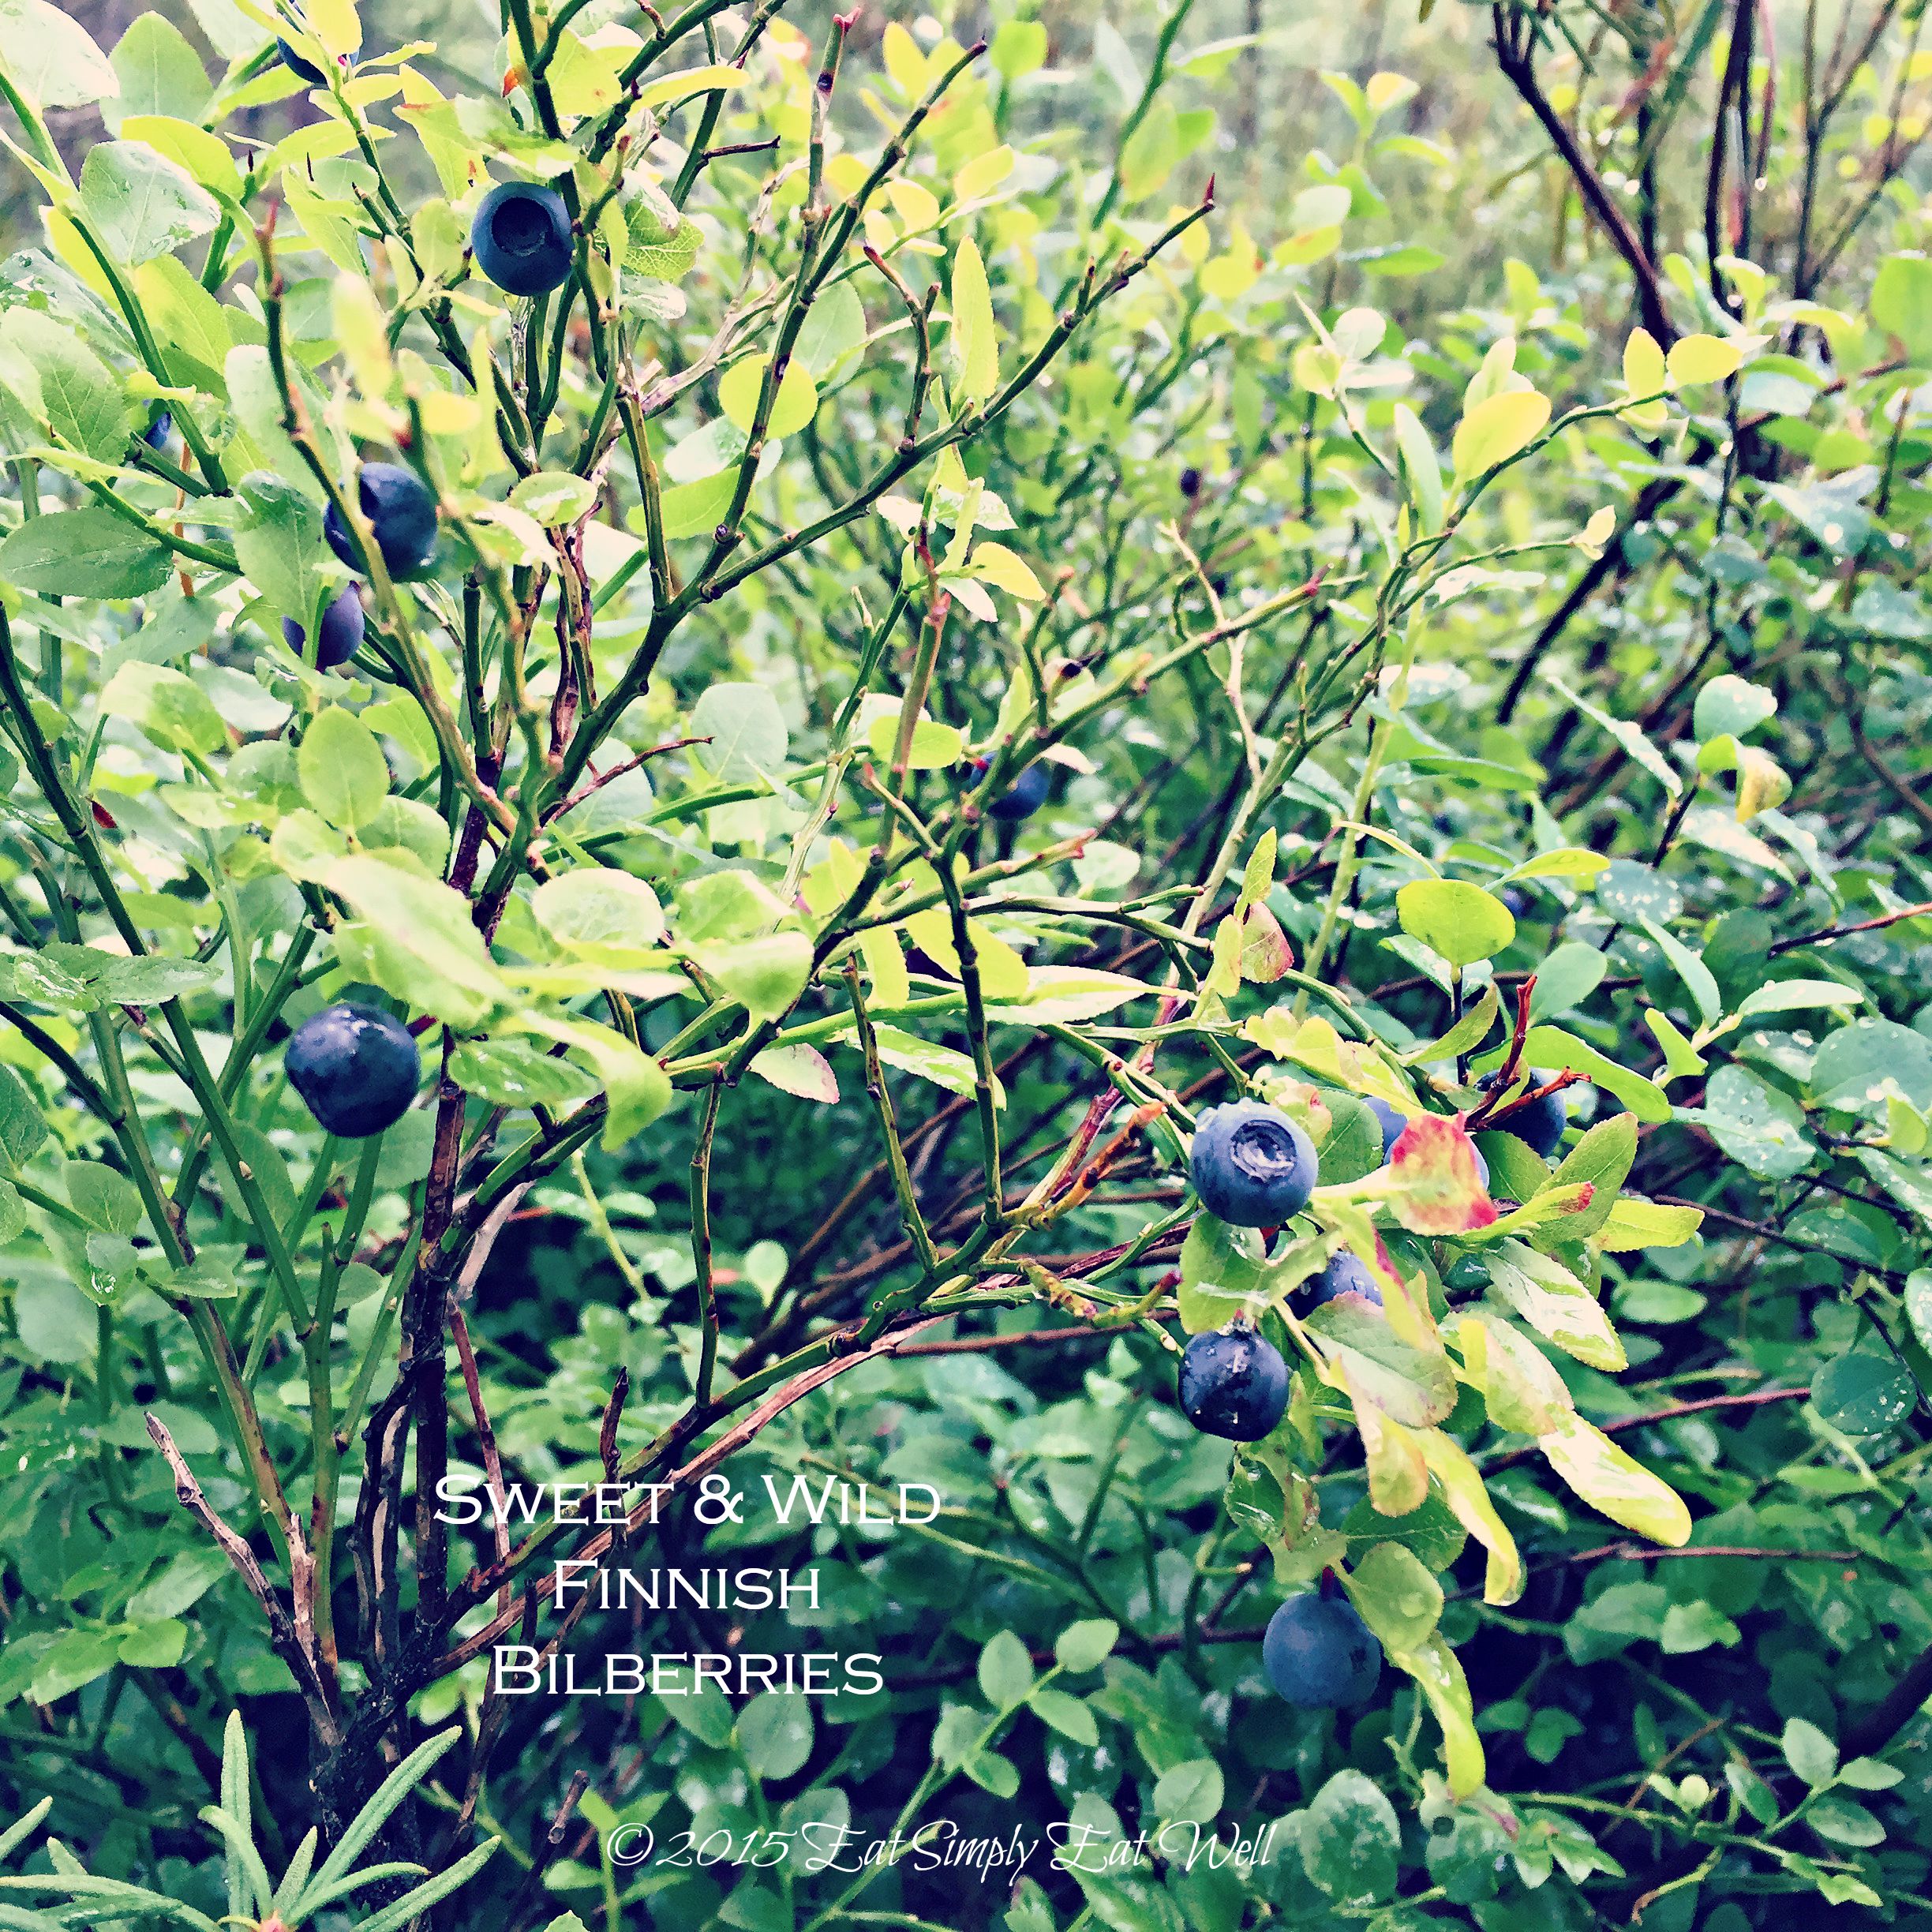
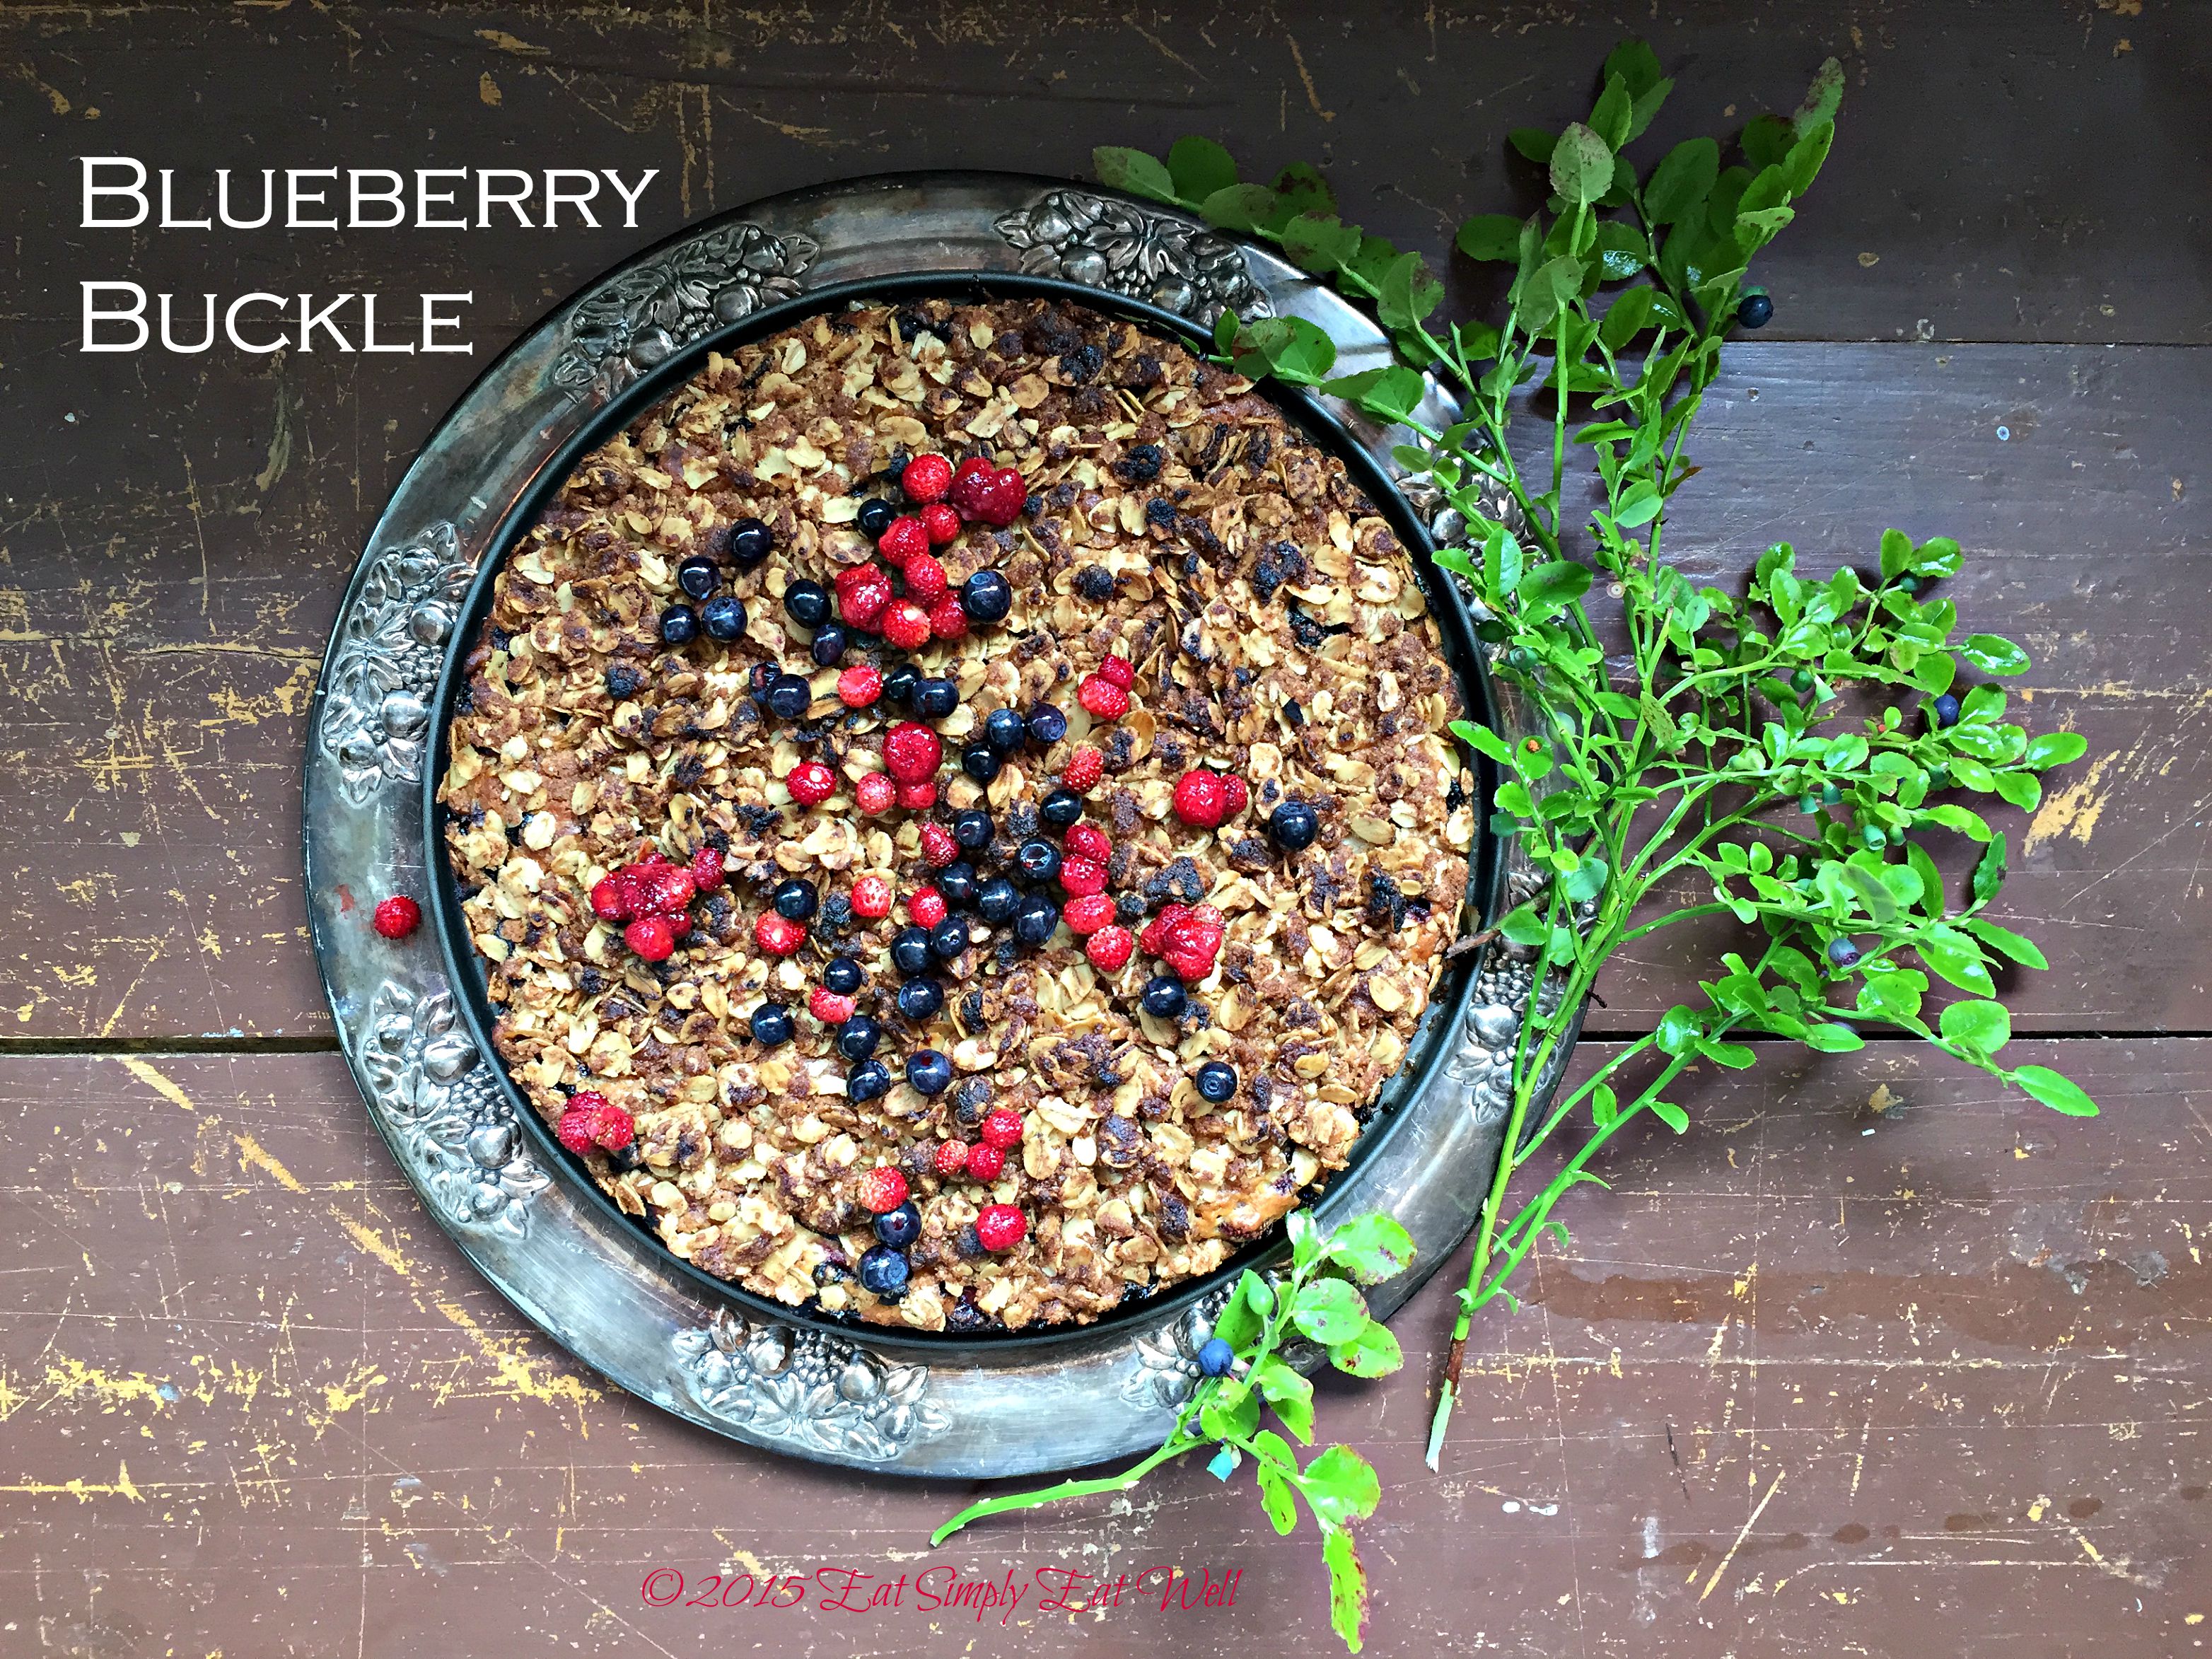
Some things never change: while I no longer earn cash picking berries, I still love to pick them, and it’s something I look forward to all year long. Harvest time is now in full swing, and with the first of the season’s Finnish bilberries (a small wild cousin of the domesticated blueberry), I made a Blueberry (Bilberry) Buckle. Since I didn’t have quite enough bilberries, I used 1 cup of wild strawberries and 1.5 cups bilberries. Absolutely delicious; but I still prefer this with only those beautiful blue berries – whether they are bilberries or blueberries in your part of the world.
Nowadays when I make it, I change a few things to make it even more delicious:
- Bilberries instead of blueberries, because in Finland, the forests are filled with them starting in late July
- Add lemon and lemon juice because the flavor is perfect with blueberries/bilberries
- Use unrefined sugar instead of white sugar, or at the very least, brown sugar (still refined; better flavor)
- Part whole wheat flour for slightly better nutrition
- Use a crispy crumble topping with oats instead of a cobbler-style topping because I like it better
- Use fresh berries when possible; otherwise add them to the batter frozen and increase the cooking time 5-10 minutes
- If you want to make this gluten-free, substitute 2 cups of your favorite gluten-free flour mix for flour in the recipe and use certified gluten-free oats
- Make it dairy-free by substituting coconut oil for the butter and non-dairy milk for the milk
Blueberry (Bilberry) Buckle
Preheat oven to 190°C/375°F. Oil a large spring-form pan (the size should be 8″-9″/23-25cm)
Make the cake batter:
In a large mixing bowl, whisk together:
- 1 cup/120g/2.5 dl whole wheat flour
- 1 cup/120g/2.5dl all-purpose flour
- 2 teaspoons baking powder
- 1/2 teaspoon salt
In another mixing bowl combine:
- 1/4 cup/60g butter, softened
- 3/4 cup/150g coconut sugar or Indian sugar (can use brown sugar if you don’t have unrefined sugar)
- 1 large egg
- 1/2 cup/120 ml milk (can substitute oat, soy or almond milk)
- zest of one lemon
- 2 tablespoons lemon juice
Pour the wet ingredients over the dry ingredients and mix to combine. Add:
- 2.5 cups/0.5 liter bilberries or blueberries
And mix thoroughly. Pour the thick batter into your prepared springform pan.
Make the topping:
In a bowl combine:
- 1 cup/75g/2.5 dl old fashioned oats
- 1/2 cup/60g flour (can substitute gluten-free)
- 1/2 cup/100 ml coconut sugar, Indian sugar or brown sugar
- 1 teaspoon cinnamon
- 1/4 teaspoon salt
- 1/4 cup/60g butter, melted
Stir the ingredients together until everything is wet and sticks together. Spoon the mixture evenly over the top of the cake batter in the pan.
Bake in the preheated oven for 50-60 minutes. The time will vary depending on size of the pan, the accuracy of your oven temperature, and whether or not your berries are frozen. To check if the Blueberry (Bilberry) Buckle is ready, insert a toothpick or knife into the center. If it comes out clean or with small crumbs attached, it’s done. If it has wet batter sticking to it, put it back in the oven and cook for 5-10 minutes longer.
Once the cake is fully baked, remove from the oven and allow it to cool in the pan for 10 minutes. Then run a knife around the outside edge of the cake between the cake and the pan to release it from the side of the pan. Release the spring on the springform pan and lift the top from the cake. Allow the cake to cool for another 20 minutes or so before serving. Garnish with extra berries, if desired. Serving with ice cream is optional but delicious. Freezes well.
Serves 10-12.
Love blueberries and bilberries and want more recipe ideas? Try these:
- Bilberry Almond Cake with Bilberry Sauce
- Bilberry Lime Muffins
- Bilberry Rhubarb Sima
- Blueberry/Bilberry Ginger Superfood Smoothie
- Blueberry/Bilberry Cacao Smoothie
Love this recipe? Please let us know in the comments below and share it with your friends – we’d love to hear from you!