Eat Simply, Eat Well

Healthy recipes & tips to help you live the good life. by Ann Plough

Vegan Coconut Scones

August 18, 2016 by aplough

Do you love baked goods but just kind of wish some of them were a little healthier? These vegan coconut scones are the answer to that.
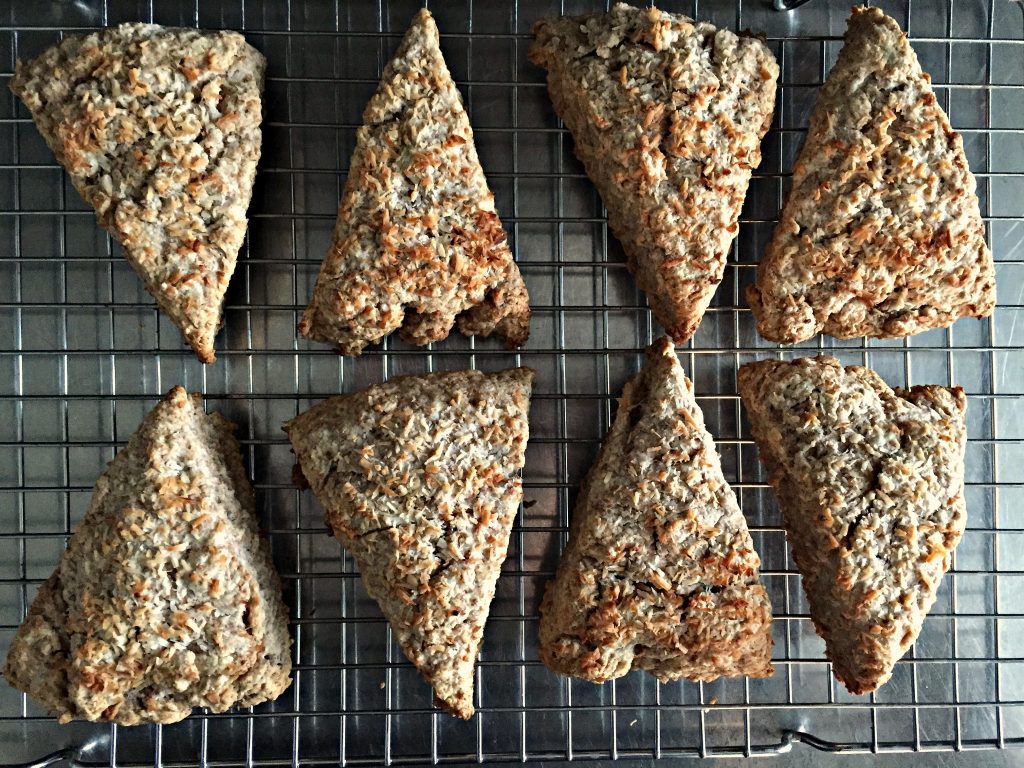
20160818_Vegan-coconut-scones

I have to admit: I love baking. I love the process of creating the product; love the smell of it baking in the oven; love the moment when the timer dings and I can pull that delicious thing out of the oven to barely cool before digging in. Don’t you?

But nowadays I try to really limit white flour and sugars, many of my old baking favorites need to be reworked in order to fit into my new way of eating. It doesn’t always work out well. Sometimes, using an alternative for the flours or a different kind of sugar or choosing to leave out eggs can make it really difficult to create a successful product. (As a full disclaimer: I do use eggs – often. They are a great source of protein, and a staple in my diet – I just didn’t want to use them here.). The risk is the product won’t hold together and instead, you’ll have a crumbling mess instead of a cookie, muffin or cake. Or, you’ll change out the sugar and you’ll have a puffy product where you wanted a flat one or a chewy product when you’d been hoping for cakey. It’s tricky sometimes, but so worth experimenting with to find out what works.

I was craving scones. I wanted something that could replace both a biscuit and the sweeter scones often served with coffee or tea, but also wanted to experiment with using coconut oil to replace butter and plant-based milk to replace cow’s milk. I wanted something that was delicious all on it’s own, but suitable with everything.

Could I make these vegan? Turns out, yes I could. And since coconut itself has a natural sweetness, I opted to take the (small) risk of leaving out the sugar as well.

The results are really delicious.

These simple, healthy, vegan coconut scones are super versatile: you can take them to the sweet side with a mixed berry chia jam (or any other jam of choice) or work them into a savory meal and serve them with one of your favorite soups. 
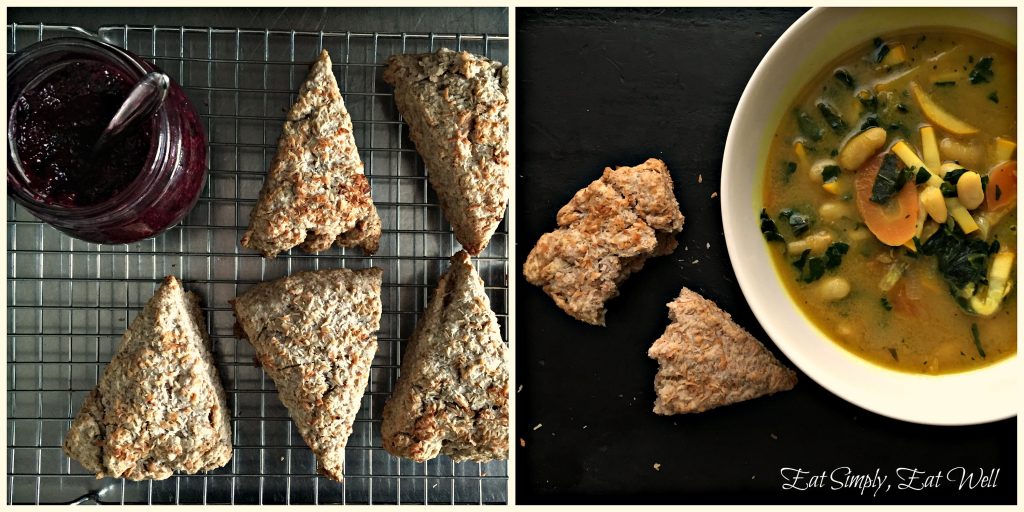
20160818_vegan-coconut-scones_sweetorsavory

Packed with good fats, all the fiber and nutrients of whole grains, and no added sugar, eggs, or dairy, you’ll find that these suit pretty much any occasion. If you or someone you’ll be serving these to has a gluten sensitivity – no problem! Simply substitute your preferred gluten-free flour mix for the whole wheat flour. If you can, try to get a gluten-free mix that contains a lot of whole grains so that you’ll be getting good nutrients and fiber from the flour. Unfortunately, a lot of commercial gluten-free flour mixes use refined flours, and while gluten-free, are really just another form of junk food.

Note: you’ll be using a chilled can of coconut milk with this, so, pop one in the fridge in the morning of or the night before the day you want to make these. Sorry – but that small hassle is worth it!
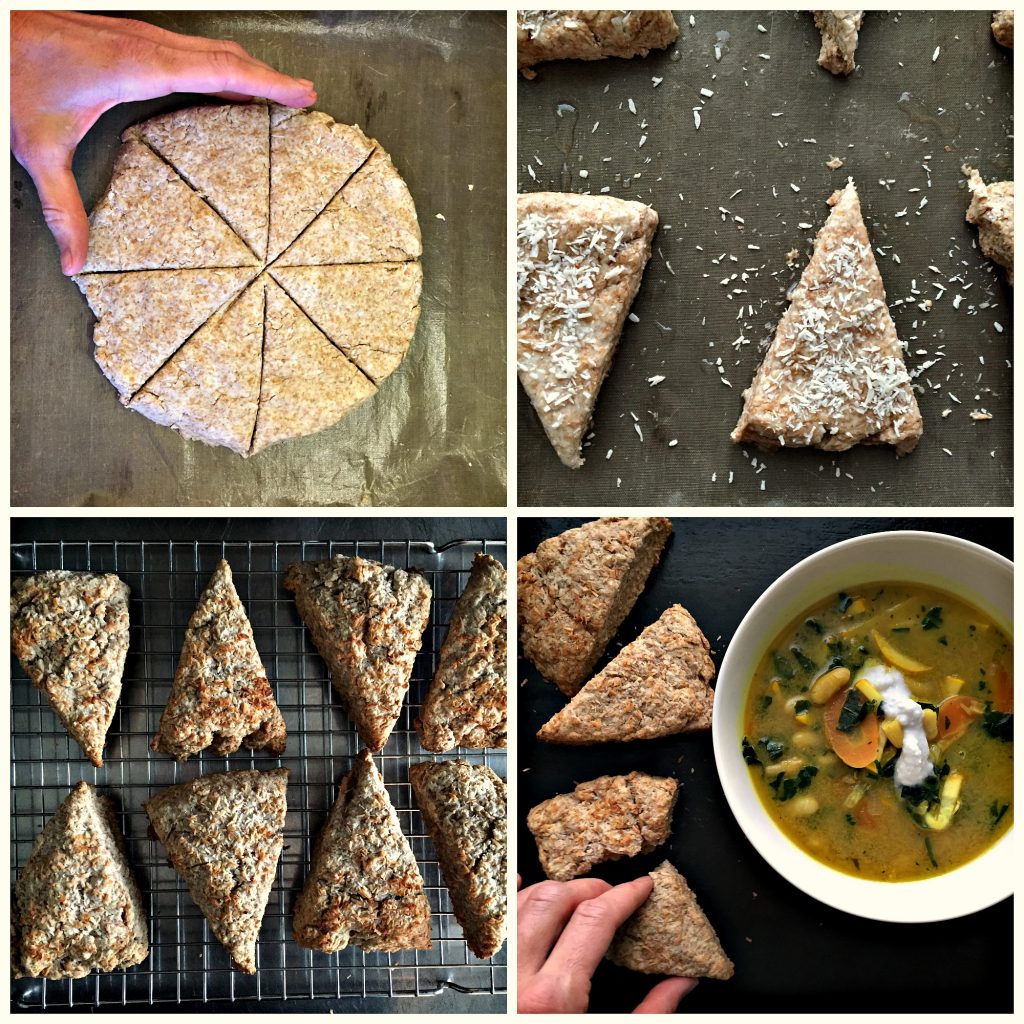
20160818_vegan-coconut-scones_square-prep

Vegan Coconut Scones

  • 2 cups whole wheat flour 
  • 1/4 cup desiccated coconut
  • 1 tablespoon baking powder
  • 3/4 teaspoon salt
  • 1/4 cup cold coconut creme (from chilled can of coconut milk)
  • 1/4 cup coconut oil
  • 3/4 cup coconut water (from chilled can of coconut milk)
  • 2 tablespoons melted coconut oil + 2 tablespoons desiccated coconut for the tops of the scones

Preheat oven to 400°F/200°C. Line a baking tray with parchment paper.

Combine the flour, coconut, baking powder and salt in a medium-sized baking bowl. Add the coconut creme and coconut oil, and use a pastry blender or fork to mix the fats into the flour until the mixture forms lumps about the size of peas. Pour in the coconut water and stir until it begins to clump.

Gather the mixture in your hands and gently press it into a ball. Transfer the ball of dough to the baking sheet and press it into a 1″/2.5 cm high round disk. Cut the disk into 8 even triangles. Separate the triangles and space them out evenly on your baking tray. Brush the top and sides of each scone with coconut oil and sprinkle desiccated coconut over the top of each one. Bake for 10-12 minutes until puffed and golden brown. Remove from oven and transfer to a cooling rack.

Makes 8 scones.

Did you like this recipe? I’d love to hear from you in the comments below!

Are you missing out on the ESEW newsletter? Scroll back up to the top of the page and sign up for our newsletter with recipe tips and tricks for busy, hungry, good-food-loving people. 

Eat Simply, Eat Well,

Ann
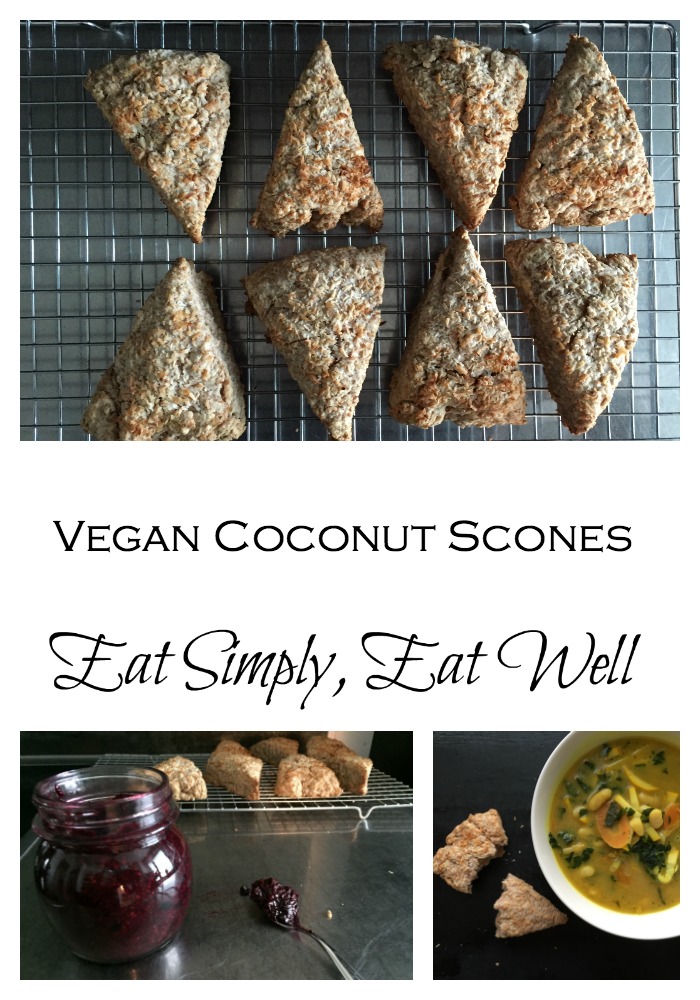
20160818_vegan-coconut-scones_pinterest

Filed Under: Appetizers, Bread, Breakfast, cake, Dairy-free, Dessert, Sides, Snack, Vegan, Vegetarian

6 Top Food & Nutrition News This Week + Food For This Weekend

April 15, 2016 by aplough


top-reads_wkd-recipes_20160415_1

Do you ever find yourself glancing at interesting links as you scroll through your social media accounts & news feeds during the week, only to find you can’t keep up with them all? I know I do.

Every week, I find myself saving a long list of links to read later. There is a lot happening in the food-nutrition-tech world, and I just can’t get to them all during my Monday-Friday, 8-5, so I typically read some and save the rest to read Saturday morning as I sip my coffee. It’s the perfect way to begin a relaxing & refreshing weekend – and there are so many things I’d love to start a conversation about.

So beginning today, I’ll be sharing the best of digital news on the blog – with you!

Yup! Every Friday, just in time for the weekend, I will bring you my short list of top reads from the past week covering food, nutrition, and food tech, and definitely some fun surprises thrown in there too. If there’s something that catches your eye, makes you smile or makes you grumpy – let me know in the comments! I’d love to hear what you think.

Settle into your favorite reading spot and enjoy!

  1. Is fat good or bad; and what the deal is with sugar? The Guardian’s Ian Leslie weighs in on The Sugar Conspiracy. (It’s even more complicated and fascinating than you think).
  2. Eco Watch‘s newest list is out: Top Fruits and Veggies that you should always buy organic.
  3. Looking for clear, glowing skin? It’s all in what you eat. Dr. Sara Gottfried shares her tips for great skin.
  4. This article about skim milk labels got me thinking: what’s real and what’s natural when it comes to milk?
  5. Big Food labels GMOs; but, as Marion Nestle reminds: No amount of labeling makes processed food good for you.
  6. And then things get crazy in Japan with food tech: a new fork could help bland food seem salty. Say what?

top-reads_wkd-recipes_20160415_2

Wondering what to eat this weekend? Try these delicious Spring recipes.

  • Cilantro Parsley Avocado Dip will make any party better.
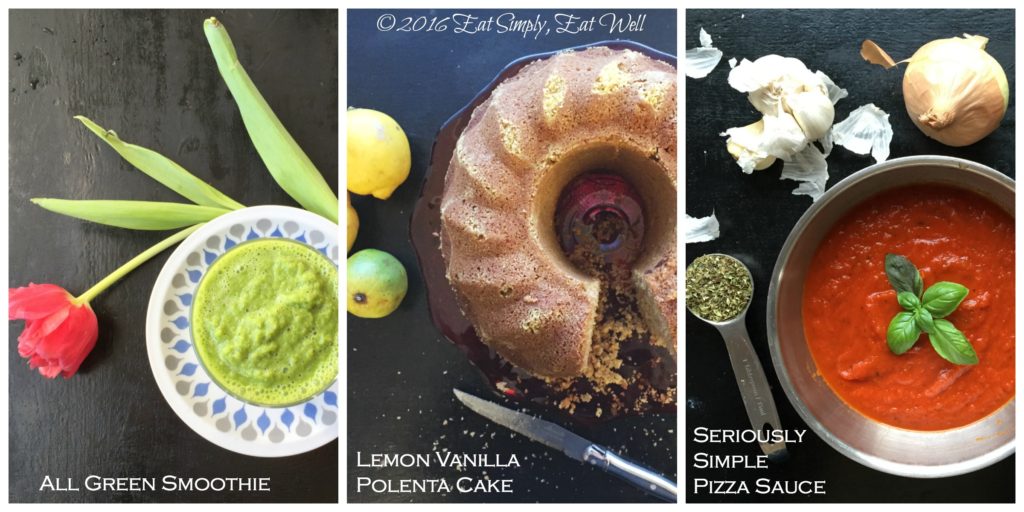
  • What’s better than pizza on the weekend? Seriously Simple Pizza Sauce makes it easy. Especially if you keep it healthy and use whole wheat tortillas as the base, spread a little sauce over the surface, and let everyone add their favorite toppings. You can do it tonight – very little advanced planning required. You’re welcome.
  • Wake up on the right side of life tomorrow morning with this All Green Smoothie.
  • Or start prepping for mornings all next week with this Healthy & Homemade Granola – a favorite on this blog.
  • Let them eat cake! My Lemon Vanilla Polenta Cake is light, healthy, and has half the sugar of most polenta cakes. Grab some lemons and enjoy this cake all weekend.
  • Busy, active weekend ahead? These Lemon Vanilla Coconut Snack Bites are the key to keep you happy & energized.
  • This super-quick Israeli Couscous with Tomatoes, Basil and Mozzarella will make nearly everybody happy. Sub in regular couscous if you can find Israeli couscous.

top-reads_wkd-recipes_20160415_3

Enjoy the weekend, wherever you and however you spend it.

To your health and joy,

Ann

Have you signed up for the ESEW newsletter yet? Go get yours by filling out the form at the top right of this page. 

Did you like this post? Let me know in the comments below, and share it with your friends on social media!


Filed Under: Breakfast, cake, Drinkable, Main Course

Blueberry (Bilberry) Buckle

July 27, 2015 by aplough

Blueberry_Buckle_20150727

Even the mention of Blueberry Buckle brings back fond memories from my childhood. Every Summer, the fruit crop most anticipated was the blueberry crop. Down the hill from our house – oh, 7 miles or so toward Snohomish, was, and still is, the Mountain View Berry Farm. For my siblings and me, not only was this the source of our beloved blueberries, it was also the source of our Summer income. Starting in July with the first ripening berries until just into August when the fruit was picked and the bushes emptied, we’d ride down to the farm with my Dad, who would drop us off on his way to the office. We’d pick all day, in the company of other junior high kids like ourselves, and get paid by the flat.

Our goal starting at the very beginning of the Summer was to pick as fast as we could to get that first flat of the season into the row bosses, racing to see who could get card #1. That set the tone for the season: the more we picked, the more money we’d have for school clothes. So we’d pick and pick and pick – and although this may sound agonizing for some, I loved it. I’d wear one of my dad’s old leather belts around my waist, from which I’d hang 3 gallon-sized coffee cans fitted with a heavy-duty wire hook provided by the farm. Typically it was suggested that you carry one bucket, but that was inefficient: running to the end of the row and emptying the bucket took time, and when you had an 8-hour picking day with a 30-minute lunch break and were there to make Summer cash, well, you figured out how to eliminate any inefficiencies. Plus, 2.5 cans made a flat, which meant that once all of my cans were full, I’d have a flat-plus – a full box plus a start on the next one – always a motivating factor. The blueberry bushes were huge, and so were many of the berries. They hung from the bushes in grape-like clusters, and once you learned how to use both hands to coax the ripe ones off directly into your bucket, leaving the raw ones behind, you could fill a bucket in 5-8 minutes, popping a few in your mouth to provide sustenance along the way.

The other inefficiency came when you had to switch rows – something that increased in frequency if you shared a row. You needed to notify the row bosses that you were done; have them check the row to make sure you hadn’t scatter-picked the whole thing (leaving good berries behind); and wait while they found the next one. So I’d negotiate at the beginning of every season that I’d always pick the row by myself and that I would pick it clean so that they didn’t need to check my work. Then, as I was nearing the end of the row, I’d ask them where I was going next so as to not waste precious money-earning time.

It was a great experience for a young kid: I learned the value of hard work and of negotiating up front so you didn’t have to deal with a set of rules that didn’t always apply; to build good relationships with people who could make your life easier; and to be independent. I learned I didn’t like being told what to do, and the surest way to avoid it is was to demonstrate respectfully that you were capable of doing the right thing and doing it well, when left alone.

I also learned that picking blueberries (or manual labor generally), while a decent job for a teenager, was no way to earn a good living in the long term because your earning power was capped by what you as an individual could create in a day, and there was only so much tweaking of the existing system that was possible for your potential was maxed out. Further, your work was only good for that one day. Every morning, you started over. On the best of days, I’d pick 18 flats of berries, so 180 pounds of blueberries. On the worst days, I’d eke out 11 flats. At the end of my 4 summers working there, the going rate was $2 per flat, which felt like a lot for a teenager hoping to earn enough for a cute pair of Gap jeans and some crisp, white Keds. And when the minimum wage was $4.25 per hour, I could earn just slightly more than that on most days.

Bilberries_20150727

By then end of the Summer, I’d have somewhere around $400 in the bank, and what I felt was a great Summer behind me: spent outside, working hard, producing something. If you’ve ever worked on a farm picking anything, perhaps you know what I mean. It was a good life, then.

With blueberries in abundance all Summer long, my Mom would go down and pick on Saturdays as well, taking advantage of the U-pick option to fill our freezer with berries for the Winter. And we’d have Blueberry Buckle.

Always at some point in the season, someone at our house would make a Blueberry Buckle and it would land on the table at coffee/snack time. If we were lucky, there would be vanilla ice cream to go with it, though ice cream is by no means necessary with this cake as it is really delicious all by itself.

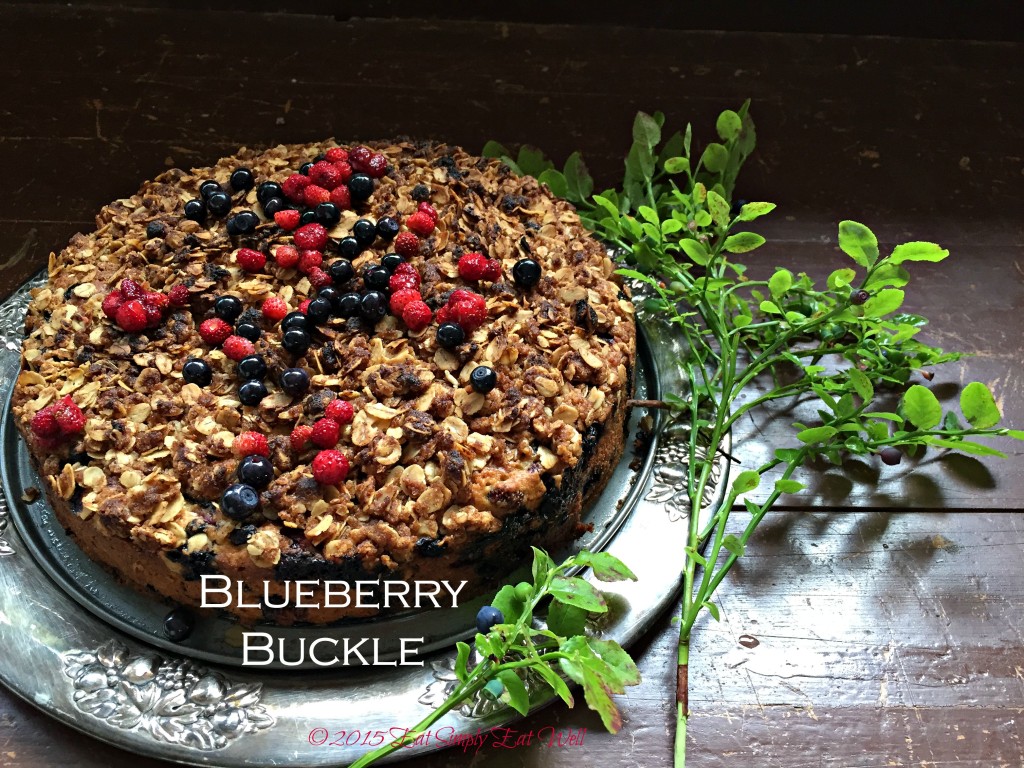
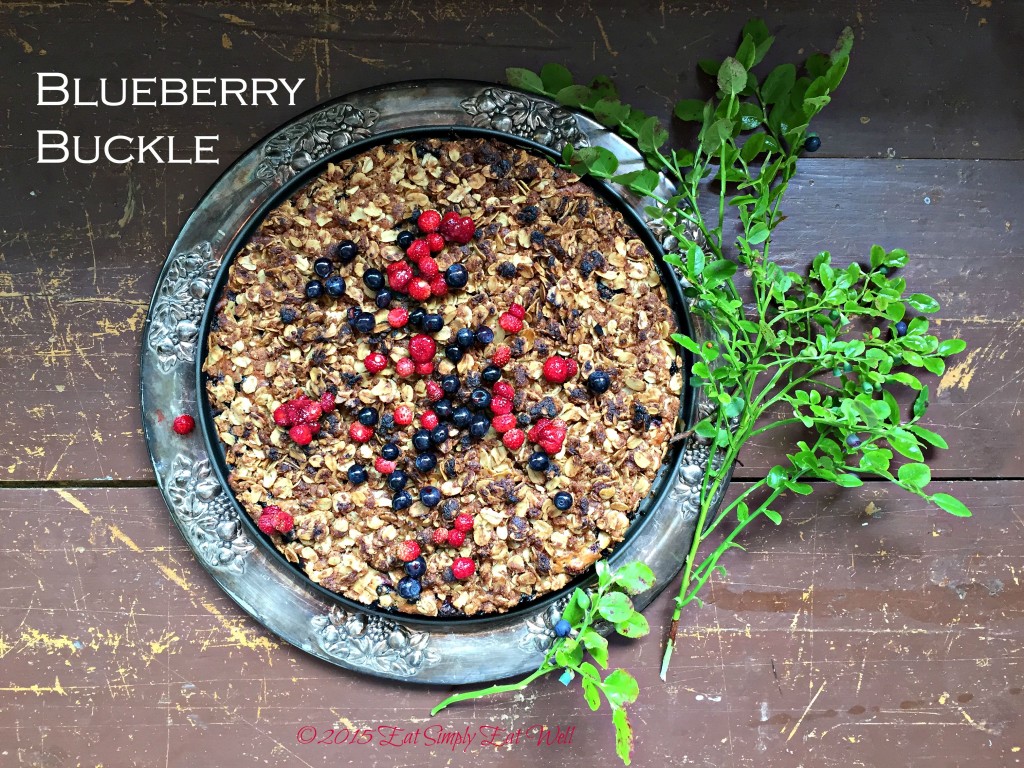
Some things never change: while I no longer earn cash picking berries, I still love to pick them, and it’s something I look forward to all year long. Harvest time is now in full swing, and with the first of the season’s Finnish bilberries (a small wild cousin of the domesticated blueberry), I made a Blueberry (Bilberry) Buckle. Since I didn’t have quite enough bilberries, I used 1 cup of wild strawberries and 1.5 cups bilberries. Absolutely delicious; but I still prefer this with only those beautiful blue berries – whether they are bilberries or blueberries in your part of the world.

Nowadays when I make it, I change a few things to make it even more delicious:

  • Bilberries instead of blueberries, because in Finland, the forests are filled with them starting in late July
  • Add lemon and lemon juice because the flavor is perfect with blueberries/bilberries
  • Use unrefined sugar instead of white sugar, or at the very least, brown sugar (still refined; better flavor)
  • Part whole wheat flour for slightly better nutrition
  • Use a crispy crumble topping with oats instead of a cobbler-style topping because I like it better
  • Use fresh berries when possible; otherwise add them to the batter frozen and increase the cooking time 5-10 minutes
  • If you want to make this gluten-free, substitute 2 cups of your favorite gluten-free flour mix for flour in the recipe and use certified gluten-free oats
  • Make it dairy-free by substituting coconut oil for the butter and non-dairy milk for the milk

Blueberry_Buckle_2_20150727

Blueberry (Bilberry) Buckle

Preheat oven to 190°C/375°F. Oil a large spring-form pan (the size should be 8″-9″/23-25cm)

Make the cake batter:

In a large mixing bowl, whisk together:

  • 1 cup/120g/2.5 dl whole wheat flour
  • 1 cup/120g/2.5dl all-purpose flour
  • 2 teaspoons baking powder
  • 1/2 teaspoon salt

In another mixing bowl combine:

  • 1/4 cup/60g butter, softened
  • 3/4 cup/150g coconut sugar or Indian sugar (can use brown sugar if you don’t have unrefined sugar)
  • 1 large egg
  • 1/2 cup/120 ml milk (can substitute oat, soy or almond milk)
  • zest of one lemon
  • 2 tablespoons lemon juice

Pour the wet ingredients over the dry ingredients and mix to combine. Add:

  • 2.5 cups/0.5 liter bilberries or blueberries

And mix thoroughly. Pour the thick batter into your prepared springform pan.

Make the topping:

In a bowl combine:

  • 1 cup/75g/2.5 dl old fashioned oats
  • 1/2 cup/60g flour (can substitute gluten-free)
  • 1/2 cup/100 ml coconut sugar, Indian sugar or brown sugar
  • 1 teaspoon cinnamon
  • 1/4 teaspoon salt
  • 1/4 cup/60g butter, melted

Stir the ingredients together until everything is wet and sticks together. Spoon the mixture evenly over the top of the cake batter in the pan.

Bake in the preheated oven for 50-60 minutes. The time will vary depending on size of the pan, the accuracy of your oven temperature, and whether or not your berries are frozen. To check if the Blueberry (Bilberry) Buckle is ready, insert a toothpick or knife into the center. If it comes out clean or with small crumbs attached, it’s done. If it has wet batter sticking to it, put it back in the oven and cook for 5-10 minutes longer.

Once the cake is fully baked, remove from the oven and allow it to cool in the pan for 10 minutes. Then run a knife around the outside edge of the cake between the cake and the pan to release it from the side of the pan. Release the spring on the springform pan and lift the top from the cake. Allow the cake to cool for another 20 minutes or so before serving. Garnish with extra berries, if desired. Serving with ice cream is optional but delicious. Freezes well.

Serves 10-12.

Love blueberries and bilberries and want more recipe ideas? Try these:

  • Bilberry Almond Cake with Bilberry Sauce
  • Bilberry Lime Muffins
  • Bilberry Rhubarb Sima
  • Blueberry/Bilberry Ginger Superfood Smoothie
  • Blueberry/Bilberry Cacao Smoothie

Love this recipe? Please let us know in the comments below and share it with your friends – we’d love to hear from you!

Filed Under: cake, Dessert, Snack

Find me on social media

  • Bloglovin
  • Facebook
  • Instagram
  • Pinterest
  • Twitter

Looking for something?

Eat Simply, Eat Well 's gallery on Punk Domestics
  • Bloglovin
  • Facebook
  • Instagram
  • Pinterest
  • Twitter

Copyright © 2025 · Foodie Pro Theme by Shay Bocks · Built on the Genesis Framework · Powered by WordPress