Eat Simply, Eat Well

Healthy recipes & tips to help you live the good life. by Ann Plough

Vegan Coconut Scones

August 18, 2016 by aplough

Do you love baked goods but just kind of wish some of them were a little healthier? These vegan coconut scones are the answer to that.
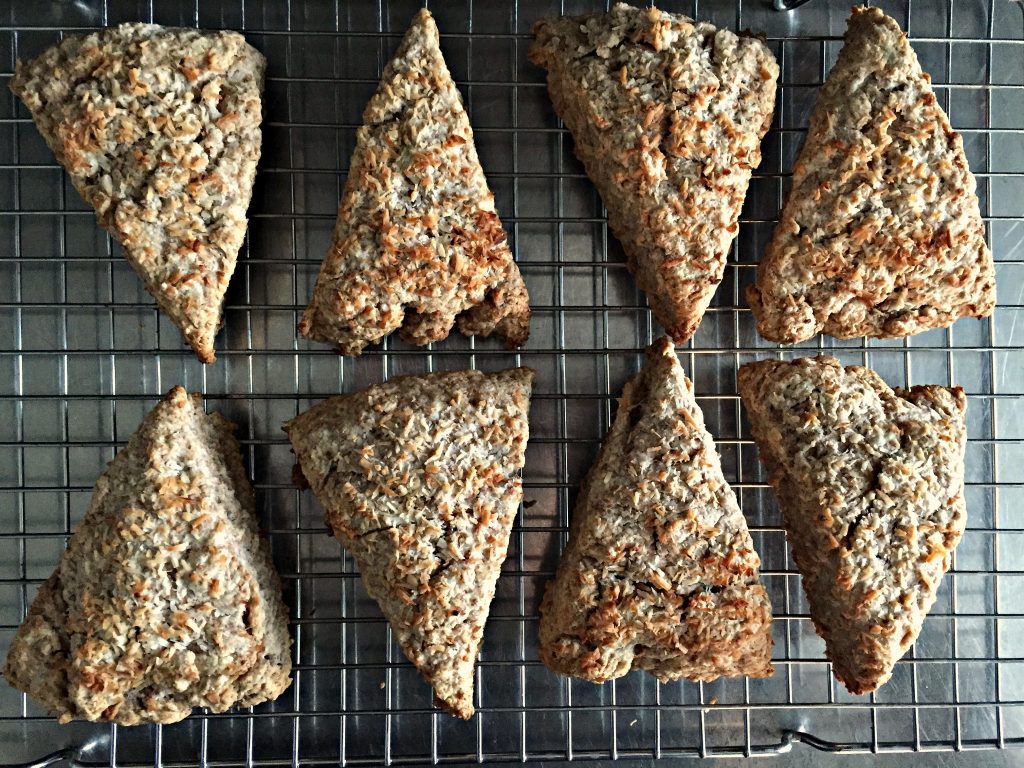
20160818_Vegan-coconut-scones

I have to admit: I love baking. I love the process of creating the product; love the smell of it baking in the oven; love the moment when the timer dings and I can pull that delicious thing out of the oven to barely cool before digging in. Don’t you?

But nowadays I try to really limit white flour and sugars, many of my old baking favorites need to be reworked in order to fit into my new way of eating. It doesn’t always work out well. Sometimes, using an alternative for the flours or a different kind of sugar or choosing to leave out eggs can make it really difficult to create a successful product. (As a full disclaimer: I do use eggs – often. They are a great source of protein, and a staple in my diet – I just didn’t want to use them here.). The risk is the product won’t hold together and instead, you’ll have a crumbling mess instead of a cookie, muffin or cake. Or, you’ll change out the sugar and you’ll have a puffy product where you wanted a flat one or a chewy product when you’d been hoping for cakey. It’s tricky sometimes, but so worth experimenting with to find out what works.

I was craving scones. I wanted something that could replace both a biscuit and the sweeter scones often served with coffee or tea, but also wanted to experiment with using coconut oil to replace butter and plant-based milk to replace cow’s milk. I wanted something that was delicious all on it’s own, but suitable with everything.

Could I make these vegan? Turns out, yes I could. And since coconut itself has a natural sweetness, I opted to take the (small) risk of leaving out the sugar as well.

The results are really delicious.

These simple, healthy, vegan coconut scones are super versatile: you can take them to the sweet side with a mixed berry chia jam (or any other jam of choice) or work them into a savory meal and serve them with one of your favorite soups. 
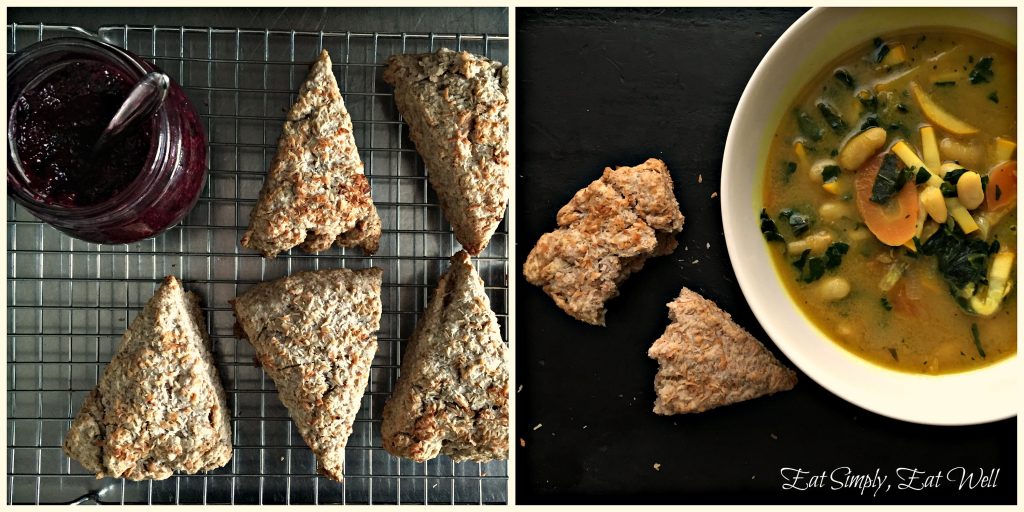
20160818_vegan-coconut-scones_sweetorsavory

Packed with good fats, all the fiber and nutrients of whole grains, and no added sugar, eggs, or dairy, you’ll find that these suit pretty much any occasion. If you or someone you’ll be serving these to has a gluten sensitivity – no problem! Simply substitute your preferred gluten-free flour mix for the whole wheat flour. If you can, try to get a gluten-free mix that contains a lot of whole grains so that you’ll be getting good nutrients and fiber from the flour. Unfortunately, a lot of commercial gluten-free flour mixes use refined flours, and while gluten-free, are really just another form of junk food.

Note: you’ll be using a chilled can of coconut milk with this, so, pop one in the fridge in the morning of or the night before the day you want to make these. Sorry – but that small hassle is worth it!
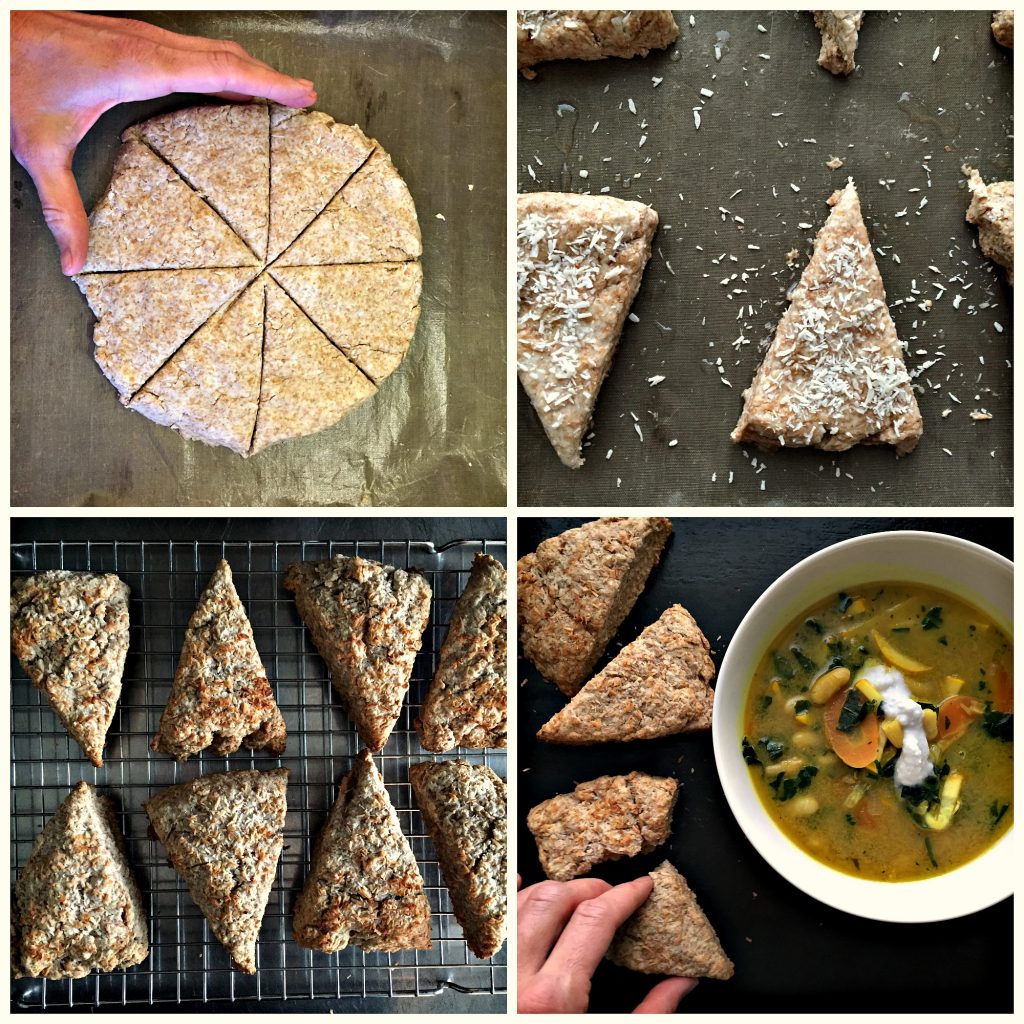
20160818_vegan-coconut-scones_square-prep

Vegan Coconut Scones

  • 2 cups whole wheat flour 
  • 1/4 cup desiccated coconut
  • 1 tablespoon baking powder
  • 3/4 teaspoon salt
  • 1/4 cup cold coconut creme (from chilled can of coconut milk)
  • 1/4 cup coconut oil
  • 3/4 cup coconut water (from chilled can of coconut milk)
  • 2 tablespoons melted coconut oil + 2 tablespoons desiccated coconut for the tops of the scones

Preheat oven to 400°F/200°C. Line a baking tray with parchment paper.

Combine the flour, coconut, baking powder and salt in a medium-sized baking bowl. Add the coconut creme and coconut oil, and use a pastry blender or fork to mix the fats into the flour until the mixture forms lumps about the size of peas. Pour in the coconut water and stir until it begins to clump.

Gather the mixture in your hands and gently press it into a ball. Transfer the ball of dough to the baking sheet and press it into a 1″/2.5 cm high round disk. Cut the disk into 8 even triangles. Separate the triangles and space them out evenly on your baking tray. Brush the top and sides of each scone with coconut oil and sprinkle desiccated coconut over the top of each one. Bake for 10-12 minutes until puffed and golden brown. Remove from oven and transfer to a cooling rack.

Makes 8 scones.

Did you like this recipe? I’d love to hear from you in the comments below!

Are you missing out on the ESEW newsletter? Scroll back up to the top of the page and sign up for our newsletter with recipe tips and tricks for busy, hungry, good-food-loving people. 

Eat Simply, Eat Well,

Ann
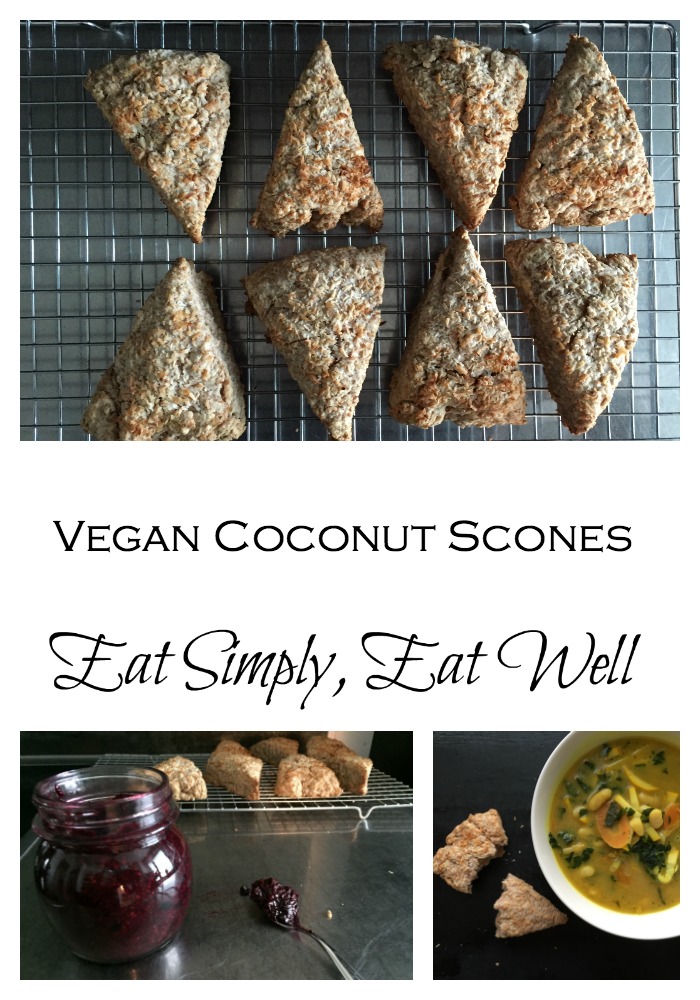
20160818_vegan-coconut-scones_pinterest

Filed Under: Appetizers, Bread, Breakfast, cake, Dairy-free, Dessert, Sides, Snack, Vegan, Vegetarian

Sweet Potato and Walnut Muffins

October 27, 2015 by aplough

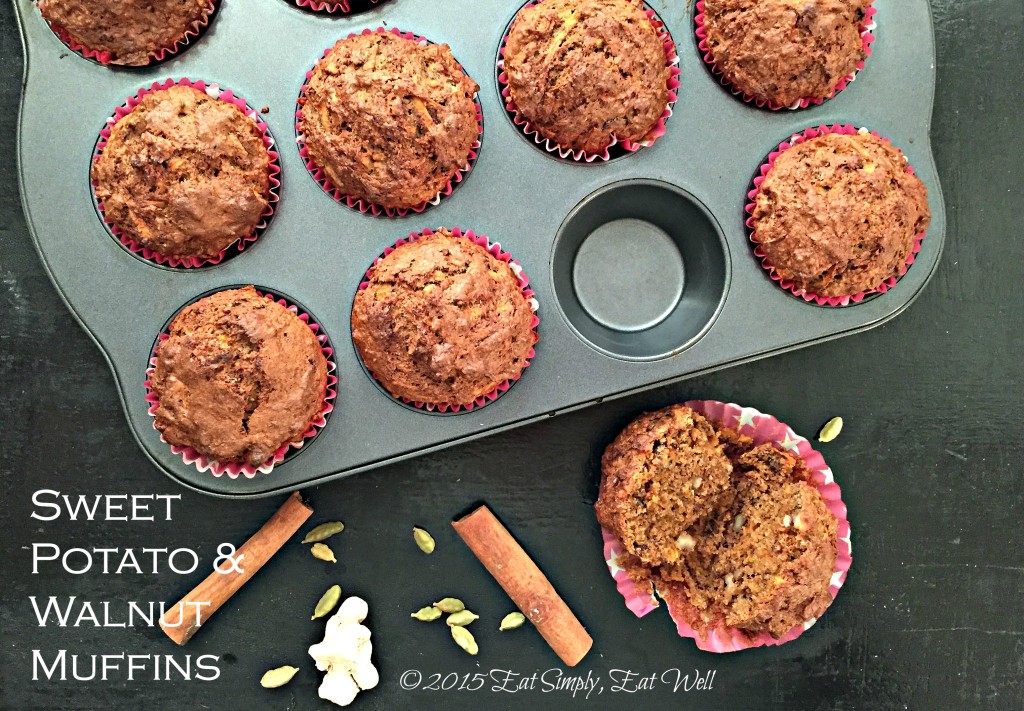
Sweet-Potato-Muffins_1_20151027

Move over, pumpkin, there is a new veggie in town, ready to land in all things sweet and savory: the Sweet Potato.

Deep orange in color, velvety soft when roasted and naturally sweet, this root vegetable pairs nicely in your quick breads and muffins to add a nutritious dose to your afternoon snack or take-away breakfast. I’ve paired the sweet potato here with applesauce, Indian sugar, whole wheat flour and walnuts for a satisfying and healthy snack that you can take with you anywhere, serve to hungry kids as an afternoon snack, or offer up to company along with a cup of coffee or tea. Fragrant with warm spices: cinnamon, cardamom, ginger and clove, this is a muffin that lets you know Fall is firmly and clearly here, right in front of you.

Pack a few of these in your bag, along with a thermos filled with your hot beverage of choice, and head outside to capture the last rays of sunshine as they beam through the colorful autumn leaves overhead, and onto the piles of fallen color crunching beneath your feet on the trails below. This is a magical time of year, right now, when the colors are at their peak and time seems suspended for just a brief, fleeting moment. Go on – make these muffins and get outside!

Sweet Potatoes are a wonder of the root vegetable world – colorful and nutritious. They have:

  • high doses of beta-carotene, which converts to vitamin A in your body – excellent source
  • very good source of vitamin C, manganese, pantothenic acid and vitamin B6
  • good source of phosphorus, potassium, vitamins B1, B2 and B3, biotin
  • good source of fiber

Eating sweet potatoes with good quality oil helps your body to absorb the vitamin A, so don’t be afraid of the olive oil in this recipe, or of good fats in general. High quality fats do the body good!

Sweet Potato and Walnut Muffins

  • 2 eggs, beaten
  • 2/3 cup/ 130 g Indian sugar or coconut sugar
  • 1/2 cup / 1 dl + 2 tablespoons extra virgin olive oil or other high quality, mild, vegetable oil
  • 1/3 cup / 3/4 dl unsweetened applesauce
  • 1/4 cup / 60 ml water
  • 1 teaspoon vanilla extract
  • 1 1/2 cups / 4 dl packed grated raw sweet potato (about half of one large sweet potato
  • 2 cups / 240 g whole wheat flour (sub in all-purpose gluten-free flour if you can’t eat gluten)
  • 1 teaspoon baking soda
  • 1/2 teaspoon baking powder
  • 1/2 teaspoon salt
  • 1 1/2 teaspoons cinnamon
  • 1/2 teaspoon ground ginger
  • 1/4 teaspoon ground cardamom
  • 1 cup walnuts, chopped

Preheat oven to 175°C/350°F.

In a medium mixing bowl, combine the eggs, sugar, oil, applesauce, water and vanilla. Whisk to combine. Add the grated sweet potato and stir to combine.

In a separate, large mixing bowl, combine the flour, baking soda, baking powder, salt and spices. Whisk to combine. Add the wet ingredients and stir until the flour is mixed in. Add the walnuts and stir to combine.

Divide the mixture evenly between 12 lined muffin cups. Bake 25-30 minutes, or until puffed, golden brown, and a toothpick or thin knife inserted into the center comes out clean.

Makes 12 muffins.

Filed Under: Bread, Muffins

Gluten-free Whole Grain Sandwich Bread

October 2, 2015 by aplough


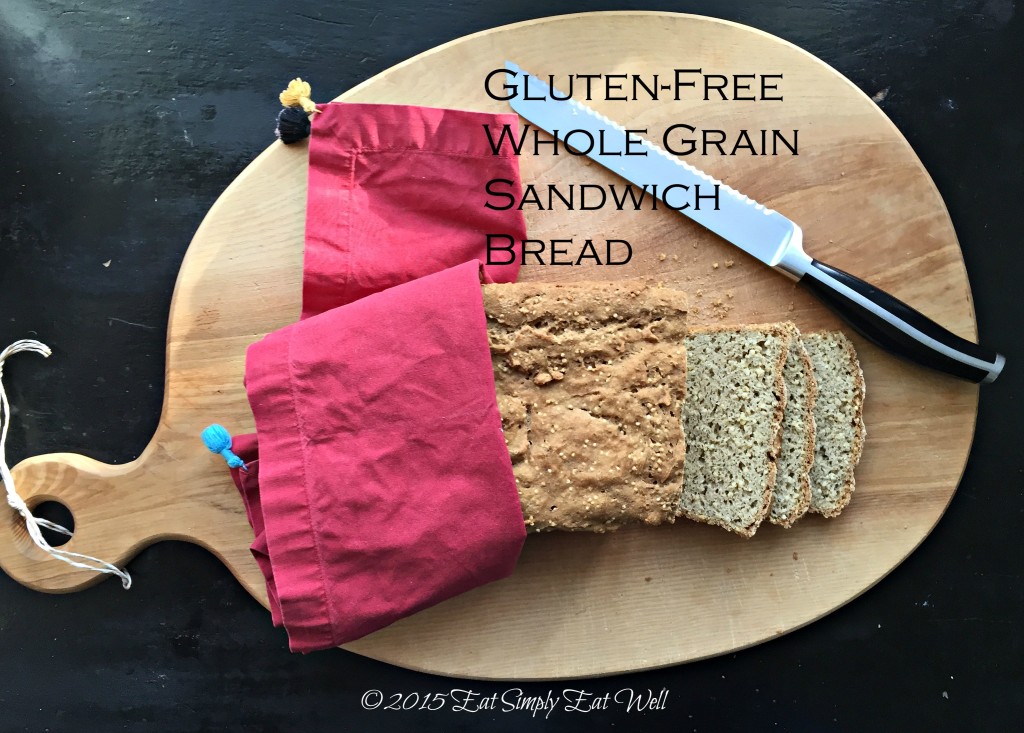
Gluten-free_sandwich_bread_4_20151002

For the last 13 days, I’ve been on a dietary experiment – a detox, if you will. I decided to eliminate all caffeine (yep, no coffee), sugar (no fruit either), gluten and dairy from my diet. Yup. No sugar, coffee, gluten or dairy for at least 2 weeks. Why in the world would I do that, you might wonder?

Well, all of the above food groups are known to either be common allergens or to cause known health issues in people, and I wanted to know what it would feel like to go without for a while. It needed to be long enough to really feel the detox, so we started with 14 days, with the idea of extending it if it felt great (it does). I’d gone off coffee (my only source of caffeine) before, so I knew what I was in for there: the first day is miserable. If you’re going to do this, start on a Saturday morning and make zero plans to see anyone, anywhere. You’ll be feeling pretty antisocial. On day two, the fog begins to clear and you’re feeling halfway functional. By day three, you’re not 100%, but your back up and rolling, and if you’re not feeling like your normal self, you can at least act like it. So if day three is a Monday, you’ll at least be able to be civil to your colleagues and loved ones. By day four, you start to feel really great. Light. Refreshed. Sleeping better than ever. Clear-headed. It’s pretty amazing. You may never want to go back to the old you.

I didn’t have any experience with getting rid of dairy, sugar and gluten, though, so I wasn’t sure how I’d react. We’ve been free of white and other refined sugars for a while now, but have used other, natural sweeteners: dates, maple syrup and honey, mainly. We also ate a lot of fruit, and on this detox program the only fruits allowed would be berries and pomegranate seeds. Whole wheat sourdough bread has long been a mainstay of our diet; that had to go too. Dairy was something I consumed every day: yogurt in the morning; cream in my coffee; milk in my latte; kefir as an afternoon snack or in a smoothie. It turns out that detox from sugar, dairy and gluten has some of the same effects as a detox from coffee does. Anytime we remove a substance from our diets that our bodies have become dependent on, we suffer withdrawal symptoms. Of the foods we removed, coffee (or caffeine) and sugar or known to feel the most difficult. But we got through it, and so can you. And really – I’m not interested in adding either sugar or coffee back in very soon, because so far, I like where things are going. Is this a forever thing? Maybe not. But it’s the way we’re cooking and eating for now.

So we were talking major lifestyle change. How do you prepare for that? Here’s the good news: protein sources, vegetables, and gluten-free whole grains were still OK, so actually, we had a lot of fun coming up with new recipes trying different types of vegetables: pumpkin, eggplant, cabbage, tomatoes, red peppers, carrots, brassicas and more – the vegetable world has such an incredible array of delicious options, we’ll never run out of ideas. We’ve also included sustainable animal protein: mainly beef, chicken and fish. We don’t actually eat very much animal protein anymore, so we leaned more towards the occasional tofu dish and then consumed a lot of different, colorful beans like black beans, chickpeas, kidney beans and lentils. And of course gorgeous whole grains: buckwheat, brown rice, whole oat groats, quinoa, and amaranth. Our main courses were really satisfying, and you’ll see some of them showing up on the blog in the coming weeks.

Breakfast posed a bit of a problem: what do you eat when you’re used to have yogurt and muesli (sweetened with maple syrup)? The answer: sugar free coconut muesli with almond milk, rice milk, oat milk or cashew milk. Smoothies with protein powders, avocado, coconut milk, berries, and nuts or seeds have been so delicious. Or, we’d have an egg scramble with vegetables and on those days, we felt like we were on vacation. I stopped missing coffee by the end of the first week, incredibly.

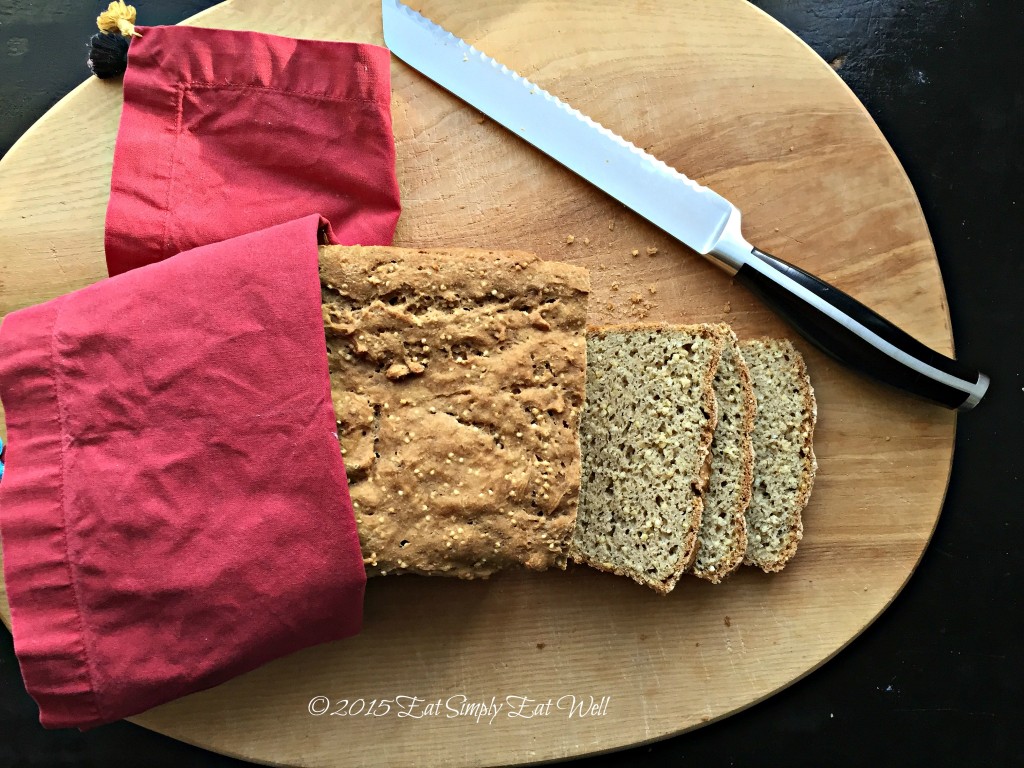
Gluten-free_sandwich_bread_3_20151002

What I missed most was fruit…and bread. Whenever I’d cook up a soup, I’d want bread to go with it. We had gluten-free crackers that I make all the time anyway, but that didn’t really fit the bill. I checked local shops for gluten-free breads, and all I could find were pre-packaged shelf varieties that were both expensive and unappealing.

But we live in age of digital information at your fingertips. I turned to one of my favorite blogs, Cannelle et Vanille, because I know all of her recipes are gluten-free. This led me to the Martha Stewart web site and a recipe for Gluten-free Sandwich Bread. Hope was on the horizon.

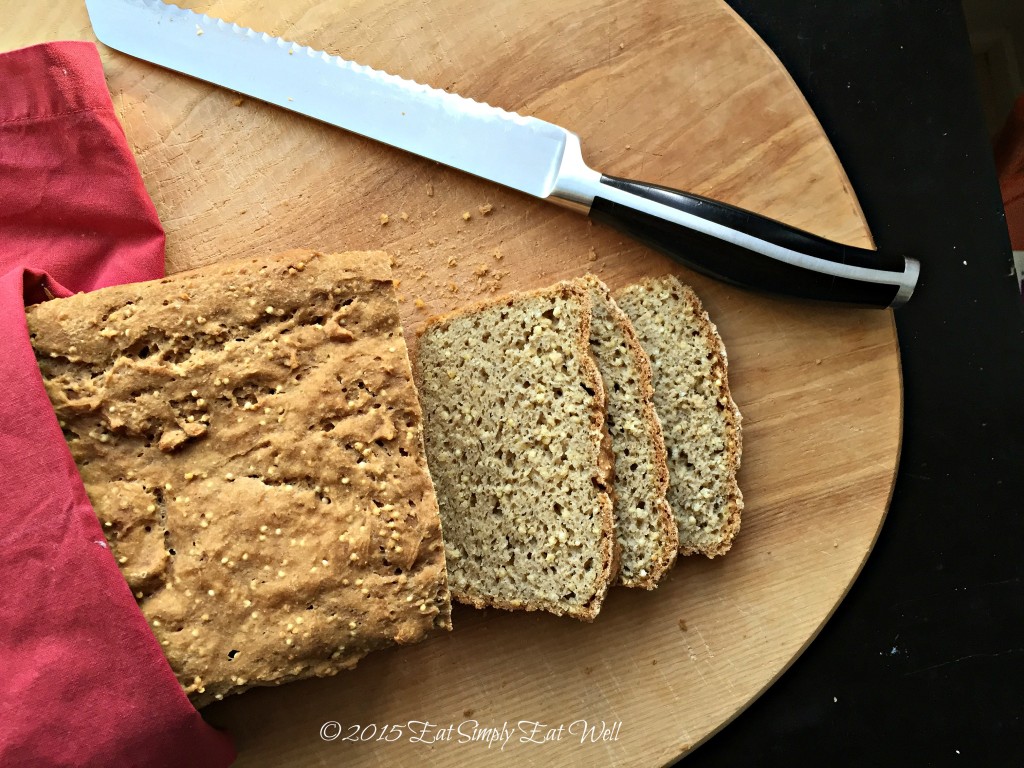
I made a few tweaks to the recipe, and the result is a bread that would make me happy whether I was allowing myself to eat gluten at the moment or not. It has the great texture you expect in a good sandwich bread, with a crunchy crust and a soft crumb, and satisfying heft. It’s great fresh or toasted, and goes with everything. I’m calling it a winner.

So if you or someone in your life can’t eat gluten, make this bread. You’ll be so glad you did.

Notes:

  • The original recipe called for tapioca flour which is hard to find in Finland, and expensive. I subbed in potato flour, but you could also use cornstarch (make sure it’s non-GMO).
  • The original recipe called for soy flour, but I’m not a big fan of using soy in everything, so I used millet flour instead. If you can’t find millet flour, you can use buckwheat flour or oat flour in it’s place
  • If you’d rather use dry yeast instead of fresh yeast, use one sachet of dry yeast, roughly 11g

With bread like this, I’m ready to continue my detox experiment for a few days longer, though next week, we’ll be adding fruit, with the exception of bananas, grapes and melons, back into our diet. Happy Days!

Gluten-free_sandwich_bread_2_20151002

Gluten-free Sandwich Bread

adapted from MarthaStewart.com

  • 1/2 cup millet
  • 1/2 cup cold water
  • 1 cup brown rice flour
  • 1/2 cup millet flour (could use buckwheat, quinoa or oat flour – or soy, if you use it)
  • 1/2 cup Teff flour
  • 1/2 cup potato flour
  • 2 1/2 teaspoons xanthum gum
  • 2 teaspoons salt
  • 25 g fresh yeast or 1 sachet dried yeast (11g)
  • 3 eggs
  • 2 tablespoons good quality vegetable oil

Preheat oven to 200°C/400°F. Grease a 1.5 liter / 8 1/2″x 4″ loaf pan and line the bottom with parchment paper

  1. Combine the millet and 1/2 cup water in a small pan. Bring to a boil; remove from heat; allow to sit for 20 minutes
  2. Combine the yeast and 1 cup warm water (45°C/115°F) in a small bowl and allow to sit for 5 minutes. In a separate bowl, beat the eggs and oil together.
  3. Combine the flours, xanthum gum and salt in a large bowl. Pour the yeast mixture and the egg mixture over the top of the flour mixtures and stir well to combine. Add the cooked millet, and continue to stir the mixture (or use your stand mixture with the paddle attachment) for an additional 3-5 minutes. The mixture will be like a thick, smooth muffin or cake batter. Use a spatula to scrape the mixture into your prepared loaf pan and smooth the top. Cover with a clean dish cloth and allow the bread to rise in a draft-free place for roughly 1 hour – until the dough has risen slightly above the top of the pan.
  4. Place the bread into the hot oven, and immediately lower the temperature to 175°C/350°F. Bake for one hour, or until the bread is golden brown and makes a hollow sound when you tap on the top. Remove the bread from the pan, loosening the sides with a knife if necessary. Cool completely on a wire rack.

Makes 1 loaf.


Filed Under: Bread, Gluten-free

  • 1
  • 2
  • Next Page »

Find me on social media

  • Bloglovin
  • Facebook
  • Instagram
  • Pinterest
  • Twitter

Looking for something?

Eat Simply, Eat Well 's gallery on Punk Domestics
  • Bloglovin
  • Facebook
  • Instagram
  • Pinterest
  • Twitter

Copyright © 2025 · Foodie Pro Theme by Shay Bocks · Built on the Genesis Framework · Powered by WordPress