Eat Simply, Eat Well

Healthy recipes & tips to help you live the good life. by Ann Plough

Make it Yourself: Almond Milk

September 23, 2015 by aplough

Almond_Milk_20150923

If you are trying to avoid dairy, or if you are on a plant-based diet, one of the main ingredients in a lot of the recipes you’ll find is nut milk – in particular, almond milk.

Nut milk has the creamy white color we associate with dairy milk: cow or goat products, and much of the same creaminess. It is mild in flavor and works well in nearly any recipe that calls for dairy milk. For savory baked dishes such as quiches, tarts, pies and casseroles that call for some kind of milk, I prefer to use oat milk. I like the way it thickens a little when heated and the texture resembles that of cow’s milk – particularly in the béchamel I use in my lasagna. However, if you prefer, nut milk works here, too.

But when it comes to sweet baked goods, smoothies, or warm drinks made with milk like cocoa or chai tea, I prefer to use nut milk, and it’s nearly always almond milk.

You can purchase your own almond milk in the non-dairy refrigerated section of your grocery store next to soy and rice milks. The only challenge here is avoiding the thickeners and fillers these milks often contain in order to make them shelf stable (more on this here).

Almond milk is fairly expensive to buy: at my local store it runs around €3.90 per liter and isn’t organic, so making it yourself is a good way to get a great product. Organic almonds is around €25 per kilogram (around €11.50 per pound) in Finland (prices may be better elsewhere), so this means you can make my own organic almond milk for roughly the same price as you can buy the preservative-loaded commercial almond milk, and even less if you don’t buy organic almonds. Many people prefer organic almonds, but the choice is up to you.

All you really need in order to make almond milk are almonds and clean, pure water. I sometimes add a pinch of sea salt to add minerals into the milk, but this is optional. For those of you who are used to the sweetness of cow’s milk or commercial almond milk, you can achieve the same flavor by adding a date or two.

Almond milk is a healthy alternative for those avoiding dairy and soy.

One cup unsweetened almond milk contains:

  • 30-40 calories
  • 1 g fiber
  • 1 g protein
  • 2.5 g fat
  • good source of manganese (for strong teeth and bones), selenium (supports immune system) and vitamin E (helps fight free radicals), vitamin B2 (helps produce red blood cells)
  • free of cholesterol and saturated fats

Sources: fitday.com and livescience.com.

While I highlight almonds in this recipe, nearly any nut or seed can be made into milk using the same method. You can always add salt and sweetener to your taste (I prefer dates, but pure maple syrup is also good). The flavor is milk and sweet with a nice, light almond flavor – delicious!
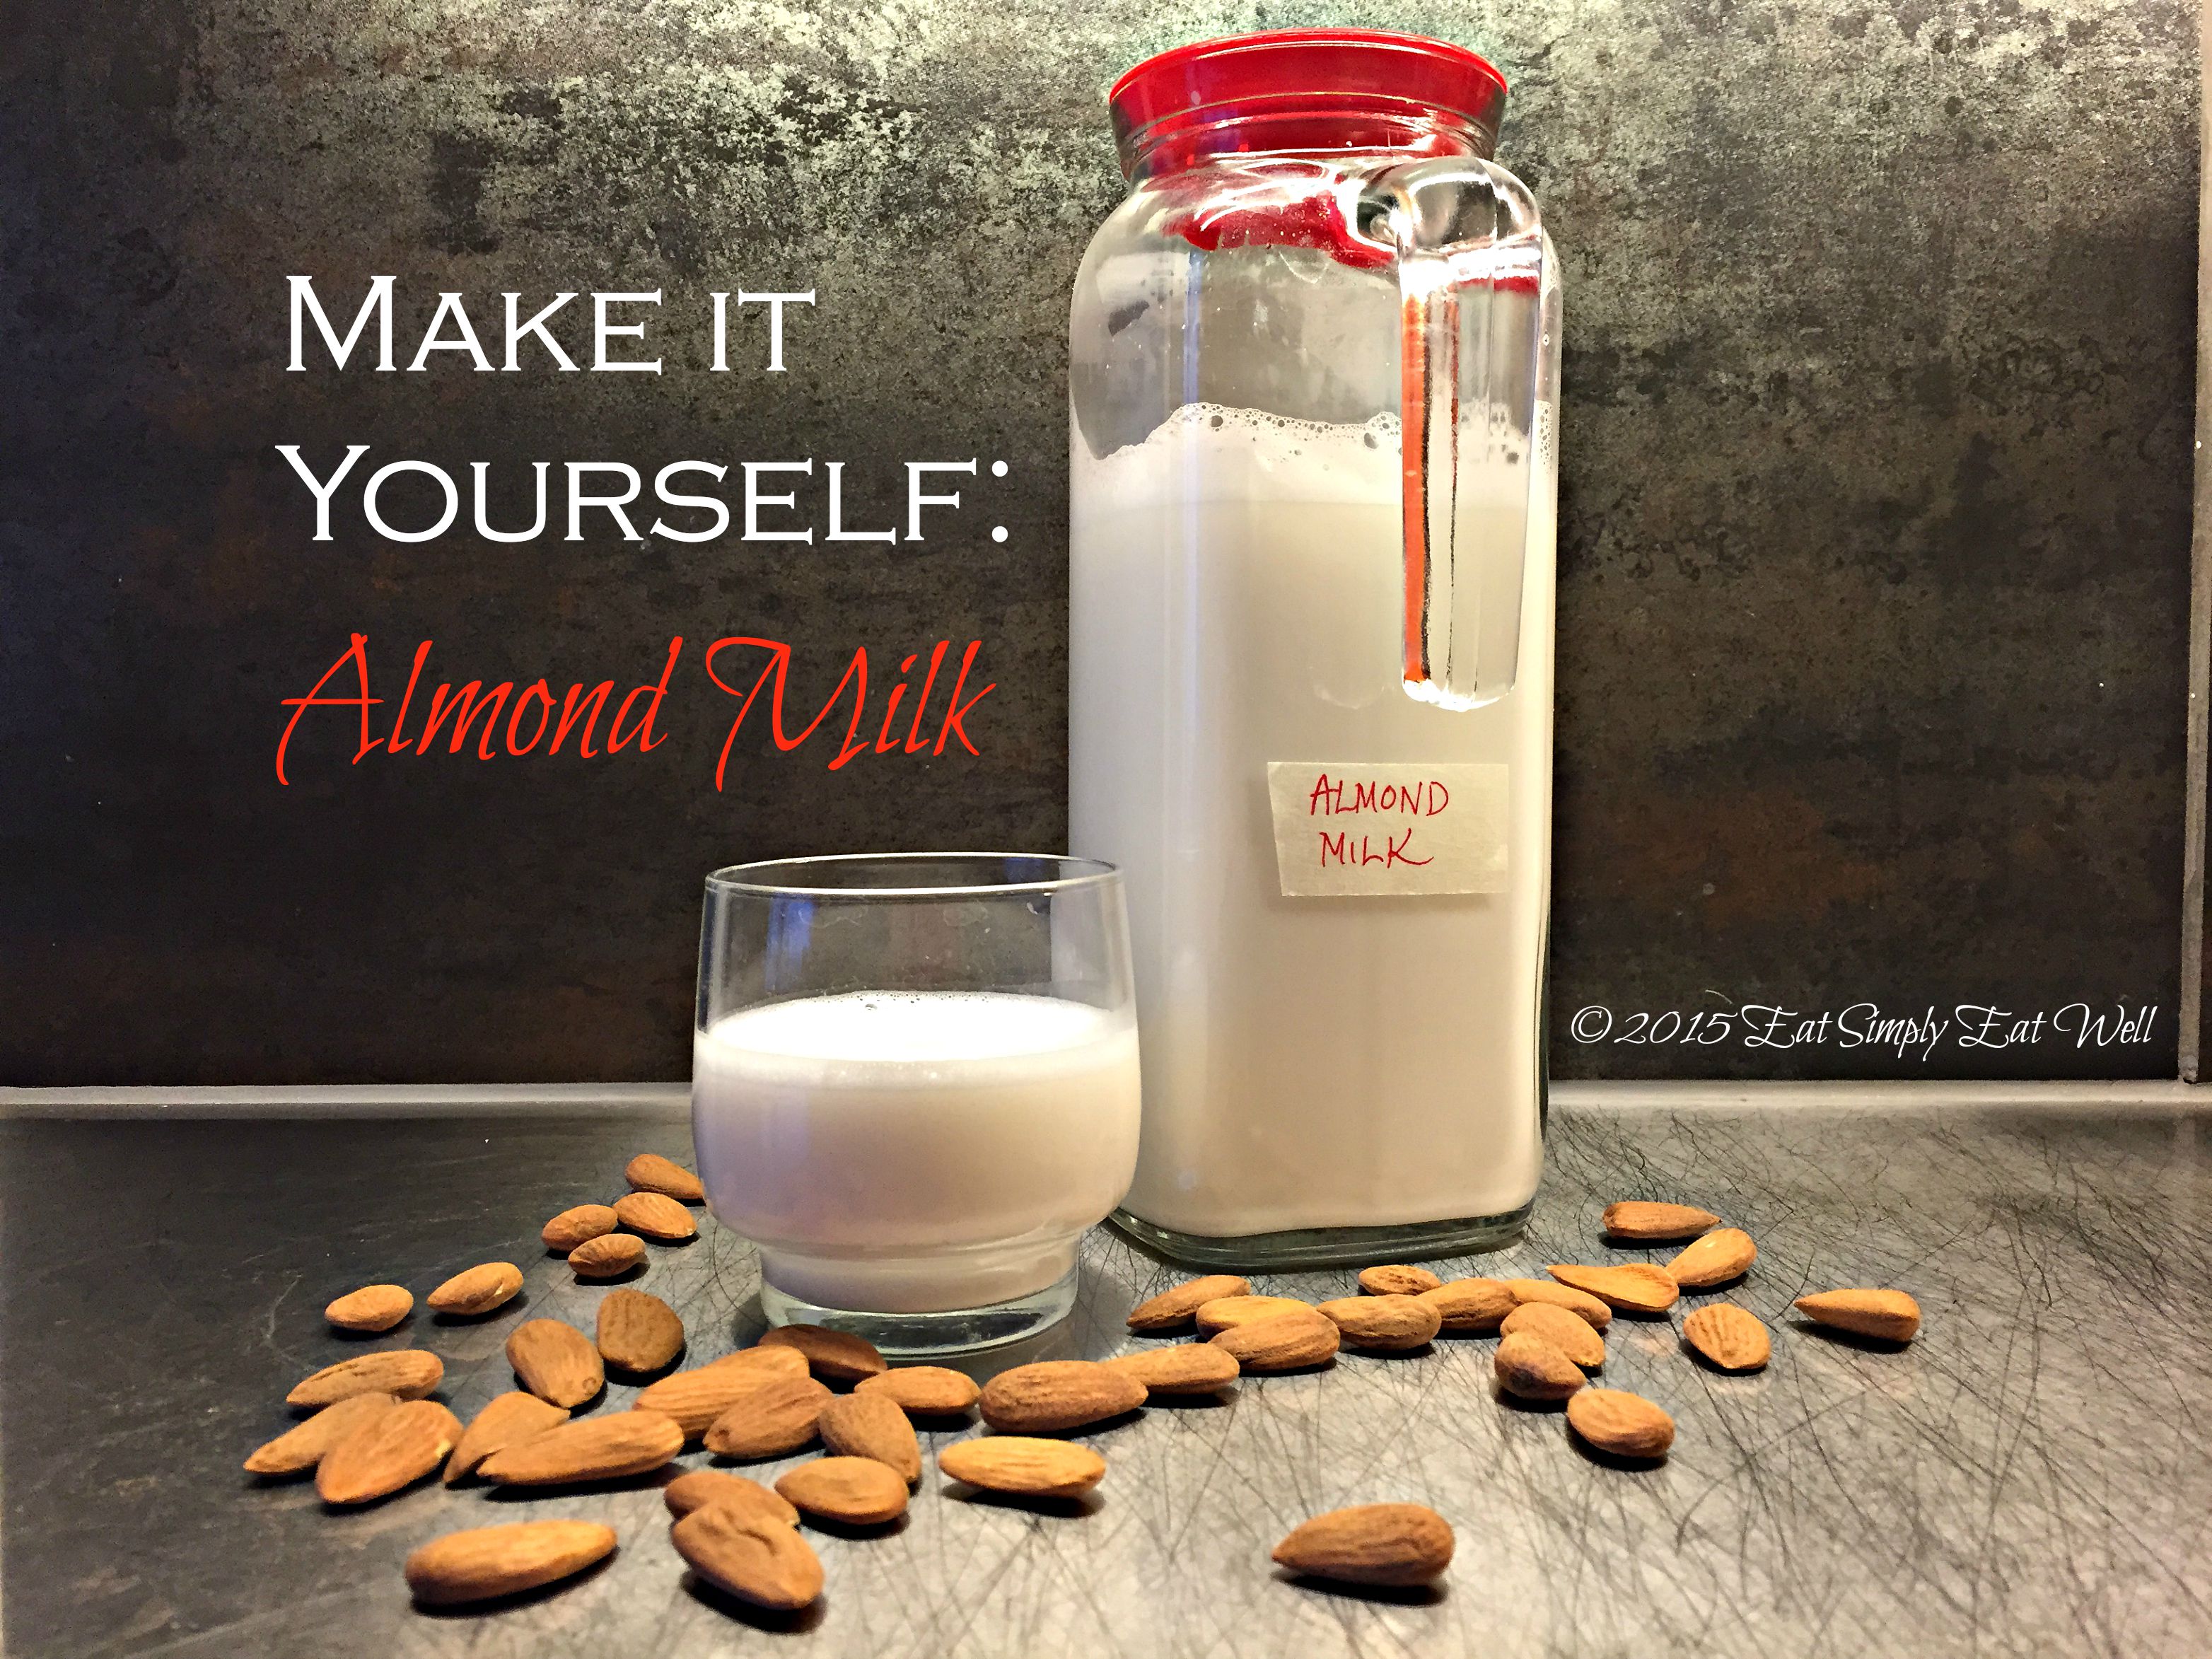
Almond milk

  • 1 cup / 2.5 dl / 130g raw almonds + 2 cups cold, pure water
  • 1 quart / 4 cups / 1 liter pure, cold water
  • pinch of sea salt, optional
  • 1-2 fresh dates, optional

Soak the almonds in 2 cups of water for at least 4 hours, preferably overnight. Drain and rinse the almonds and pour them into a blender. Add the fresh water, and salt and dates if using. Process on high speed for one minute. Strain through a nut milk bag (preferred for the smoothest texture), an old, clean t-shirt (seriously a very good option), or a fine mesh strainer (what I usually do).

If using a milk bag or t-shirt, you’ll need to squeeze it really well, almost like you are milking it, in order to extract all of the almond milk.

If you are using a fine-mesh strainer, you can press on the solids with the back of a spoon or rubber spatula. If you do this, you will get some almond meat particles in your milk. My suggestion is to rinse the strainer, then strain the milk one more time.

Store in a glass jar in the refrigerator. Almond milk should be used in 2-3 days as it is a very fresh product.

Makes 1 quart/4 cups/1 liter.

Have you made your own almond milk or other non-dairy milks? What is your experience? We’d love to hear more from you in the comments below.

Filed Under: Dairy-free, Drinkable, Gluten-free, Make it yourself, Vegan

Red Cabbage Salad with Fennel & Mustard Dressing

September 22, 2015 by aplough

Red_Cabbage_Salad_2_20150922

As the lettuce in our gardens fades away under the cooling temperatures and the onslaught of Autumn rains, the time for light, fresh, cooling Summer salads is behind us, and within the dense heads of colorful cabbage that fill the produce aisles and market stalls lie the heartier salads we get to enjoy all Winter long.

Cabbage is a mainstay of the Fall and Winter kitchens. Readily available starting in early Autumn and on through mid-Spring, this versatile vegetable can hold up against sturdy dressings that would easily wilt one of its lighter lettuce counterparts. I like to let a cabbage salad sit at room temperature and soak up its dressing for at least 10 minutes before serving, and find that salads like the one I’ll share with you today simply get better the longer you leave them. Cabbage salad is really good the first day, exceptional the next day, and even 2 days later, maintains its satisfying crunch and vibrant color. A winner, to be sure.

The inspiration for this salad comes from the wonderful Wild Foods chef Sami Tallberg. I attended a workshop he gave this Spring, where he served wedges of red cabbage that had been rubbed with a fennel-mustard marinade and left to soak while he prepared a few other dishes. The beautiful purple and white wedges were then served simply on wooden trays, from which we consumed them, with great delight, with our fingers.

The flavor combination of mustard seed and fennel was so delicious I decided to create a dressing from it to make one of the first cabbage salads of this season.  The seeds are toasted in olive oil, and then added to a light dressing with lemon juice, red onion and maple syrup. The result is a hearty, crunchy, satisfying salad that goes really well alongside pilaf and roasted vegetables, but could easily accompany a pan-fried white fish filet or a slow-cooked roast. It’s really versatile.

I’ve even eaten a huge bowl of this for lunch – add a few slices of good sourdough and it’s all you’ll need to carry you through your afternoon with high energy. 

Red Cabbage is a superfood, packed with all kinds of powerful components. It:

  • high levels of red pigment polyphenols (anthocyanin polyphenols) which contain both antioxidant nutrients and anti-inflammatory nutrients – 30 mg per half cup /1 dl.
  • helps prevent a variety of cancers including bladder cancer, breast cancer, colon cancer and prostate cancer
  • Helps lower cholesterol by binding with the bile acid (formed in liver after fatty foods are consumed) in the digestive tract, which causes the liver to draw on existing bile acids in your cholesterol thereby lowering it. Cool, hey?
  • Helps heal digestive tract, including stomach ulcers
  • Excellent source of vitamin K, vitamin B6 and vitamin C (all cabbages contain vitamin C, but red cabbage 6-8 times more vitamin C than red cabbage does)
  • very good source of manganese, fiber, potassium, vitamin B1, folate and copper
  • low calorie: 44 kcal per 1 cup/150 g

Source: whfoods.com

Red_Cabbage_20150922

A few notes on selecting and storing cabbage:

  • Look for round, firm heads of cabbage that are not wilting or yellowing at the edges – these signs indicate an old or poorly stored cabbage and a loss of nutrients, especially vitamin C.
  • Do not buy cut or pre-shredded cabbage as it quickly loses vitamin C content once cut.
  • If you don’t use an entire cabbage after you first cut into it, store it wrapped in a clean plastic bag in your refrigerator and use within a few days. Uncut cabbages last 1-2 weeks in the refrigerator.
  • There are different varieties of red cabbage available. For this recipe I used pointed cabbage (suippokaali) as I like that its leaves are light and crunchy all the way through with no hard center “rib”. You can use any kind of red cabbage for this recipe (or even green if that’s what you have – Savoy cabbage would be delicious here too). If the ribs are really tough, I recommend folding each leaf in half and cutting away the rib.

Red_Cabbage_Salad_20150922

Red Cabbages with Fennel Mustard Dressing

  • 1 red pointed cabbage or 1 small red cabbage, finely shredded
  • 1 small head of broccoli, cut into small pieces
  • 2 medium carrots, peeled and grated
  • 1/2 red onion, minced
  • juice of one organic lemon
  • 1 tablespoon maple syrup
  • 4 tablespoons olive oil
  • 2 teaspoons fennel seeds
  • 2 teaspoons mustard seeds
  • 1 teaspoon sea salt
  • 1/2 teaspoon freshly ground black pepper
  • 4 tablespoons pumpkin seeds, toasted

Step 1: 

Combine diced red onion and lemon juice in a small bowl.

Heat olive oil in a small pan over medium heat. Add fennel and mustard seeds, and cook until they turn golden brown and the mustard begins to pop. Remove from heat.

Step 2:

Combine cabbage, broccoli and carrots in a large mixing bowl and mix the vegetables together with your hands to combine well.

Pour the oil and seeds in to the bowl with the onion. Add salt, pepper and maple syrup and whisk with a fork to combine. Pour the oil mixture over the cabbage mixture and mix thoroughly,

Allow the salad to marinate in the dressing for at least 10 minutes (can be made up to one day ahead). Just before serving, add the toasted pumpkin seeds and whisk well to combine.

Serves 6-8.

Looking for other recipes like this one? Try these:

  • Celeriac, Cabbage & Carrot Coleslaw
  • Pear, Purple Cauliflower, Walnut & Savoy Cabbage Salad
  • Brussels Sprouts Avocado Salad

What are you making with cabbage this season? Did you like this recipe? Let us know in the comments below. And don’t forget to subscribe to the newsletter to make sure you never miss a post!

Filed Under: Salad, Sides, Vegan, Vegetarian

Buckwheat Kefir Pancakes with Lingonberry Maple Syrup & Pears

September 18, 2015 by aplough

Buckwheat_Kefir_Pancakes_c_20150918

Here is something we know to be true: rainy weekend mornings and a big pile of pancakes go very well together. You wake up a bit past your normal weekday hour, roll out of bed, check out the window and see endless, dripping gray skies, feeling thankful that it’s Saturday (or Sunday) and maybe, just maybe, you don’t actually need to go anywhere…

The pancakes of my childhood were made with either a pancake mix or white flour mixture, cooked up on a long hot griddle set over the stove top, and served with whatever kind of maple syrup we had on hand: occasionally genuine maple syrup and more often Aunt Jemima’s imitation maple syrup or it’s equivalent. Sometimes there would be fried eggs along side, and bacon…a classic American breakfast that will be familiar to many of you who grew up there, and those of you who have visited.

These pancakes offer up a healthier option to the great American breakfast. First, no bacon (sorry! but you won’t miss it.) No fried eggs either – those are in the pancakes rather than alongside them, so you’ll still get the protein and Omega 3s. What makes these pancakes special are the buckwheat flour and kefir used to make them. (Note: if you don’t have kefir, use a plain yogurt instead; see notes below for more details). The combination makes for a sweet, but tangy, slightly nutty flavor that pairs beautifully with the Lingonberry Maple Syrup in the recipe below, but I also used the leftover pancakes a couple of days later, reheated them in the oven, and went the savory route by topping them with hummus (this or that)and serving sautéed zucchini and kale on the side, and that was delicious too. Let your imagination go crazy here!

The amazing buckwheat is a must-try. It is:

  • gluten-free! Despite the wheat in it’s name, buckwheat is actually a seed and contains no gluten at all.
  • rich in flavonoids, a phytonutrient that protects against disease
  • increases blood sugar control and lowers risk of diabetes
  • good for your cardiovascular health, particularly in preventing heart disease in post-menopausal women
  • high in fiber (4.5 g per cup of buckwheat), which helps prevent gallstones and protects against breast cancer
  • very good source of manganese
  • good source of copper, dietary fiber, magnesium and phosphorus
  • full of high quality protein containing all eight of the essential amino acids including lysine

Source: whfoods.com

The best part about these pancakes is that they are actually really quick to make. So much so, that even though they are perfect for  the weekend, why not make a big pile on a weekday morning as well? Get your bowl, pan and whisk out, and make these beauties first chance you get, no matter what day of the week it is. You’ll be smiling until noon.

Notes:

  • No lingonberries? No problem. Sub in cranberries, blueberries, blackberries, raspberries – any of these would make a find substitute.
  • If you don’t have kefir, use either plain yogurt or buttermilk – it’ll work like a charm
  • If you don’t have buckwheat flour and gluten isn’t a concern, you could use whole wheat flour or whole spelt flour instead. If you’d prefer to keep these gluten free, oat flour would work as a substitute also. You’ll still be getting whole grains, so many of the health benefits listed above still apply.
  • These reheat really well in the toaster (for a few) or the oven (for a lot) – so you can always make them in advance if you want to serve a crowd. Same goes for the syrup.


Buckwheat_Kefir_Pancakes_a_20150918

Buckwheat Kefir Pancakes with Lingonberry Maple Syrup & Pears

  • 2 eggs
  • 3/4 cup / 2 dl kefir
  • 1 cup/ 2.5 dl /140 g buckwheat flour
  • 2 tablespoons pure Maple syrup
  • 1/2 teaspoon vanilla extract
  • 1/4 teaspoon sea salt
  • 1 teaspoon baking soda + 2 teaspoons lukewarm water combined in a small bowl
  • 2- 3 tablespoons butter, ghee or coconut oil for frying

Preheat the oven to 50°C/125°F and place a tray or large plate inside.

In a medium-sized mixing bowl, beat the eggs and then whisk in the kefir, buckwheat flour, maple syrup, vanilla extract and salt until smooth. Add the baking soda – water mixture all at once, and whisk quickly to mix it into the batter. Allow the batter to bubble and rise for 5 minutes.

Set a large frying pan (I prefer cast iron) or griddle over medium heat. Let it sit for a few minutes to get hot, and then lightly brush the surface of the pan with butter, ghee or coconut oil. Pour the batter, 2 tablespoons at a time, onto the pan. Cook until the edges are slightly firm and small bubbles form then pop on the top of the pancake. Flip; fry briefly to brown the bottoms, and then transfer to the warm oven. Repeat until all the batter is used up.

Makes roughly 25 small pancakes.


Lingonberry Maple Syrup

  • 1 cup/2.5 dl/250g fresh or frozen lingonberries (or other berries; see notes, above)
  • 1/4 cup pure maple syrup

Combine the lingonberries and maple syrup in a small pot over medium-heat. Bring the mixture to a boil; reduce heat, and simmer for 5 minutes. Remove from heat and serve.

To serve:

  • Buckwheat Pancakes
  • Lingonberry Maple Syrup
  • Plain yogurt or Greek yogurt
  • 2 Pears, cored & diced

Serves 4-6.

Filed Under: Breakfast, Gluten-free, Main Course

  • « Previous Page
  • 1
  • …
  • 8
  • 9
  • 10
  • 11
  • 12
  • …
  • 79
  • Next Page »

Find me on social media

  • Bloglovin
  • Facebook
  • Instagram
  • Pinterest
  • Twitter

Looking for something?

Eat Simply, Eat Well 's gallery on Punk Domestics
  • Bloglovin
  • Facebook
  • Instagram
  • Pinterest
  • Twitter

Copyright © 2025 · Foodie Pro Theme by Shay Bocks · Built on the Genesis Framework · Powered by WordPress