Eat Simply, Eat Well

Healthy recipes & tips to help you live the good life. by Ann Plough

Carrot Mint Salad

September 16, 2015 by aplough

Carrot_Mint_Salad_20150915

Sometimes the best foods are the simplest of all.

Carrot Mint Salad? Seriously? Oh, yes.

Besides the fact that this is one of the most delicious salads you can imagine, chances are good you probably have the six ingredients you need to make it in your house right now. The first time I made this, it was because the ingredients in it were pretty much all I had available – a serious case of empty fridge and cupboards. Now, I make it because it’s so delicious.

Over the weekend, because it’s harvest time, I suddenly found myself in possession of multiple kilos of carrots. This is a good problem to have: an abundance of any one food means you have a lot to play with, and this salad is a good place to begin.

It’s possible you’ve seen and maybe even tasted those grated carrot salads served up in salad bars all over the world. You know the ones I mean: they usually have canned pineapple chunks in them, and sometimes bits of cottage cheese mixed throughout. Maybe you even like them – if they are fresh, they aren’t too bad – at least you’re getting your fruits and veggies on your plate if the offer for those food groups is otherwise limited.

But let’s take that idea and elevate it just a little.

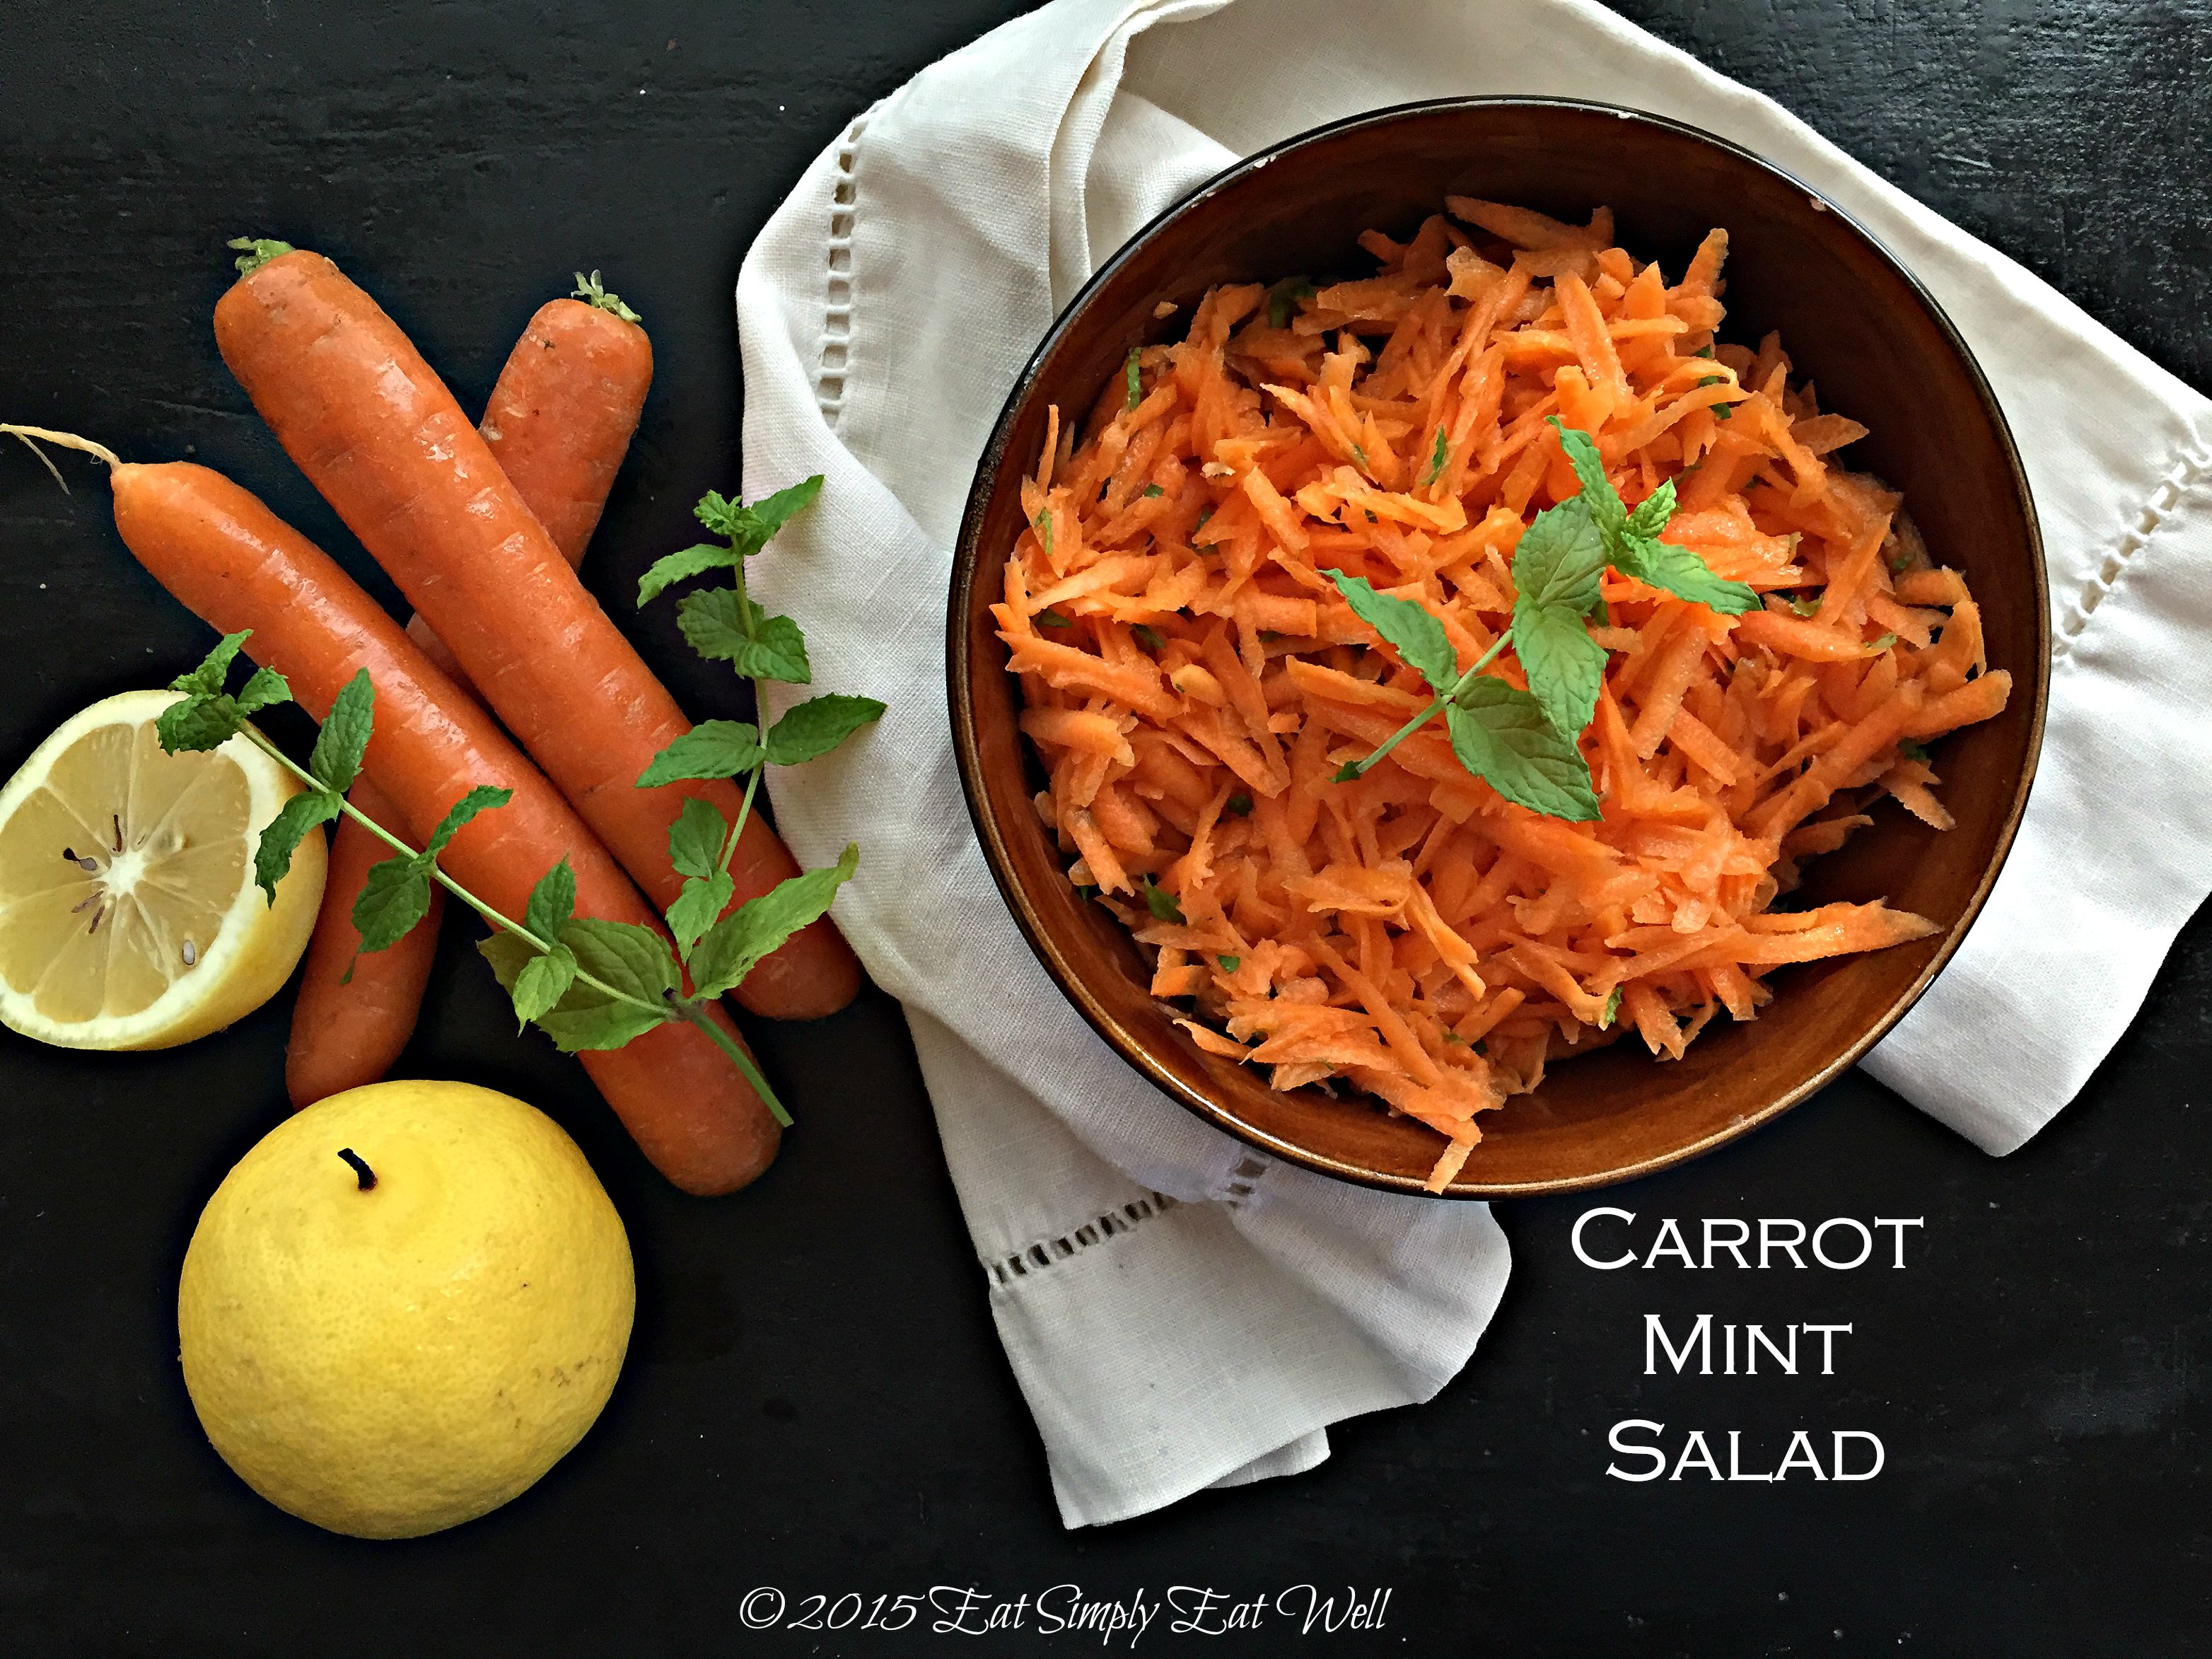
This salad takes carrots – freshly harvested if you can get them, but if it’s Winter, use whatever carrots are available. Add fresh lemon juice and fresh mint, a little bit of maple syrup, olive oil, and salt, let the whole thing sit for 10 minutes or so, and you have a light, refreshing, simple salad that is the perfect counterpoint to whatever savory dish you have on the menu. Recently, I’ve served it with Roasted Tomato, Goat Cheese and Caramelized Onion Tart and with Hasselback Potatoes. It settles in nicely alongside of casserole, roasted celeriac, or even as a precursor to risotto. It refrigerates well and travels well too – so it’s a prime candidate for picnics, hikes, work lunch, kid’s lunch – wherever and whenever you’d like to get in one more serving of delicious vegetable.

Carrots are easily available and so good for you. They:

  • are packed full of beta carotene
  • help with vision: day & especially night
  • are the #1 vegetable for reducing the risk of cardiovascular disease (10-year Netherlands study)
  • are an excellent source of vitamin A, which promotes growth, the immune system, reproduction and vision
  • are a very good source of biotin, vitamin K, fiber, molybdenum, potassium, vitamin B6 and vitamin C

Source: whfoods.com

Let’s eat up! This colorful vegetable can be found in nearly all colors of the rainbow, including purple, red, white, yellow and the Dutch-bred orange, so you can make your salad in a variety of beautiful shades, if you wish. But, the ubiquitous orange carrot is what I had on hand, it’s bright color added a ray of sunshine to an otherwise gray and rainy evening.
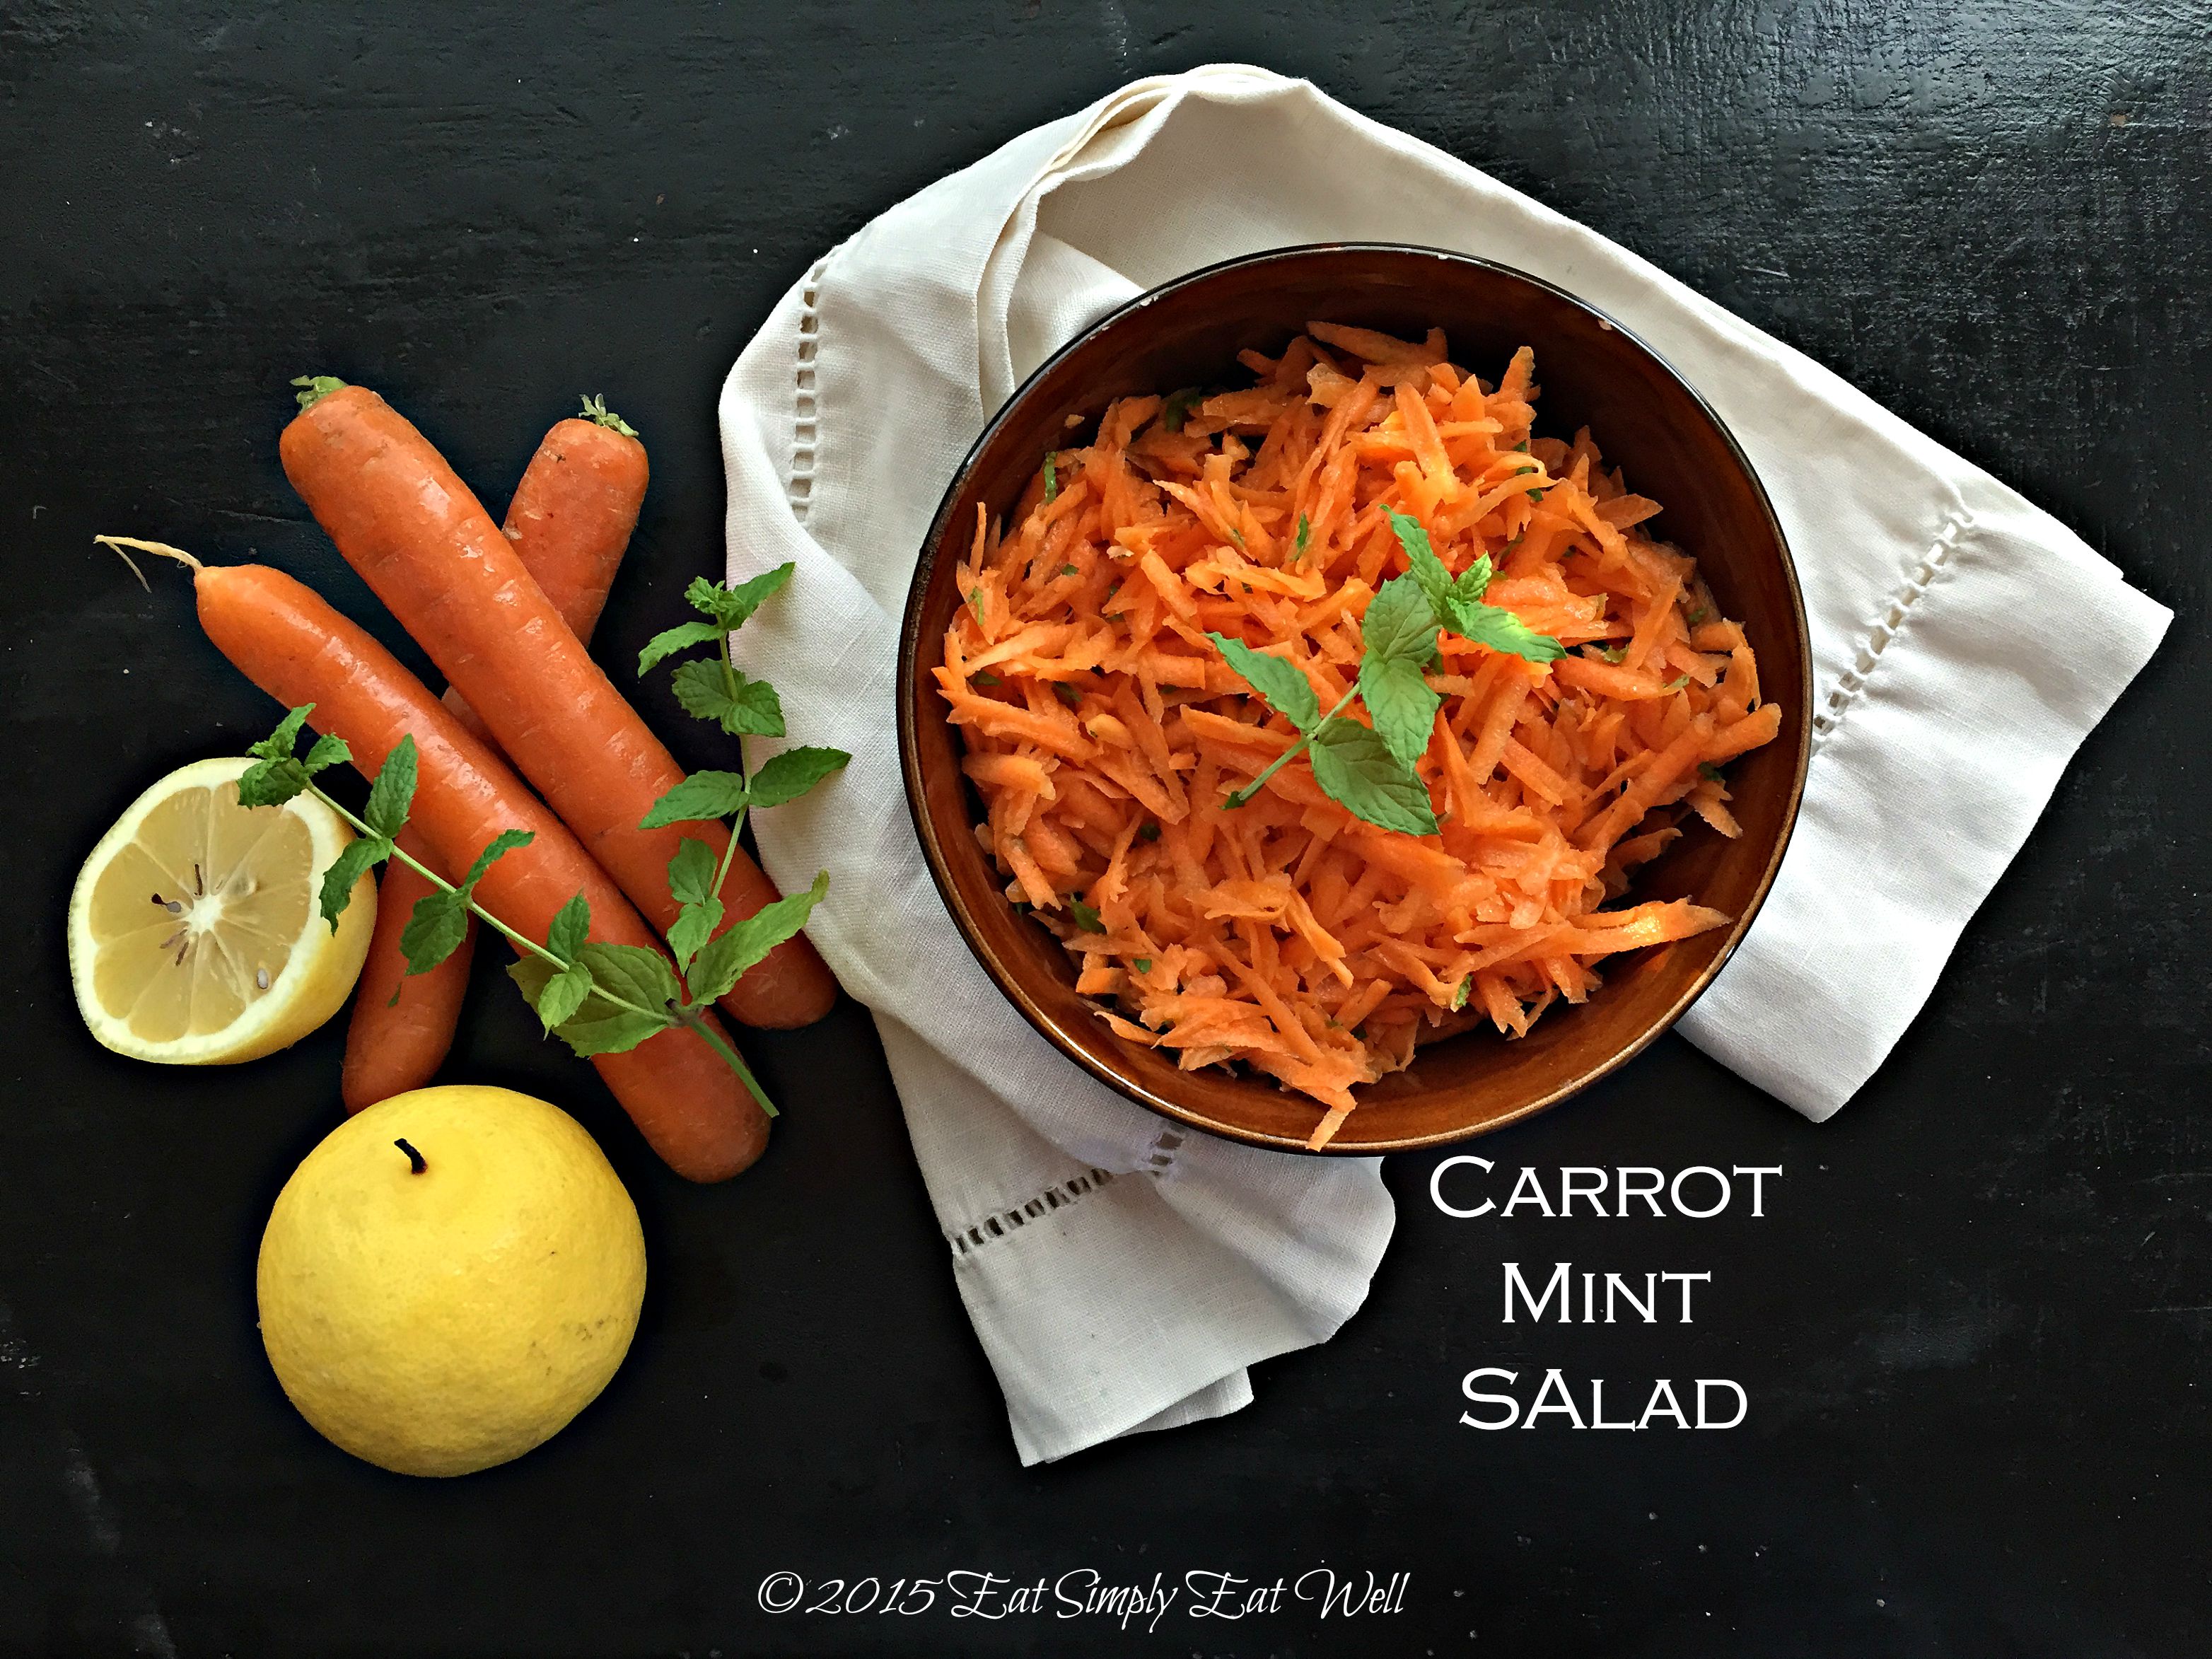
Carrot_Mint_Salad_b_20150915

Carrot Mint Salad

  • 6 medium carrots, peeled and grated
  • fresh lemon juice from 1/2 organic lemon
  • 2-3 tablespoons finely chopped fresh mint leaves
  • 2 teaspoons extra virgin olive oil
  • 1 teaspoon pure maple syrup
  • pinch salt (1/8 teaspoon)

Place the grated carrots in a medium-sized mixing bowl, squeeze the lemon juice, and stir well to coat the carrot pieces well with lemon juice. add the remaining ingredients and stir well to combine. All the mixture to sit 10 minutes to all the flavors to combine before serving. Stir well; serve.

Serves 4-6 as a side dish.

Like it? I’d love to hear from you in the comments below? What else are you making with your carrots?

Filed Under: Salad, Sides, Vegan, Vegetarian

Make it yourself: Oat Milk

September 15, 2015 by aplough

Oat_Milk_20140914

There are certain recipes that I make nearly every week. I make them so often that I hardly even think about it anymore: the whole process goes on auto-pilot to the point where these staple items become something that just fit into everything else I have going on, and are as normal to include in my day as brushing my teeth and exercising. These include Granola, sourdough bread, and various kinds of non-dairy milk, including Oat Milk.

Oat Milk is definitely a staple item. Some of you may have recently given up dairy and are looking for ways to make your own version of the non-dairy milk you can buy in stores, while some of you may still consume dairy milk and are looking for ways to consume a little less, have a non-dairy alternative for a friend or family member, or simply interested in trying something new. Whatever the case, oat milk is a great non-dairy milk to begin with.

There are so many benefits to making your own:

  • Low cost. Unlike nut and seed milks which can be slightly more expensive, oat milk, because its main ingredient is oats, costs literally pennies to make.
  • You know exactly what’s in it. The vast majority of store-bought milks contain additives and stabilizers in order to extend the shelf life and to maintain the consistency of the milk. Many of these, such as carrageenan, have been under scrutiny for their links to cancer and inflammation in the body (see this link for more information). When you make your own, you can have as few as two ingredients: oats and water. I usually add a date or two for sweetness and a pinch of sea salt for added mineral content, but that’s up to you and not essential.
  • It’s simple. All you need to do is soak oats in water, preferably overnight, rinse, blend, strain, drink.
  • It’s fast. If you are in a hurry and need oat milk for a recipe right now – you can literally make it in 20 minutes starting with boiling water, letting it soak 20 minutes, and then following the instructions on rinsing and straining before proceeding. I like to drink the milk “raw” so I soak them at least 4 hours but again, if you need oat milk immediately, the boiling water method is still a good option.

Note: Some of you may remember that I’ve posted on Oat Milk once before. After making it over and over again, decided to post this updated version because it’s evolved and improved along the way. I hope you enjoy!

Oat Milk

  • 1 cup / 2.5 dl oatmeal, preferably large flakes or whole oat groats
  • 2 cups water to soak
  • 4 cups cool water for blending (preferably bottled or Spring water, especially if your tap water contains chlorine)
  • 1-2 fresh dates, pits removed, optional
  • pinch of sea salt, optional

Pour the oats into a large bowl or container. Pour 2 cups of cold water over the top, cover, and allow to soak at least 4 hours or overnight.

When you are ready to make the oat milk, pour the soaked oats through a fine mesh strainer to drain away the soaking water. Rinse the oats with cold water in order to remove any “slime” that has developed. Transfer the strained oats to a blender. Pour 4 cups / 1 liter of cool water over the top. Add the dates and salt. Blend on high for 1 minute.

Pour the oat mixture through a fine mesh sieve into a bowl. Use immediately, or store in the refrigerator for up to 3 days. Stir well before pouring as it tends to settle.

Makes approximately 4 cups / 1 liter.

Did you like this post? Do you make your own oat milk or other milks? How are you using them? We’d love to hear from you in the comments below. 


Filed Under: Drinkable, Make it yourself, Vegan

Roasted Tomato, Goat Cheese and Caramelized Onion Tart

September 14, 2015 by aplough


RoastedTomato_GoatCheese_CaramelizedOnion_a_20150914We’re having one last hurrah with Summer tomatoes around here. One last round of fresh, local tomatoes before they disappear behind the winds and beneath the leaves of Autumn leaving nothing but imported tomatoes left on the store shelves.

In general, there’s a settling-in feeling to this time of year: school has begun, people are back to work, leaves are beginning to change color and the temperature is dropping as we move into a beautiful and peaceful season – my favorite time of year. It’s a time when I look forward to warm comfort food to ward off the chill, which means we typically have some kind of savory pie or tart once a week during the Fall season. Between mushroom foraging treks and busy weekdays and the satisfying ease of packing everything for dinner into a single dish, savory tarts and pies are a wonderful way to make a simple, satisfying dinner, and typically reheat perfectly.

We had a friend coming over for dinner and a pile of tomatoes begging to be used before they slumped off into nothing – they were so perfectly ripe they were almost bursting – and I had been dreaming of tomato tart. Tasting Table had posted a recipe for Cilantro-Lime Sofrito that I couldn’t get out of my head. I started to make it, and then somehow decided that if I left out the cilantro and lime, I could use it to amp up my tomato tart. But then I wanted a little something else, still, to tie everything together, and goat cheese and thyme seemed like the logical additions. So suddenly there we were, with this wonderful pie, and the house smelling of sweet, sweet, caramelized onions. I will still get back to making Annie Pettry‘s version – it sounds to good not to. But in the meantime, I’m eating this.

RoastedTomato_GoatCheese_CaramelizedOnion_d_20150914

Caramelizing onions is like a little act of magic: firm yellow onions with a flavor and smell so piercing it’ll literally make you cry – transform, with a little heat and a little more time, into an unctuous, meltingly sweet almost jam-like substance that has the essence of the fresh onion’s sharpness, but is so much more sophisticated and satisfying, that you may want to double the batch so you can use it elsewhere (I wish I’d had that foresight earlier).  Low and slow is the key here: you can’t rush this process so it’s best to start by getting the onions in the pan, then put the tomatoes in the oven, assemble your crust, and wait a little. I cooked my onions for 40 minutes as they were going to be cooked again in the pie. If you are planning to use the onions on their own elsewhere, cook them an additional 20 minutes before adding the garlic.

It may seem like a lot of work for, but it’s all worth it. Serve it up with a light, bright and refreshing salad, and it’s the perfect meal for any occasion.

Notes:

  • 5 onions?!? Seriously? Yup. Not a typo. You’ll be loving it.
  • This tart requires a couple of steps before assembling, but they are done simultaneously so that dinner will still be on your table in a little over an hour. Or…
  • You can make the caramelized onions and roast the tomatoes one day ahead and assemble the next and bake – either way works really well. Do not store the pie unbaked: the crust will get very soggy.
  • This pie reheats really well. If you wish, make it the day before you’d like to serve it, and simply reheat it in the oven at 180°C/375°C for 15-20 minutes or until heated through.


RoastedTomato_GoatCheese_CaramelizedOnion_Tart_c_20150914

Roasted Tomato, Goat Cheese and Caramelized Onion Tart

Preheat oven to 200°C/400°F

Step 1 – Make the Crust:

  • 1 1/4 cup/ 3 dl / 140g whole wheat flour
  • 1 teaspoon baking powder
  • 1/4 teaspoon salt
  • 2 tablespoons olive oil
  • 3 tablespoons cold water

Pour all of the ingredients into a medium-sized mixing bowl and stir until it comes together. Knead the ball of dough with your hands until it’s smooth. Press the dough into the bottom and up the sides of a 10″/ 27 cm tart pan.

Step 2 – Caramelize the Onions:

  • 2 tablespoons butter, ghee or olive oil
  • 5 yellow onions, diced small
  • 1 garlic clove, minced
  • 1 teaspoon sea salt

In a large frying pan over medium heat, melt the butter or oil and add in the onions and salt. Stir the onions and cook until the mixture begins to bubble, 2-3 minutes; then drop the heat to medium low. Continue to cook, stirring frequently, until the onions are very soft and almost begin to melt and liquify – roughly 30 minutes. Add the garlic continue to cook for an additional 10 minutes. Remove from heat.

Step 3 – Roast the tomatoes:

  • 2 pounds / 800 g small to medium-sized fresh, ripe tomatoes
  • salt and olive oil

Rinse the tomatoes. Cut each tomato in half top to bottom, and arrange cut side up on a parchment-lined oven pan. Sprinkly lightly with salt and drizzle with olive oil. Place the pan into the hot oven and bake until the tomatoes begin to blacken and slump – about 30 minutes. Remove from oven.

Step 3 – Assemble & Bake:

To finish the pie you’ll need:

  • 1 log of fresh goat cheese
  • 1 egg
  • 1/2 cup milk (cow, oat, rice…)
  • leaves from 4 fresh thyme sprigs

Transfer the onion mixture to the crust-lined tart pan and spread it out evenly across the bottom. Cut the goat log into 20 thin slices. Starting in the middle, arrange the slices evenly to cover the onion mixture completely. Layer the roasted tomato halves over the top of the goat cheese to completely cover. Sprinkle the thyme leaves evenly over the top of the tomatoes. Beat the egg and milk together. Pour the mixture evenly over the top of the tomatoes.

Bake for 25-30 minutes or until the top is golden brown, lightly puffed, and firm in the middle.

Serves 4-6.

GoatCheese_Onions_Pie_20150914

Filed Under: Main Course, Meatless Monday, Vegetarian

  • « Previous Page
  • 1
  • …
  • 9
  • 10
  • 11
  • 12
  • 13
  • …
  • 79
  • Next Page »

Find me on social media

  • Bloglovin
  • Facebook
  • Instagram
  • Pinterest
  • Twitter

Looking for something?

Eat Simply, Eat Well 's gallery on Punk Domestics
  • Bloglovin
  • Facebook
  • Instagram
  • Pinterest
  • Twitter

Copyright © 2025 · Foodie Pro Theme by Shay Bocks · Built on the Genesis Framework · Powered by WordPress