We’re having one last hurrah with Summer tomatoes around here. One last round of fresh, local tomatoes before they disappear behind the winds and beneath the leaves of Autumn leaving nothing but imported tomatoes left on the store shelves.
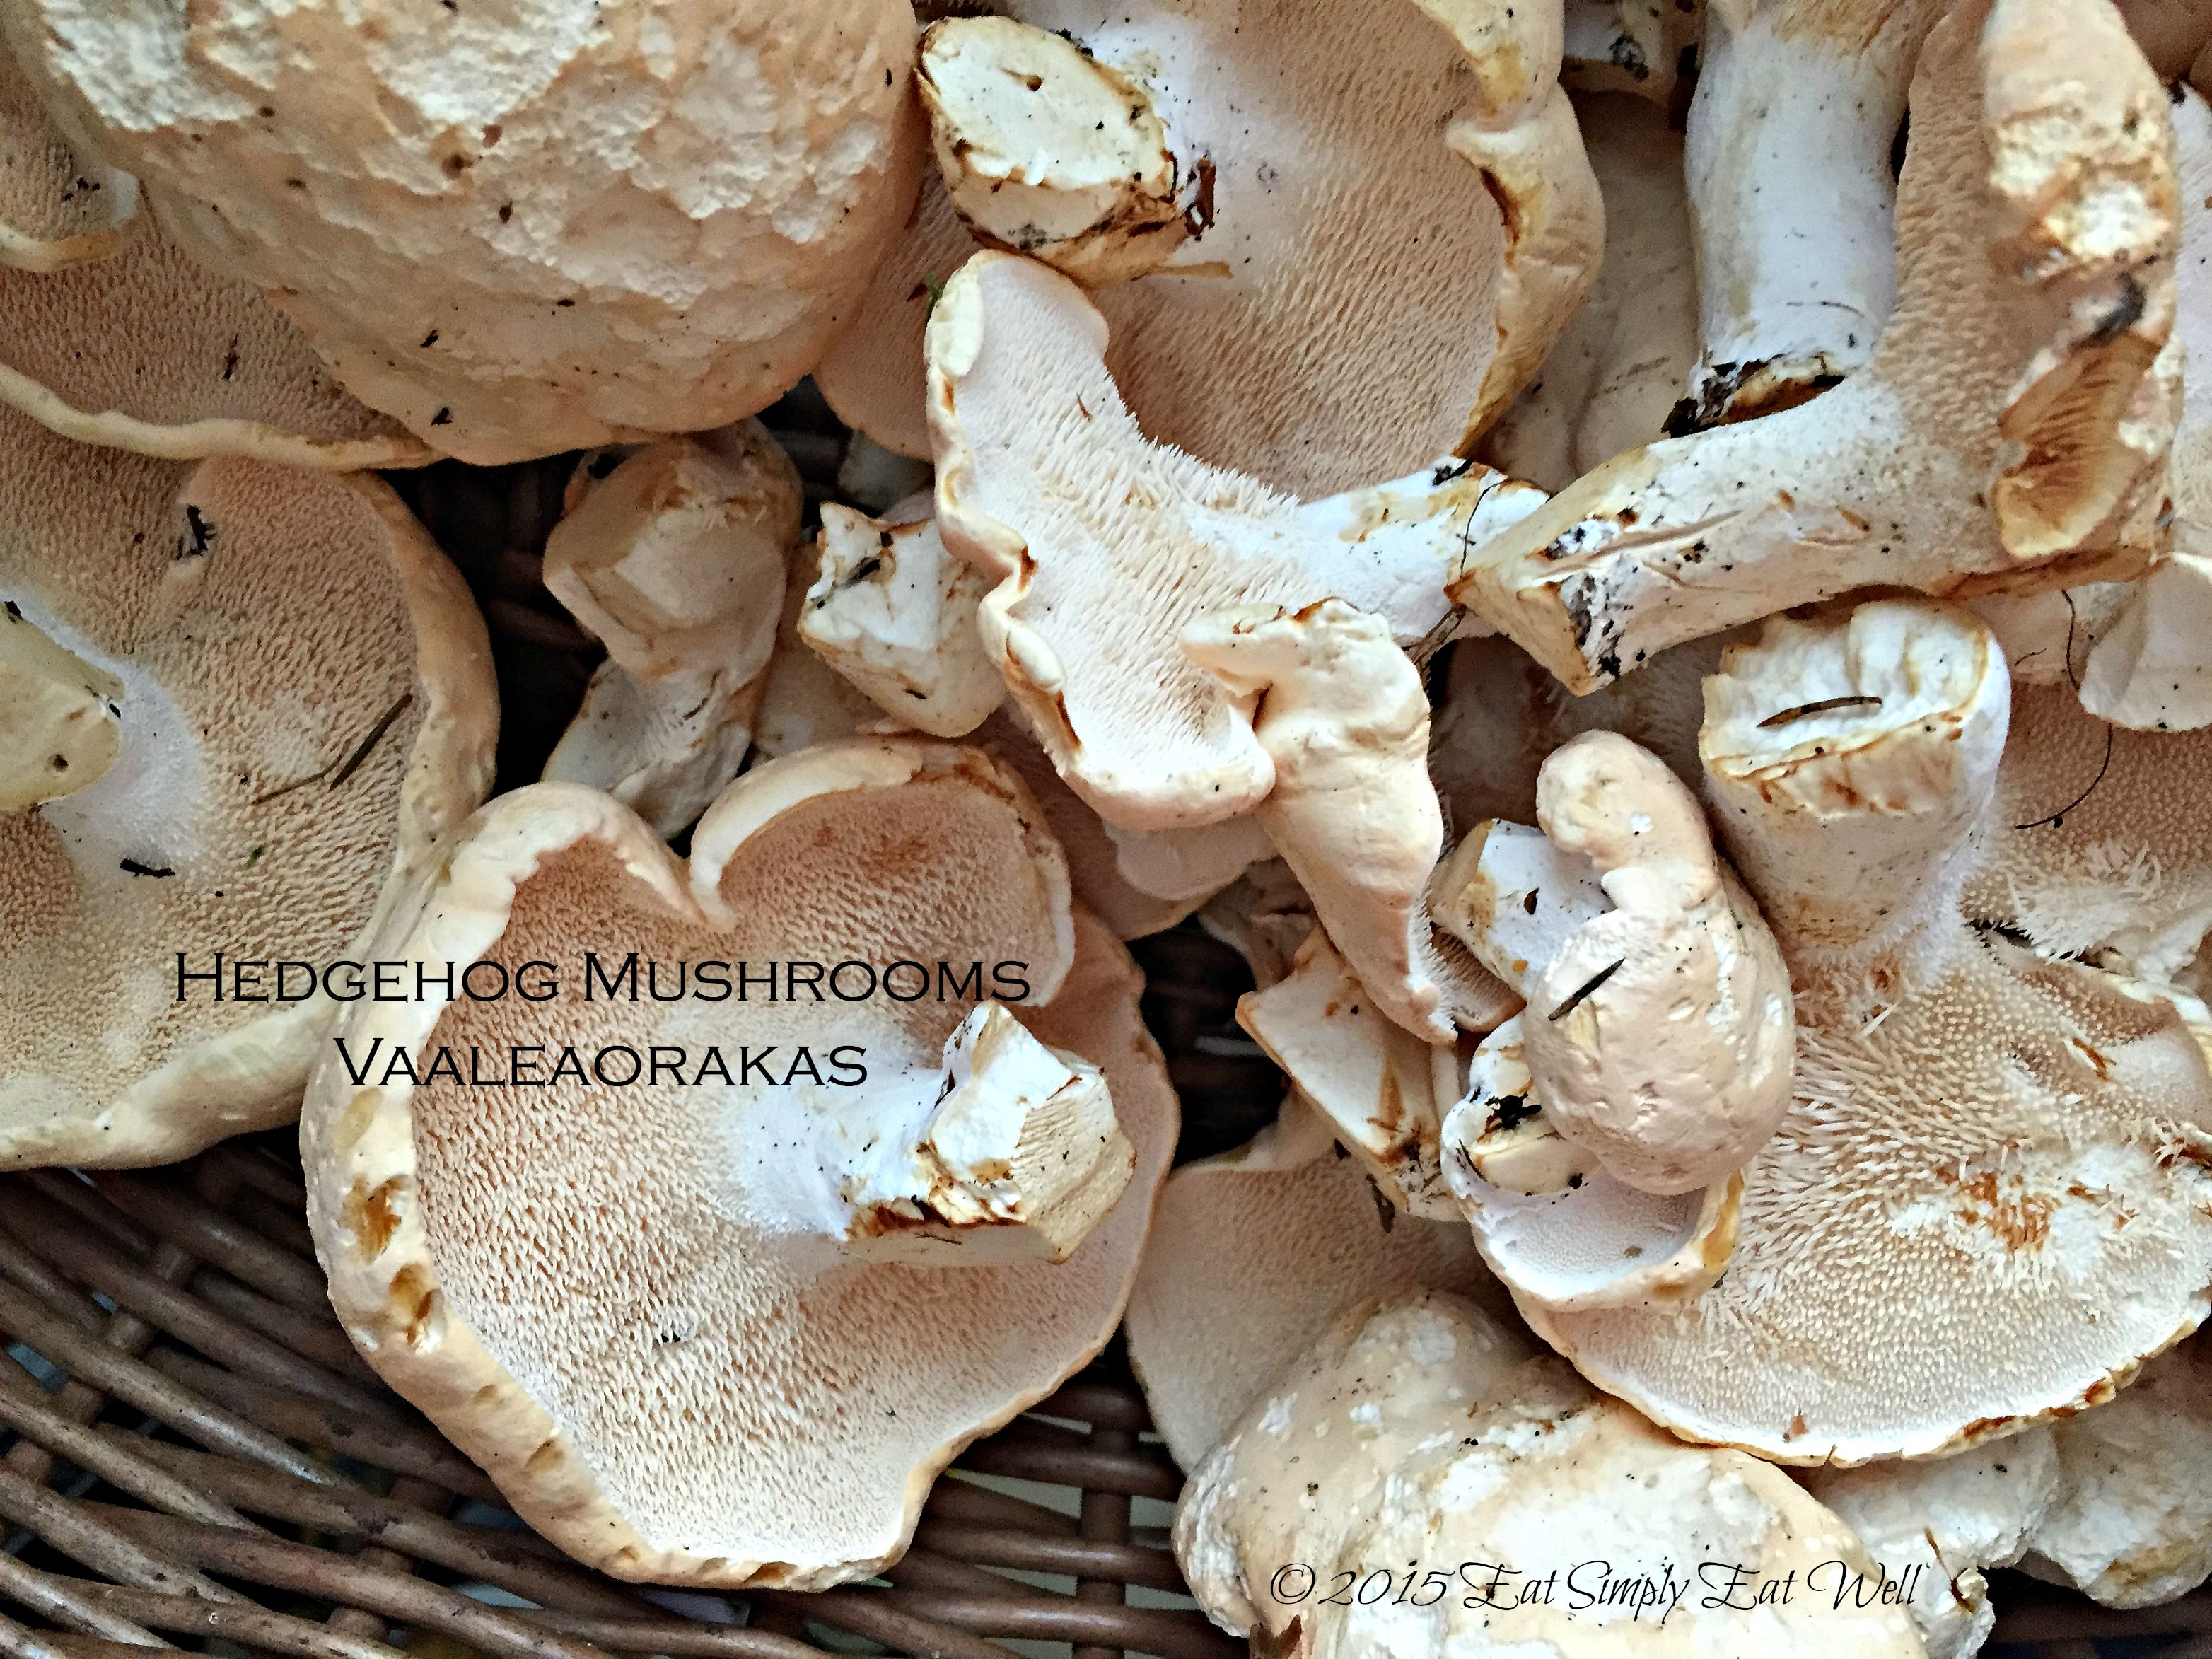
In general, there’s a settling-in feeling to this time of year: school has begun, people are back to work, leaves are beginning to change color and the temperature is dropping as we move into a beautiful and peaceful season – my favorite time of year. It’s a time when I look forward to warm comfort food to ward off the chill, which means we typically have some kind of savory pie or tart once a week during the Fall season. Between mushroom foraging treks and busy weekdays and the satisfying ease of packing everything for dinner into a single dish, savory tarts and pies are a wonderful way to make a simple, satisfying dinner, and typically reheat perfectly.
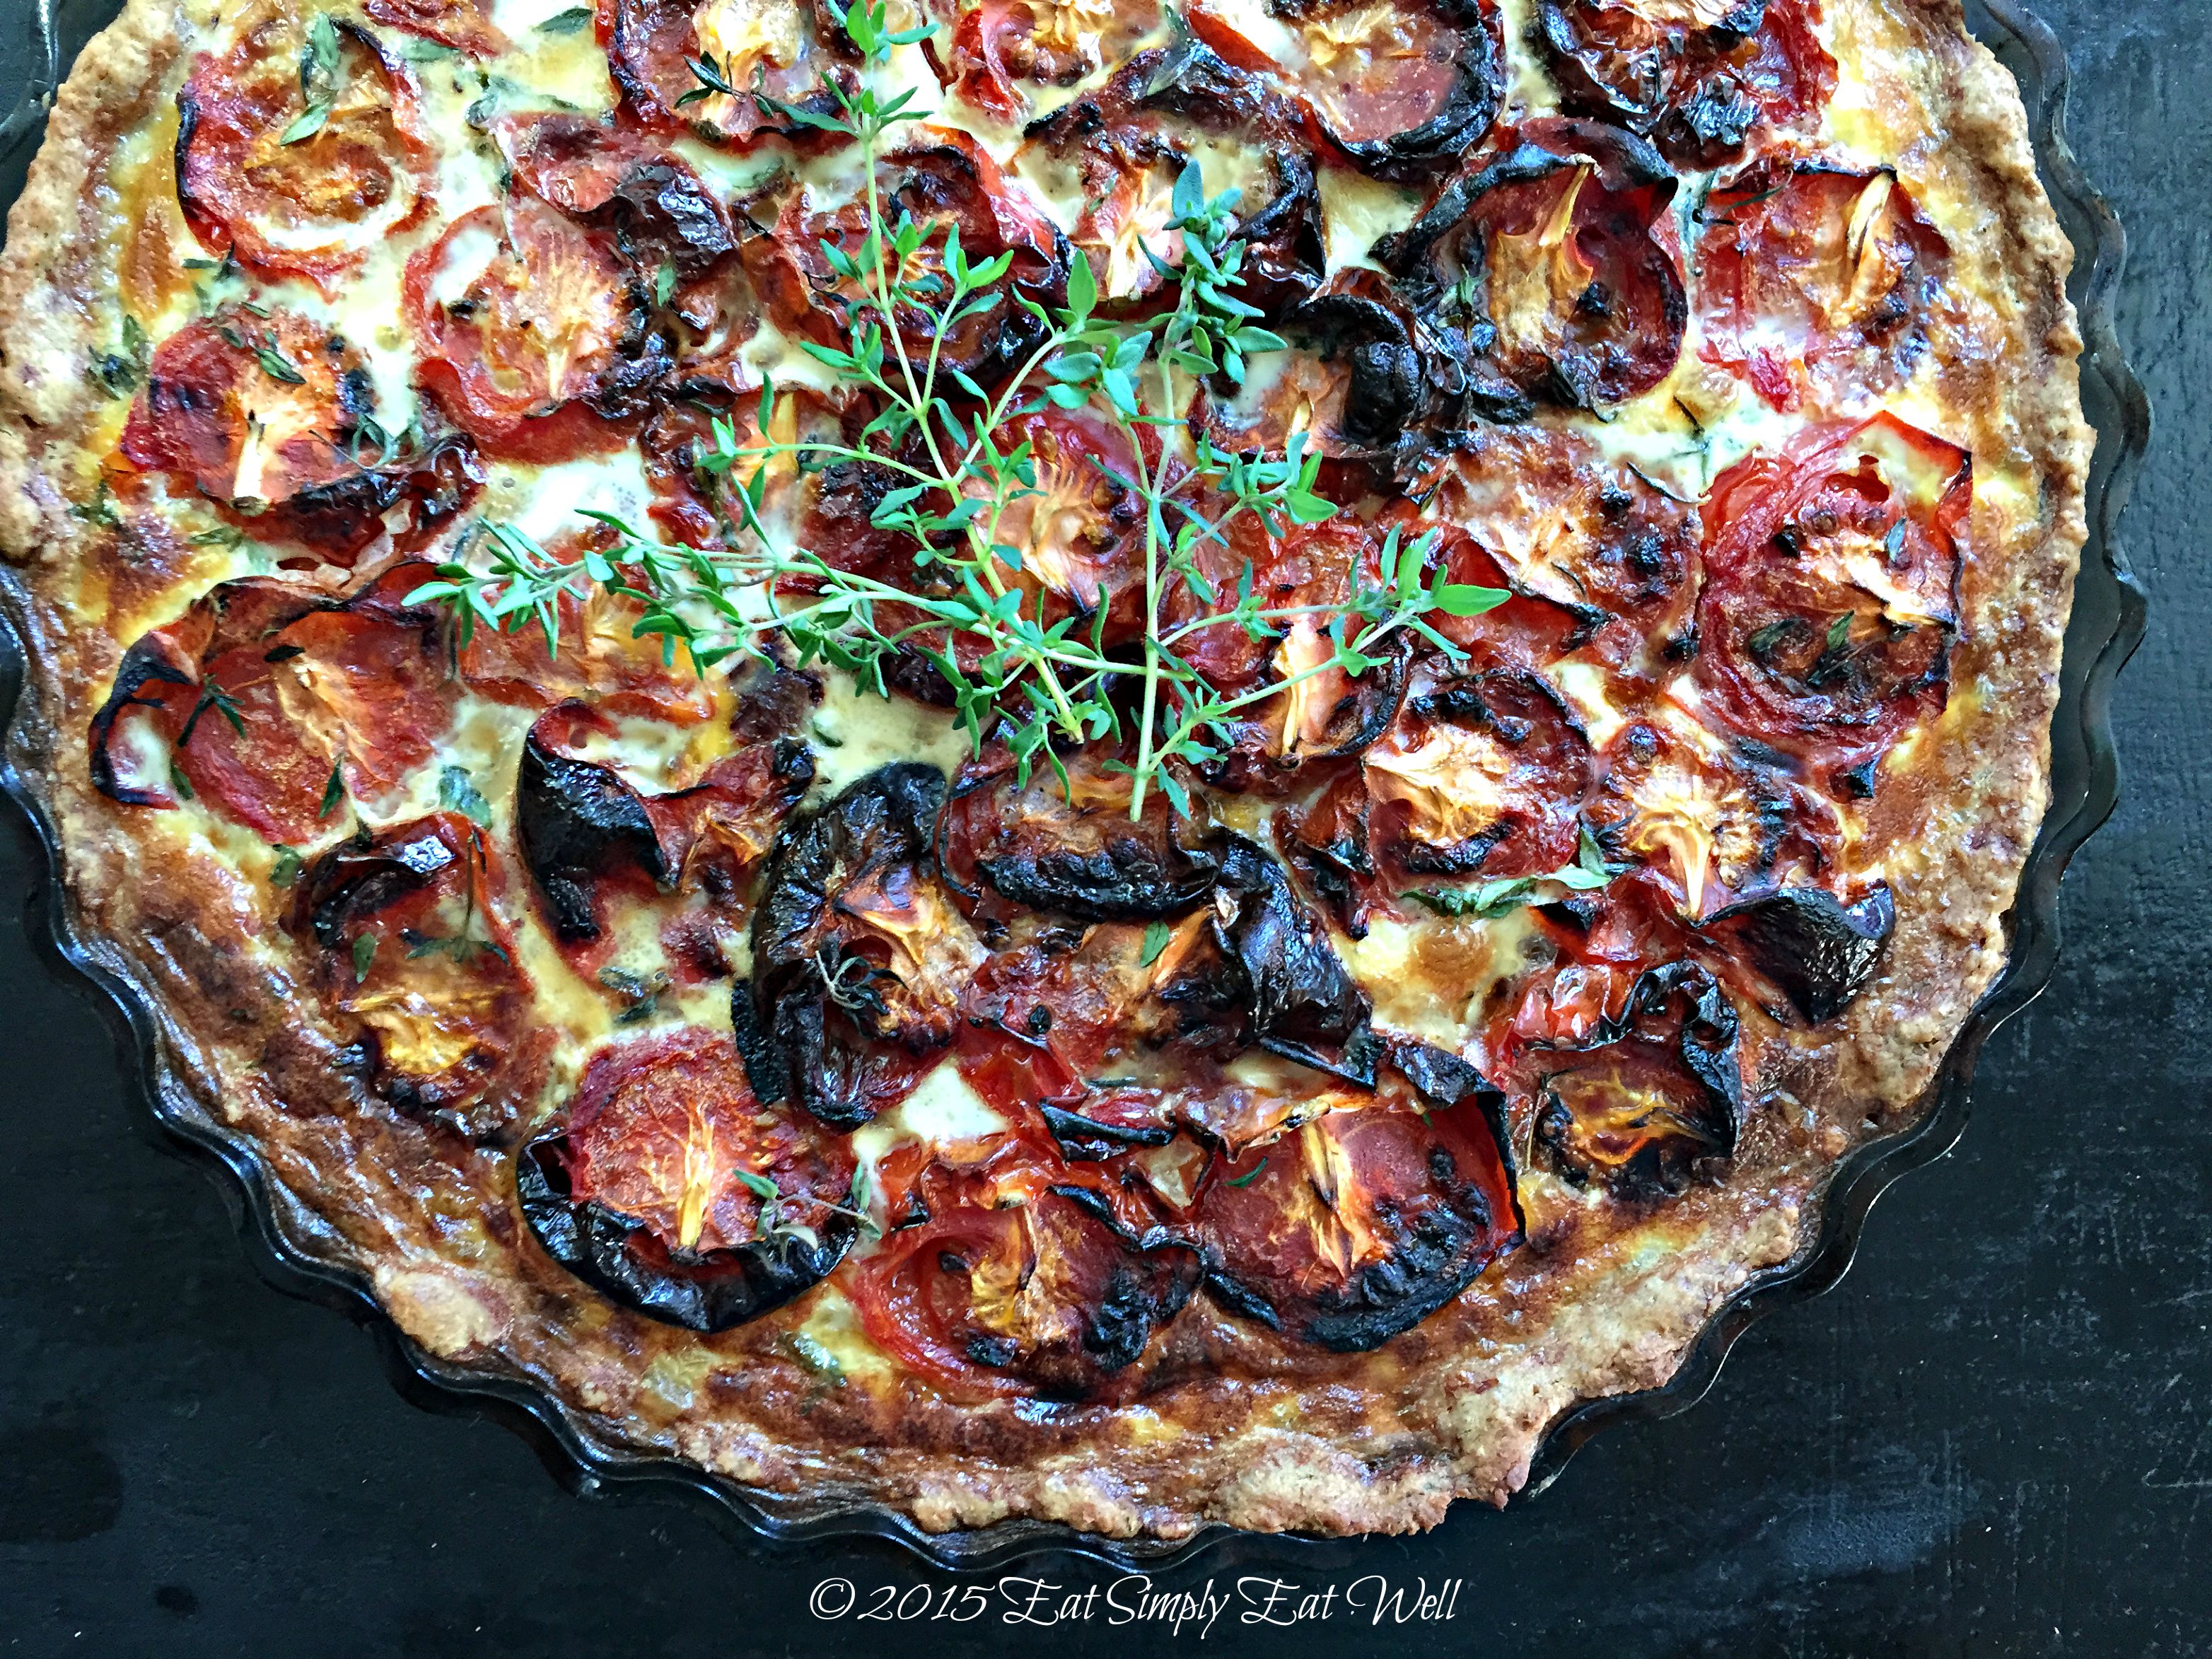
We had a friend coming over for dinner and a pile of tomatoes begging to be used before they slumped off into nothing – they were so perfectly ripe they were almost bursting – and I had been dreaming of tomato tart. Tasting Table had posted a recipe for Cilantro-Lime Sofrito that I couldn’t get out of my head. I started to make it, and then somehow decided that if I left out the cilantro and lime, I could use it to amp up my tomato tart. But then I wanted a little something else, still, to tie everything together, and goat cheese and thyme seemed like the logical additions. So suddenly there we were, with this wonderful pie, and the house smelling of sweet, sweet, caramelized onions. I will still get back to making Annie Pettry‘s version – it sounds to good not to. But in the meantime, I’m eating this.
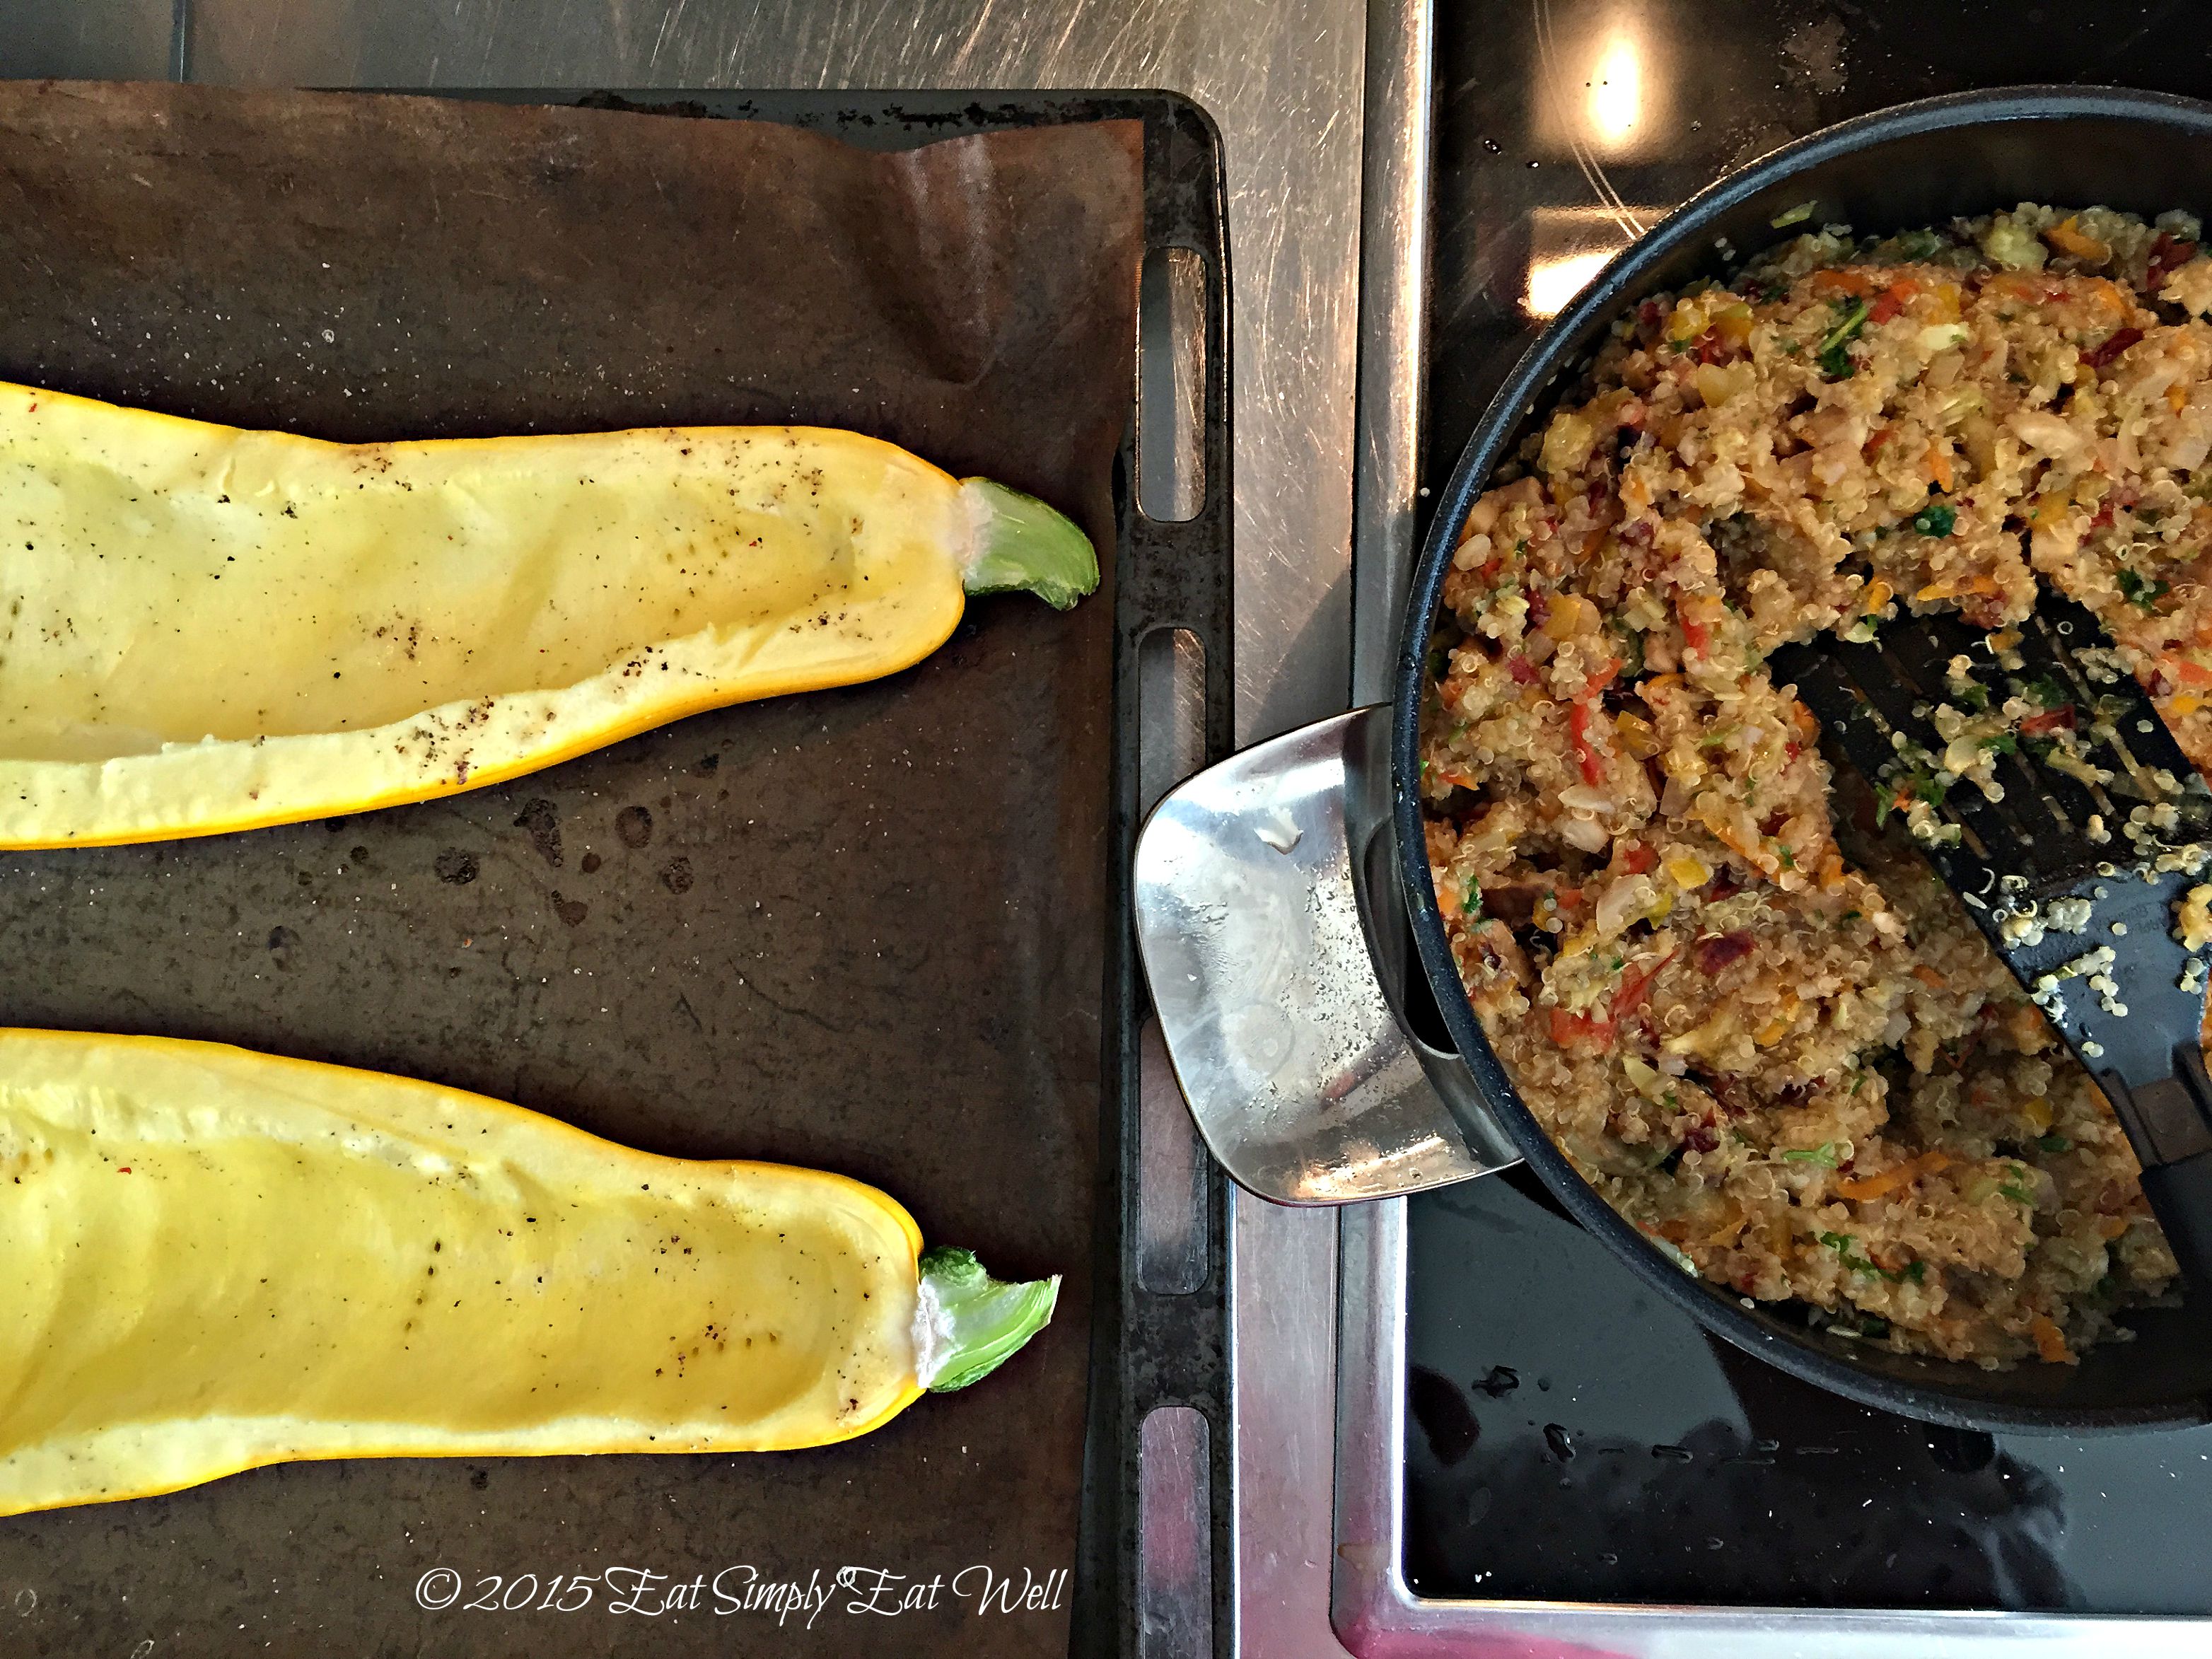
Caramelizing onions is like a little act of magic: firm yellow onions with a flavor and smell so piercing it’ll literally make you cry – transform, with a little heat and a little more time, into an unctuous, meltingly sweet almost jam-like substance that has the essence of the fresh onion’s sharpness, but is so much more sophisticated and satisfying, that you may want to double the batch so you can use it elsewhere (I wish I’d had that foresight earlier). Low and slow is the key here: you can’t rush this process so it’s best to start by getting the onions in the pan, then put the tomatoes in the oven, assemble your crust, and wait a little. I cooked my onions for 40 minutes as they were going to be cooked again in the pie. If you are planning to use the onions on their own elsewhere, cook them an additional 20 minutes before adding the garlic.
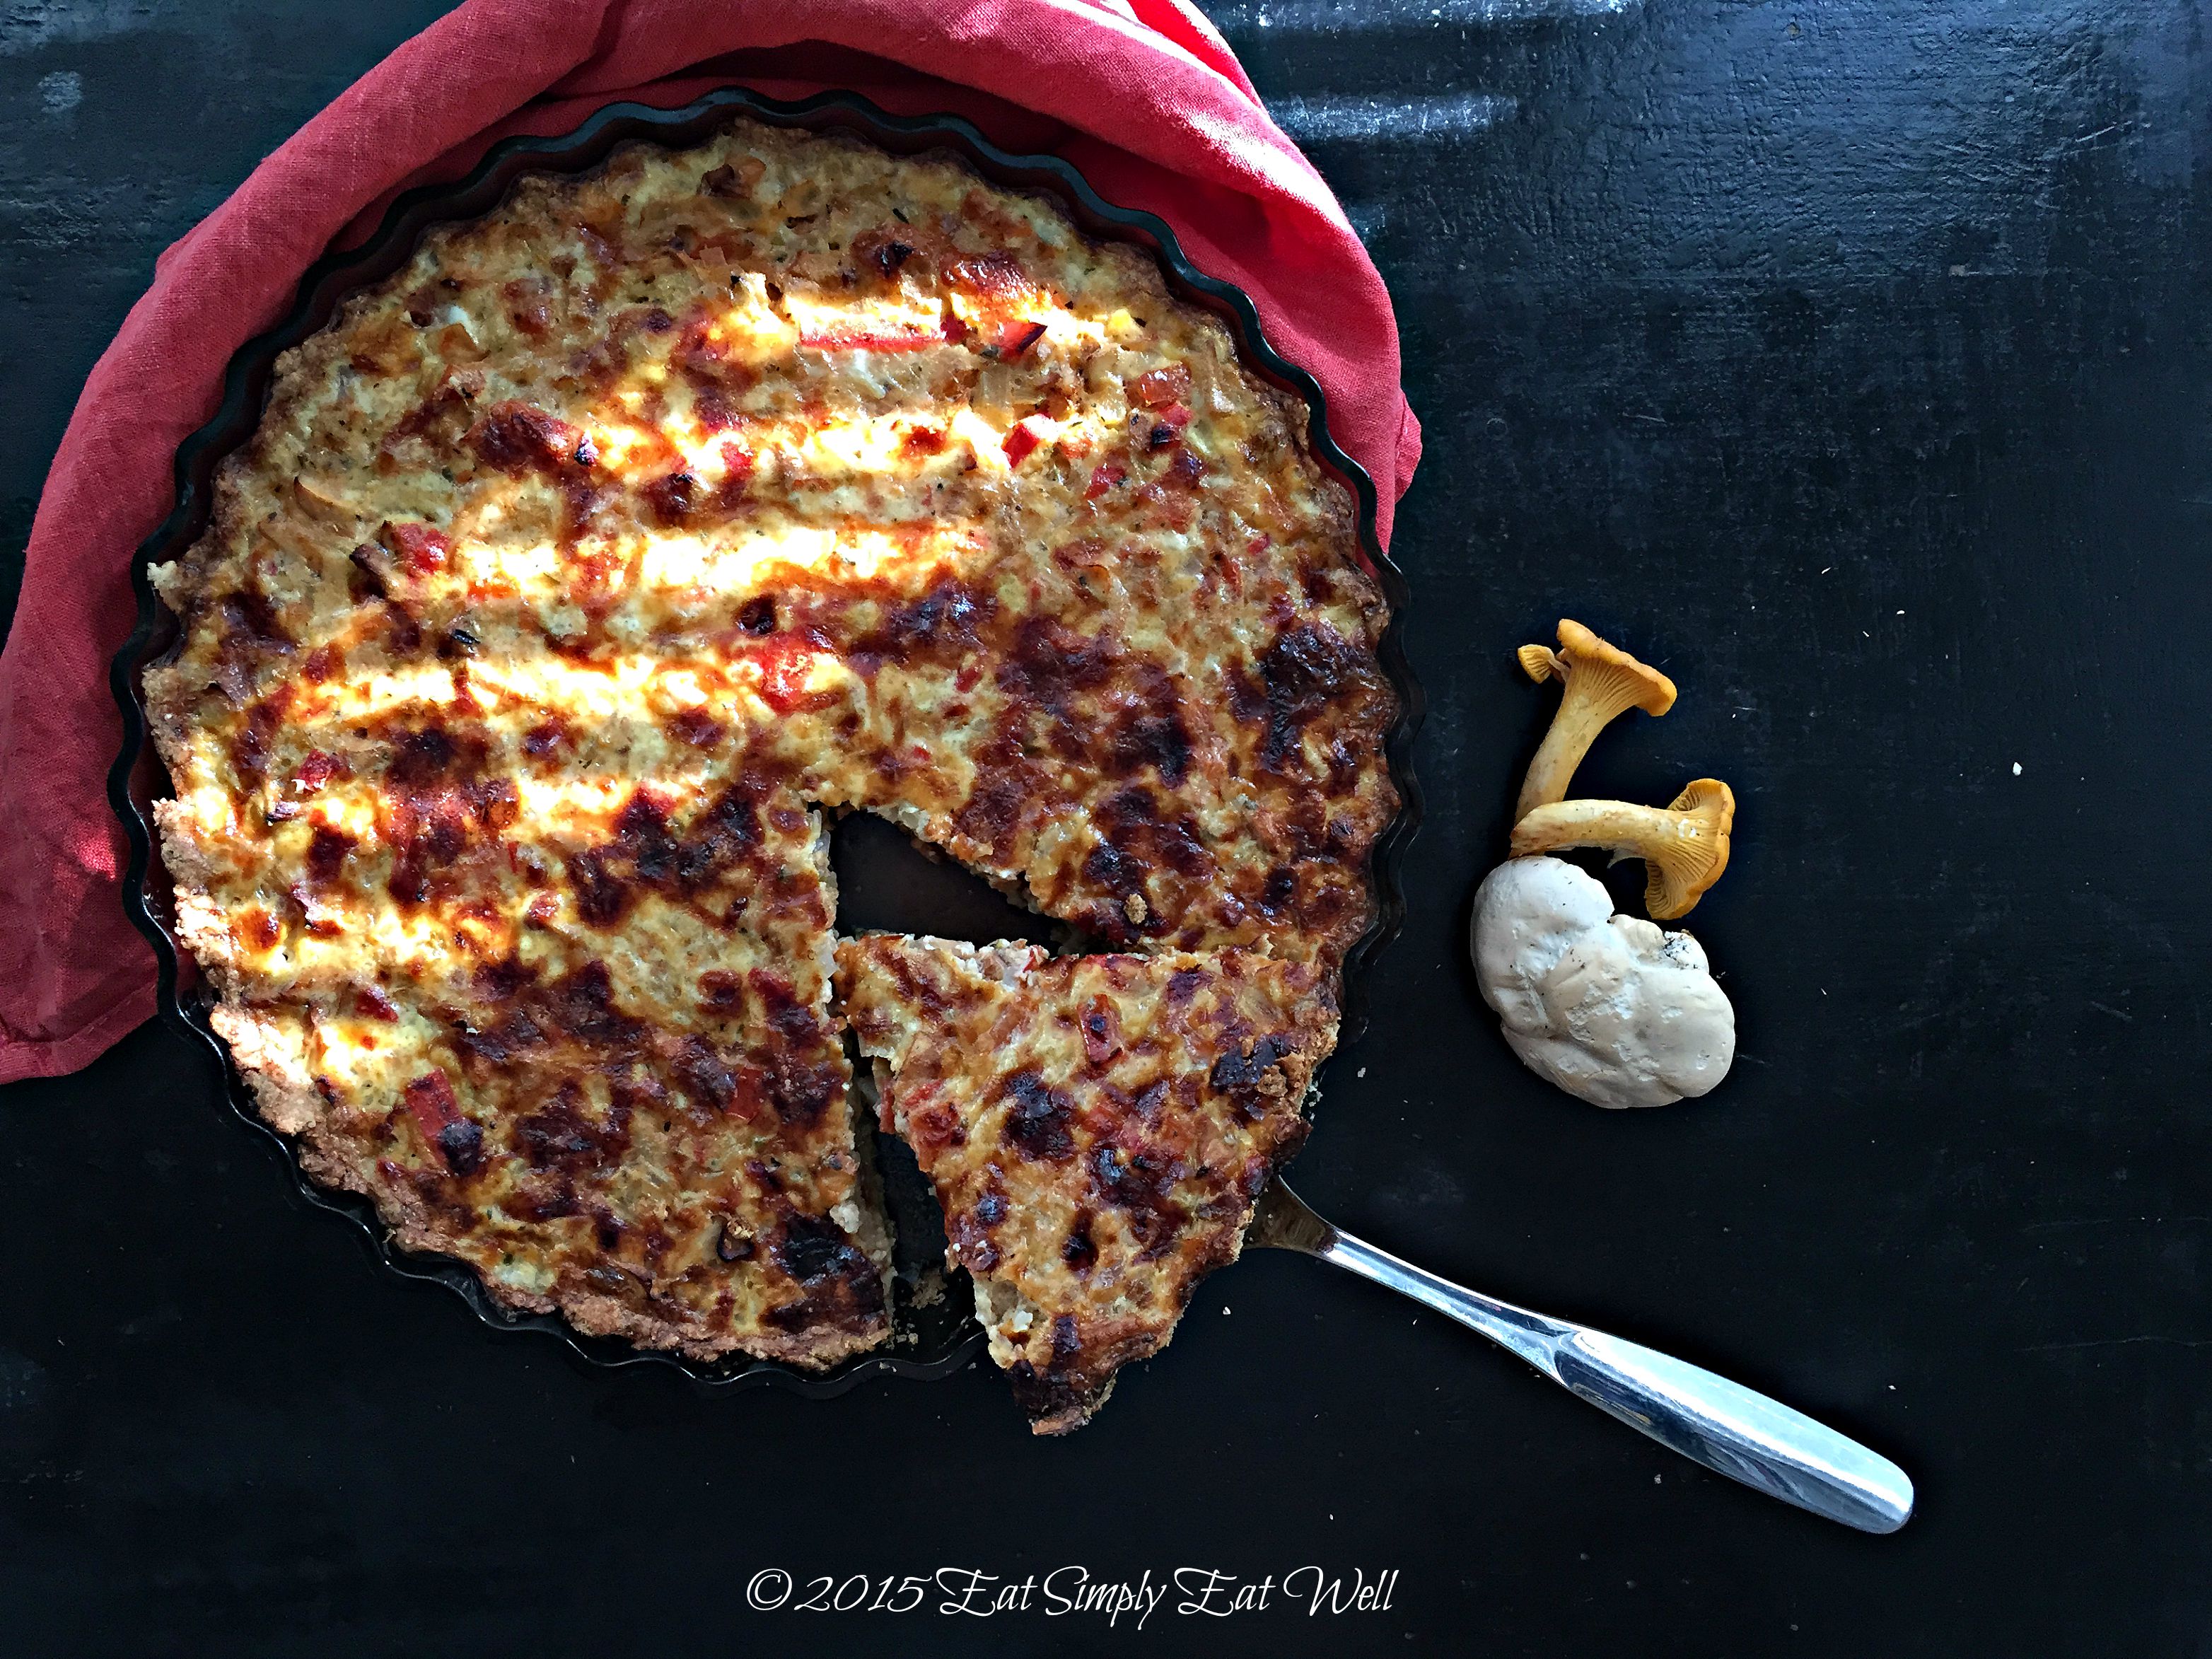
It may seem like a lot of work for, but it’s all worth it. Serve it up with a light, bright and refreshing salad, and it’s the perfect meal for any occasion.
Notes:
- 5 onions?!? Seriously? Yup. Not a typo. You’ll be loving it.
- This tart requires a couple of steps before assembling, but they are done simultaneously so that dinner will still be on your table in a little over an hour. Or…
- You can make the caramelized onions and roast the tomatoes one day ahead and assemble the next and bake – either way works really well. Do not store the pie unbaked: the crust will get very soggy.
- This pie reheats really well. If you wish, make it the day before you’d like to serve it, and simply reheat it in the oven at 180°C/375°C for 15-20 minutes or until heated through.
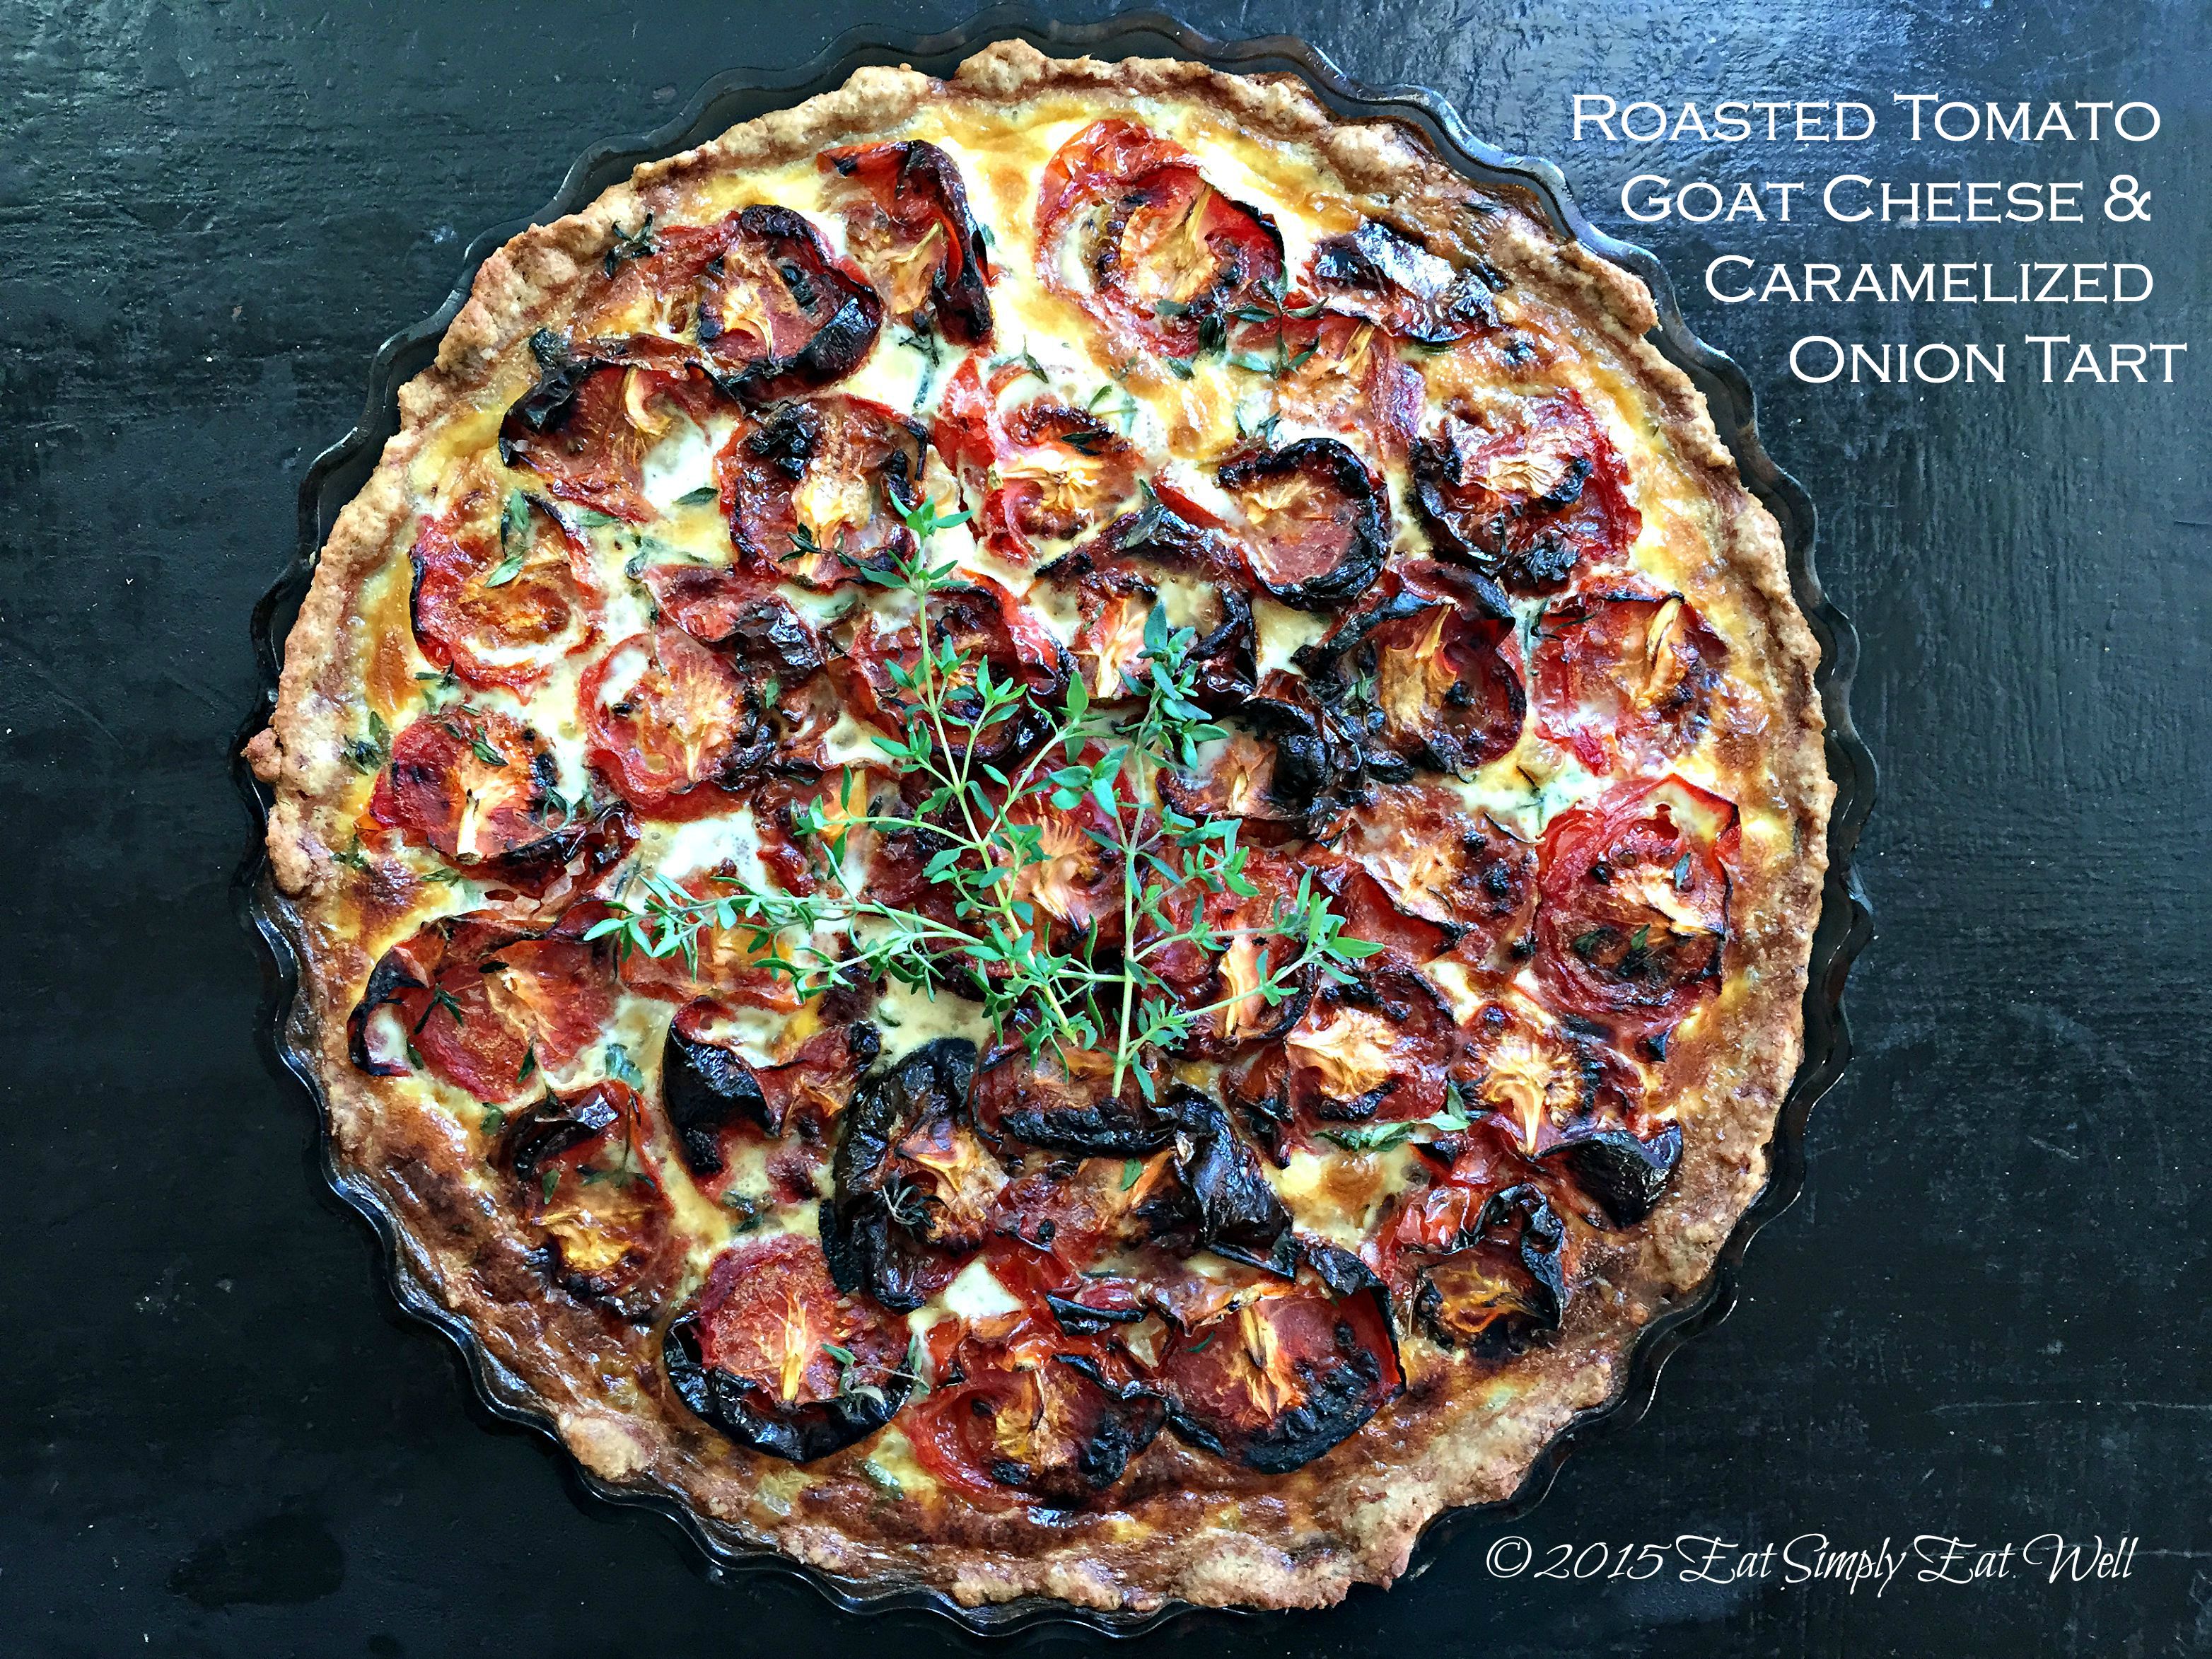
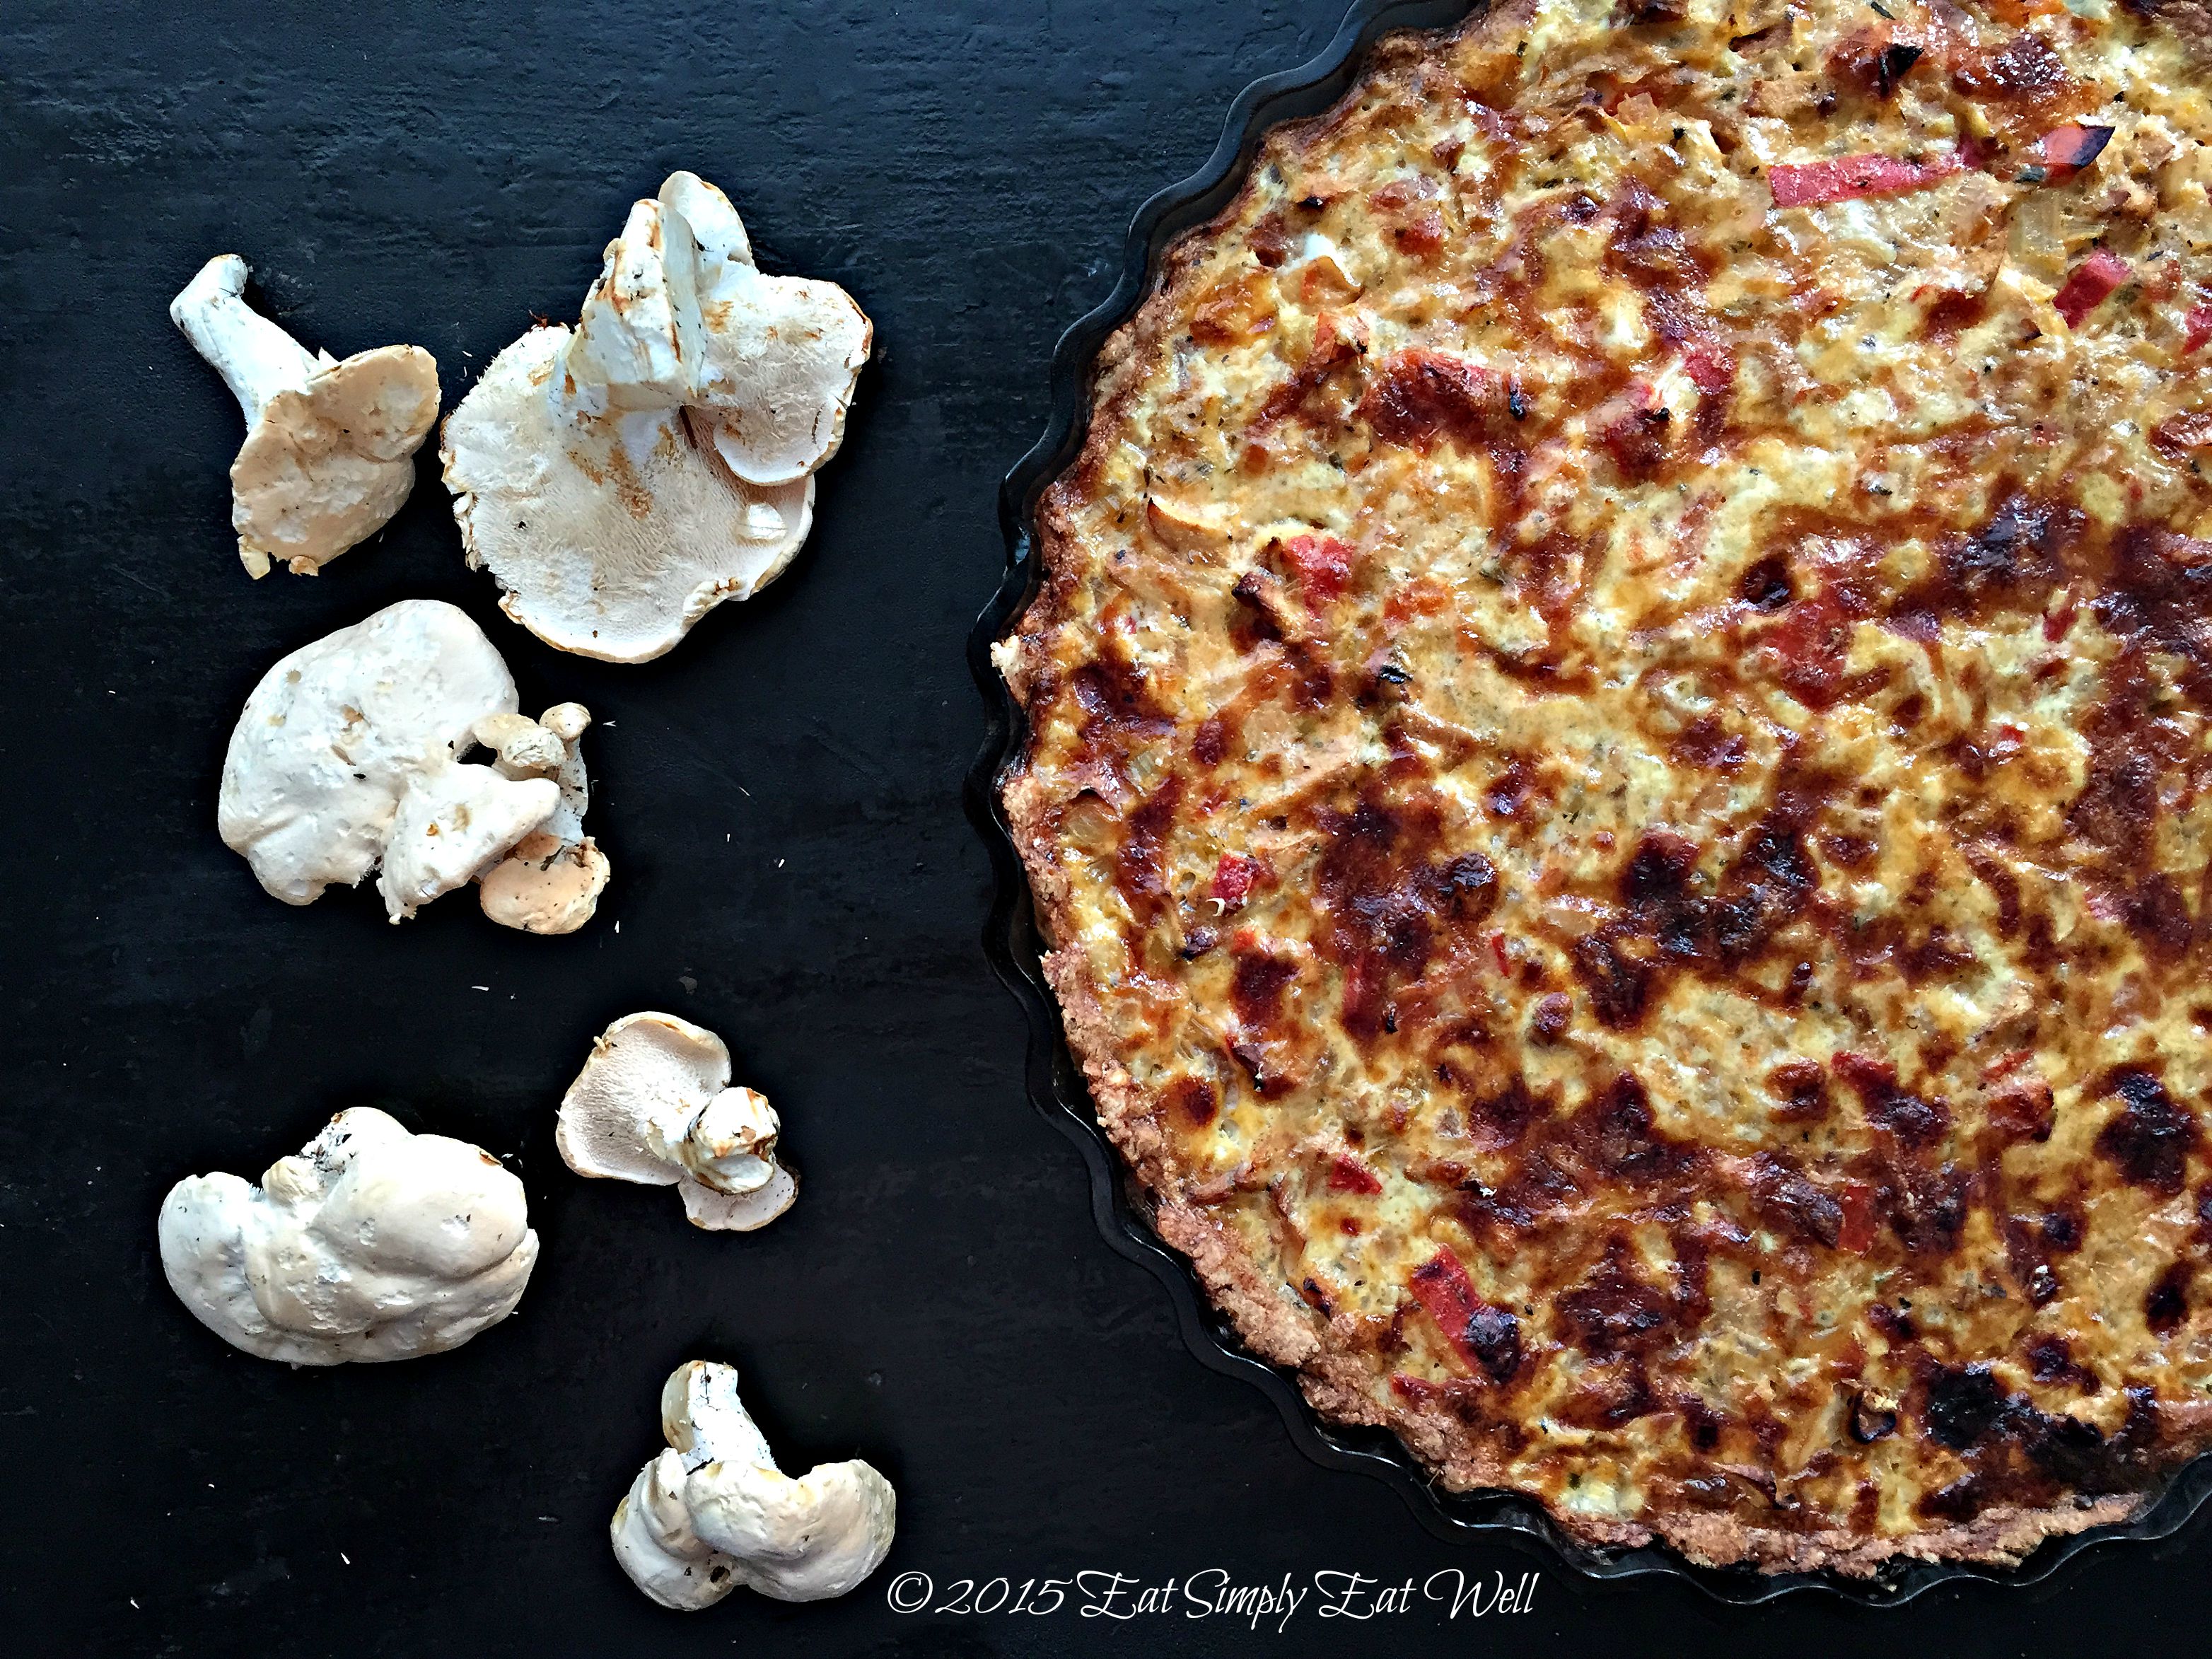
Roasted Tomato, Goat Cheese and Caramelized Onion Tart
Preheat oven to 200°C/400°F
Step 1 – Make the Crust:
- 1 1/4 cup/ 3 dl / 140g whole wheat flour
- 1 teaspoon baking powder
- 1/4 teaspoon salt
- 2 tablespoons olive oil
- 3 tablespoons cold water
Pour all of the ingredients into a medium-sized mixing bowl and stir until it comes together. Knead the ball of dough with your hands until it’s smooth. Press the dough into the bottom and up the sides of a 10″/ 27 cm tart pan.
Step 2 – Caramelize the Onions:
- 2 tablespoons butter, ghee or olive oil
- 5 yellow onions, diced small
- 1 garlic clove, minced
- 1 teaspoon sea salt
In a large frying pan over medium heat, melt the butter or oil and add in the onions and salt. Stir the onions and cook until the mixture begins to bubble, 2-3 minutes; then drop the heat to medium low. Continue to cook, stirring frequently, until the onions are very soft and almost begin to melt and liquify – roughly 30 minutes. Add the garlic continue to cook for an additional 10 minutes. Remove from heat.
Step 3 – Roast the tomatoes:
- 2 pounds / 800 g small to medium-sized fresh, ripe tomatoes
- salt and olive oil
Rinse the tomatoes. Cut each tomato in half top to bottom, and arrange cut side up on a parchment-lined oven pan. Sprinkly lightly with salt and drizzle with olive oil. Place the pan into the hot oven and bake until the tomatoes begin to blacken and slump – about 30 minutes. Remove from oven.
Step 3 – Assemble & Bake:
To finish the pie you’ll need:
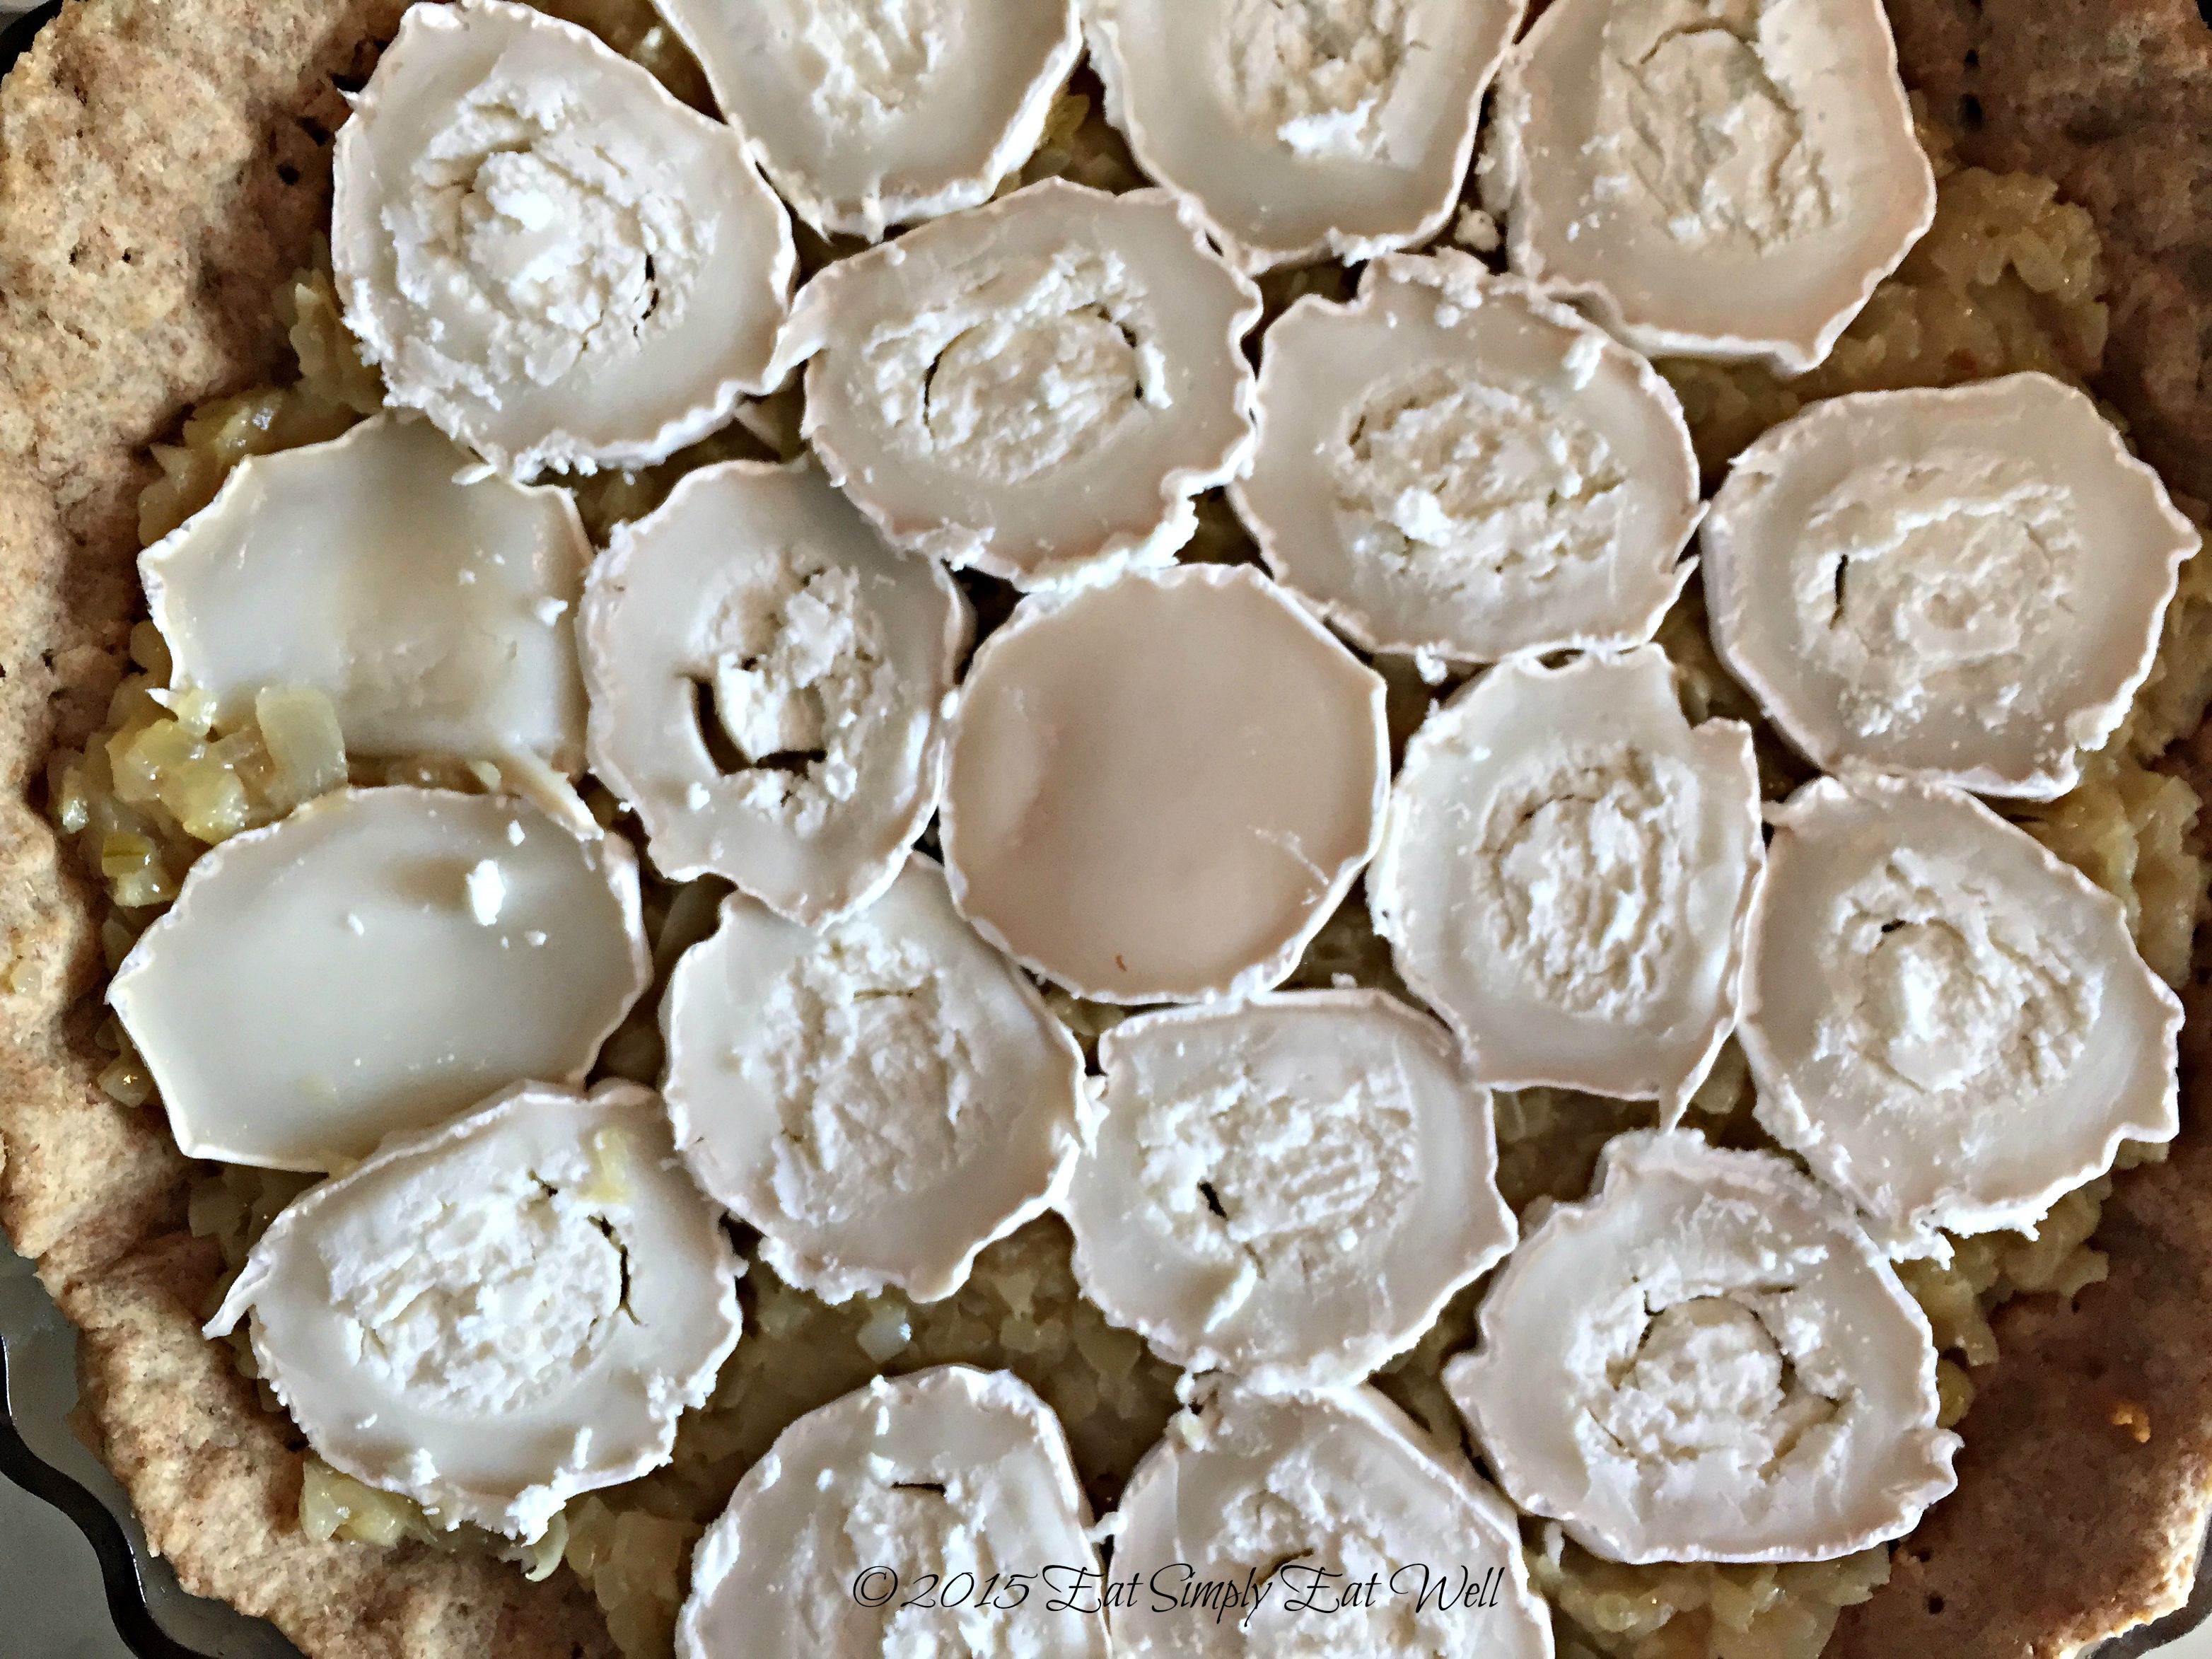
- 1 log of fresh goat cheese
- 1 egg
- 1/2 cup milk (cow, oat, rice…)
- leaves from 4 fresh thyme sprigs
Transfer the onion mixture to the crust-lined tart pan and spread it out evenly across the bottom. Cut the goat log into 20 thin slices. Starting in the middle, arrange the slices evenly to cover the onion mixture completely. Layer the roasted tomato halves over the top of the goat cheese to completely cover. Sprinkle the thyme leaves evenly over the top of the tomatoes. Beat the egg and milk together. Pour the mixture evenly over the top of the tomatoes.
Bake for 25-30 minutes or until the top is golden brown, lightly puffed, and firm in the middle.
Serves 4-6.