If you want to impress your dinner guests (or just yourself) without slaving all afternoon in the kitchen, consider adding these handsome potatoes to your dinner menu.
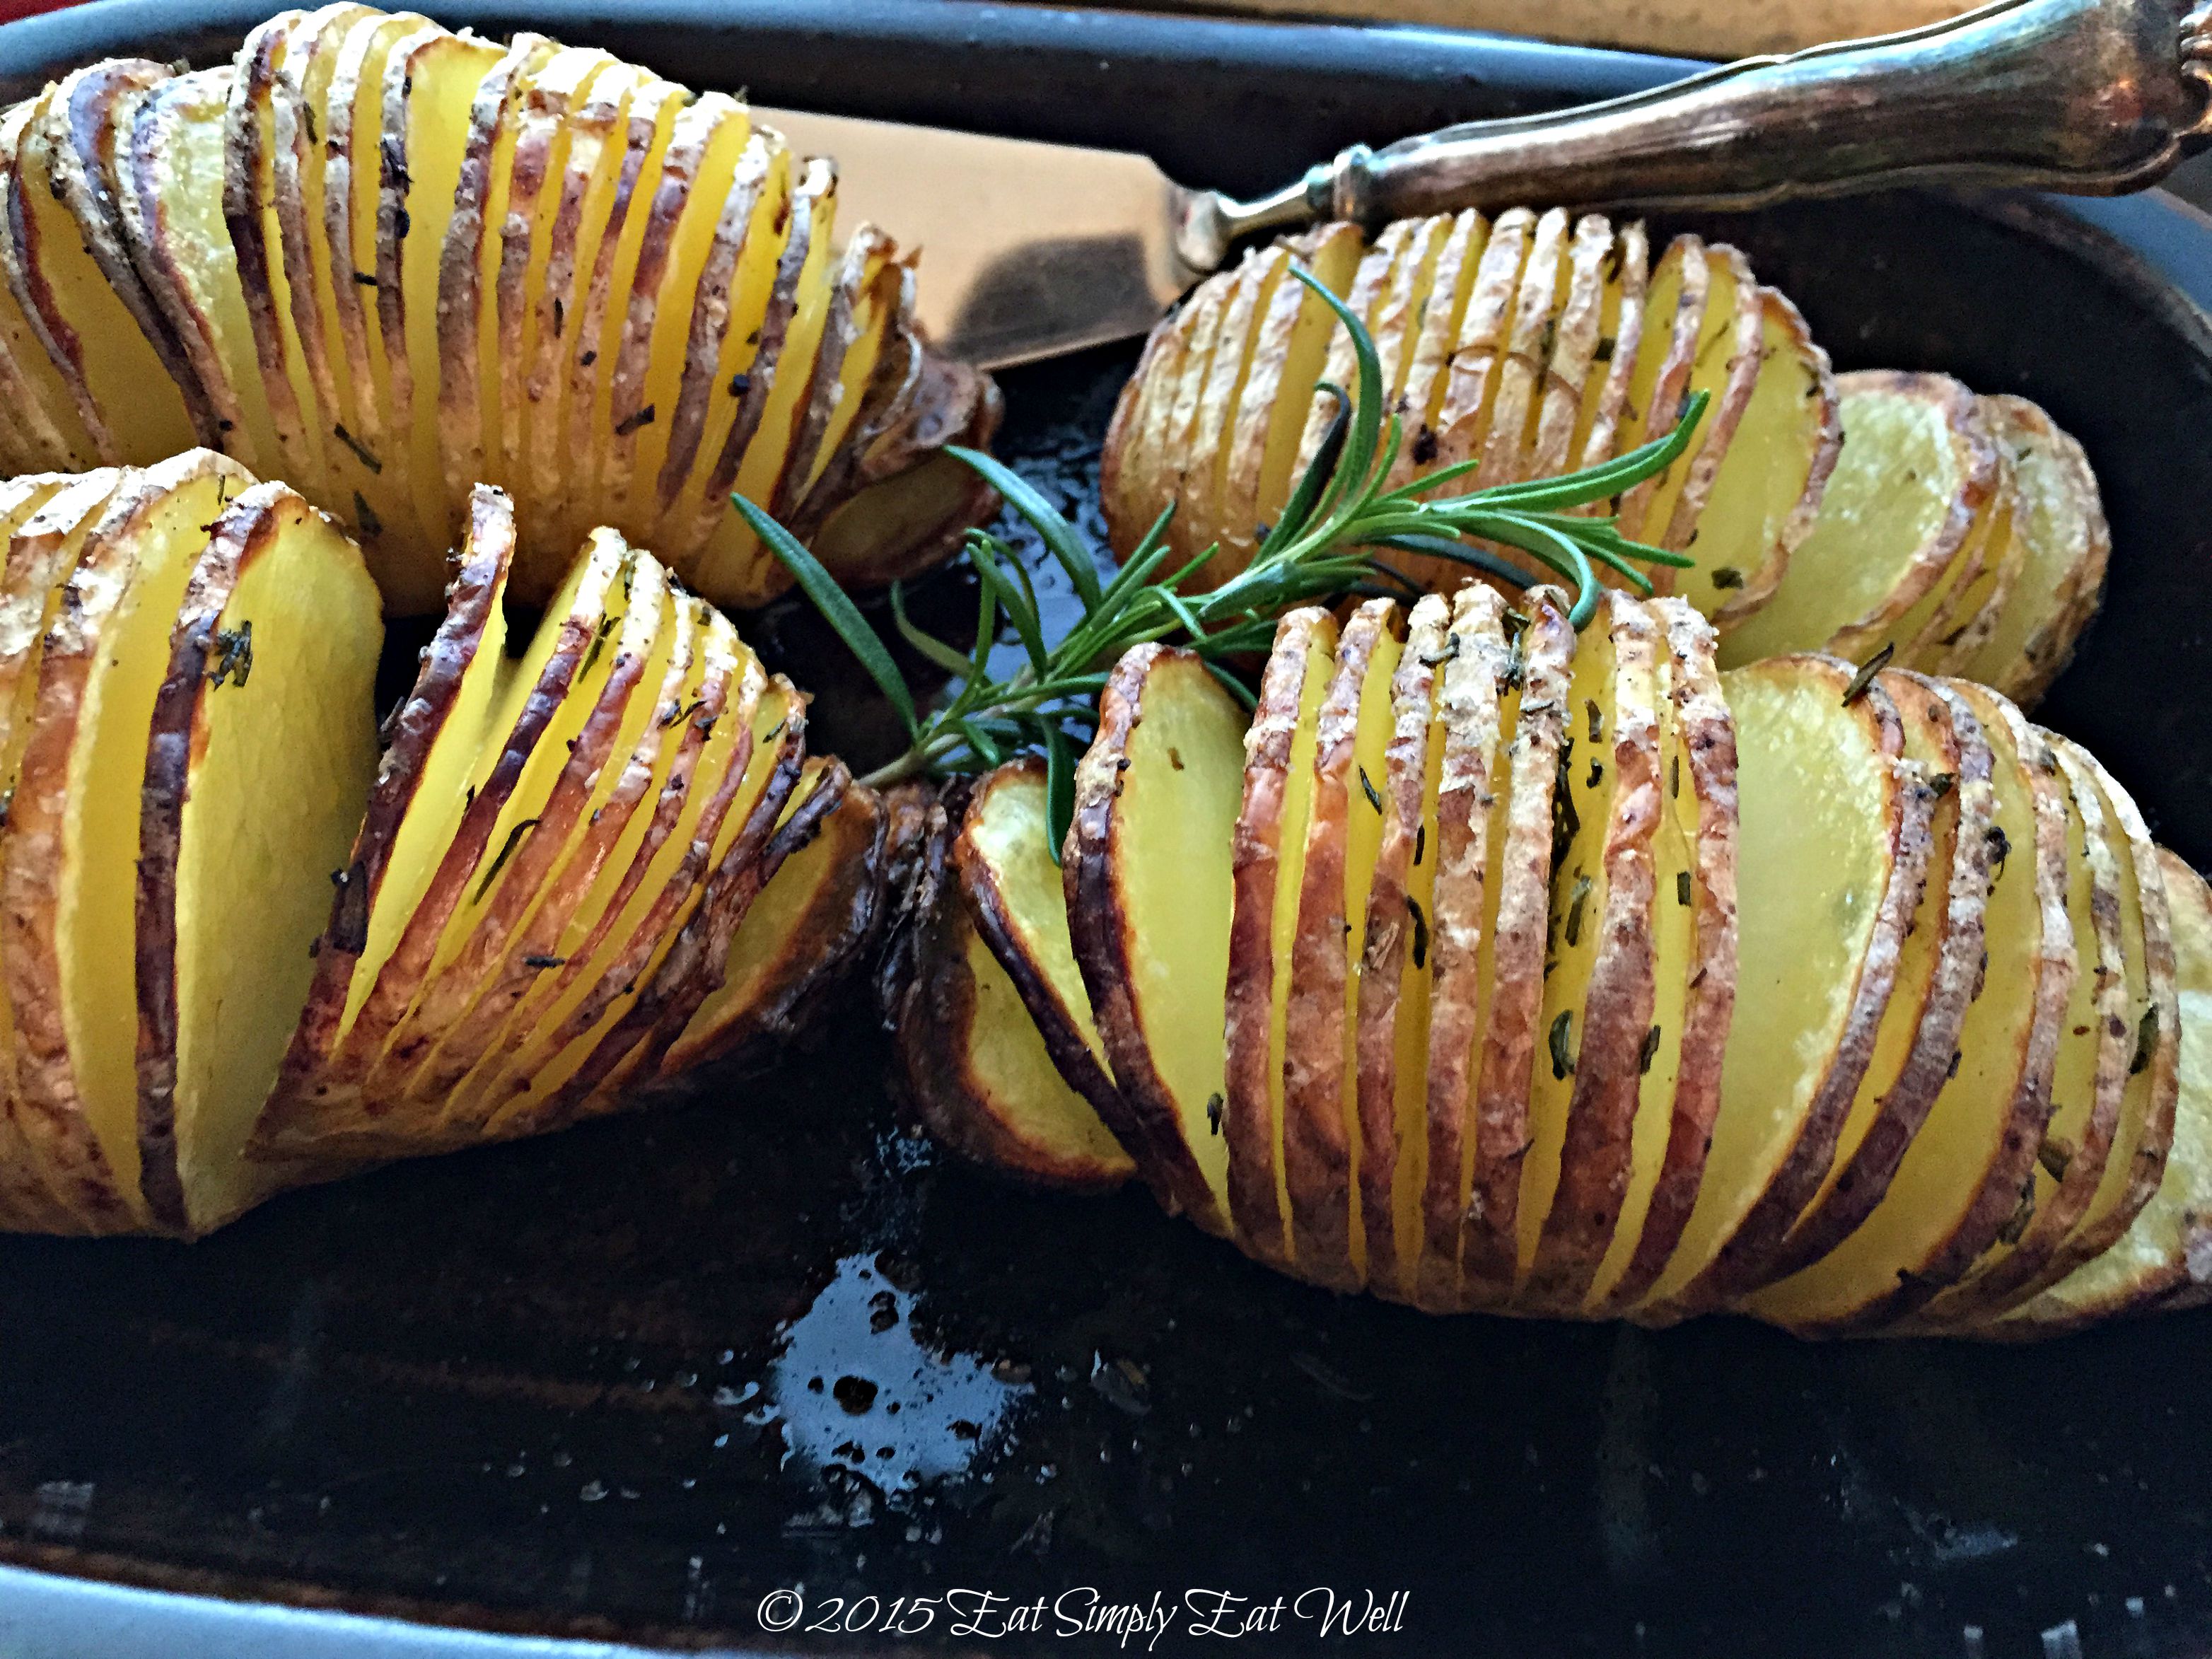
Hasselback potatoes aren’t a new concept, but they are a good one. Basically, you take any good baking potato, slice it thinly across the top, stopping just before you cut through the potato, about 1/4″ / 2 cm from the bottom. You sprinkle on a little salt, a little pepper, a few herbs, and drizzle olive oil, and let the oven do the rest of the work for you. As the potatoes bake, the spaces between the slices expands and the the potato begins to fan out just a little. Bake for the length of time you would a standard baked potato, and then finish under the broiler so the top gets nice and crispy and golden. These could actually be the star of your dinner, if you wish – serving them with traditional baked potato toppings, with a smoked salmon dip; a little kicked-up ketchup, or, of course, alongside a roast chicken…or less traditionally, next to a roasted celeriac. They are really good.
They also reheat really well, so although this recipe makes four, you can easily increase that quantity and then reheat them in the oven the next day to maintain the crispness, or make them a day ahead and reheat them to serve.
Potatoes often get a bad rap in nutrition world, but they are actually a great option, particularly if they are served with the skin on, as they are in this recipe. Too often, they are slathered with butter in cream or deep fried within an inch of their life making them something that’s a far cry from healthy food.
Cooked properly, however, potatoes are a delicious, healthy whole food. They have:
- low-calorie: roughly 160 calories per potato (approximately 1 cup)
- a very good source of vitamin B6 (for building cells; cardiovascular protection; brain cell and nervous system activity; and for breaking down glycogen – aiding in athletic performance)
- a good source of dietary fiber, potassium, copper, vitamin C, manganese, phosphorus, niacin and pantothenic acid
- phytonutrients with antioxident capacity, e.g. carotenoids and flavonoids
- potential to help lower blood pressure (because of presence of kukoamines)
Source: whfoods.com
Eat up! Potatoes are good for your health.
Notes:
- most of the potato’s fiber is in the skin, so make sure you consume the entire potato
- it’s worth repeating: french fries and potatoes chips are not real food: they are in fact really bad for your health. If you want to enjoy the health benefits of potatoes, eat them baked, roasted, boiled, lightly pan fried, or steamed, but avoid the processed foods that will only make you sick.
- Any good baking potato can be used for this recipe, including sweet potatoes!
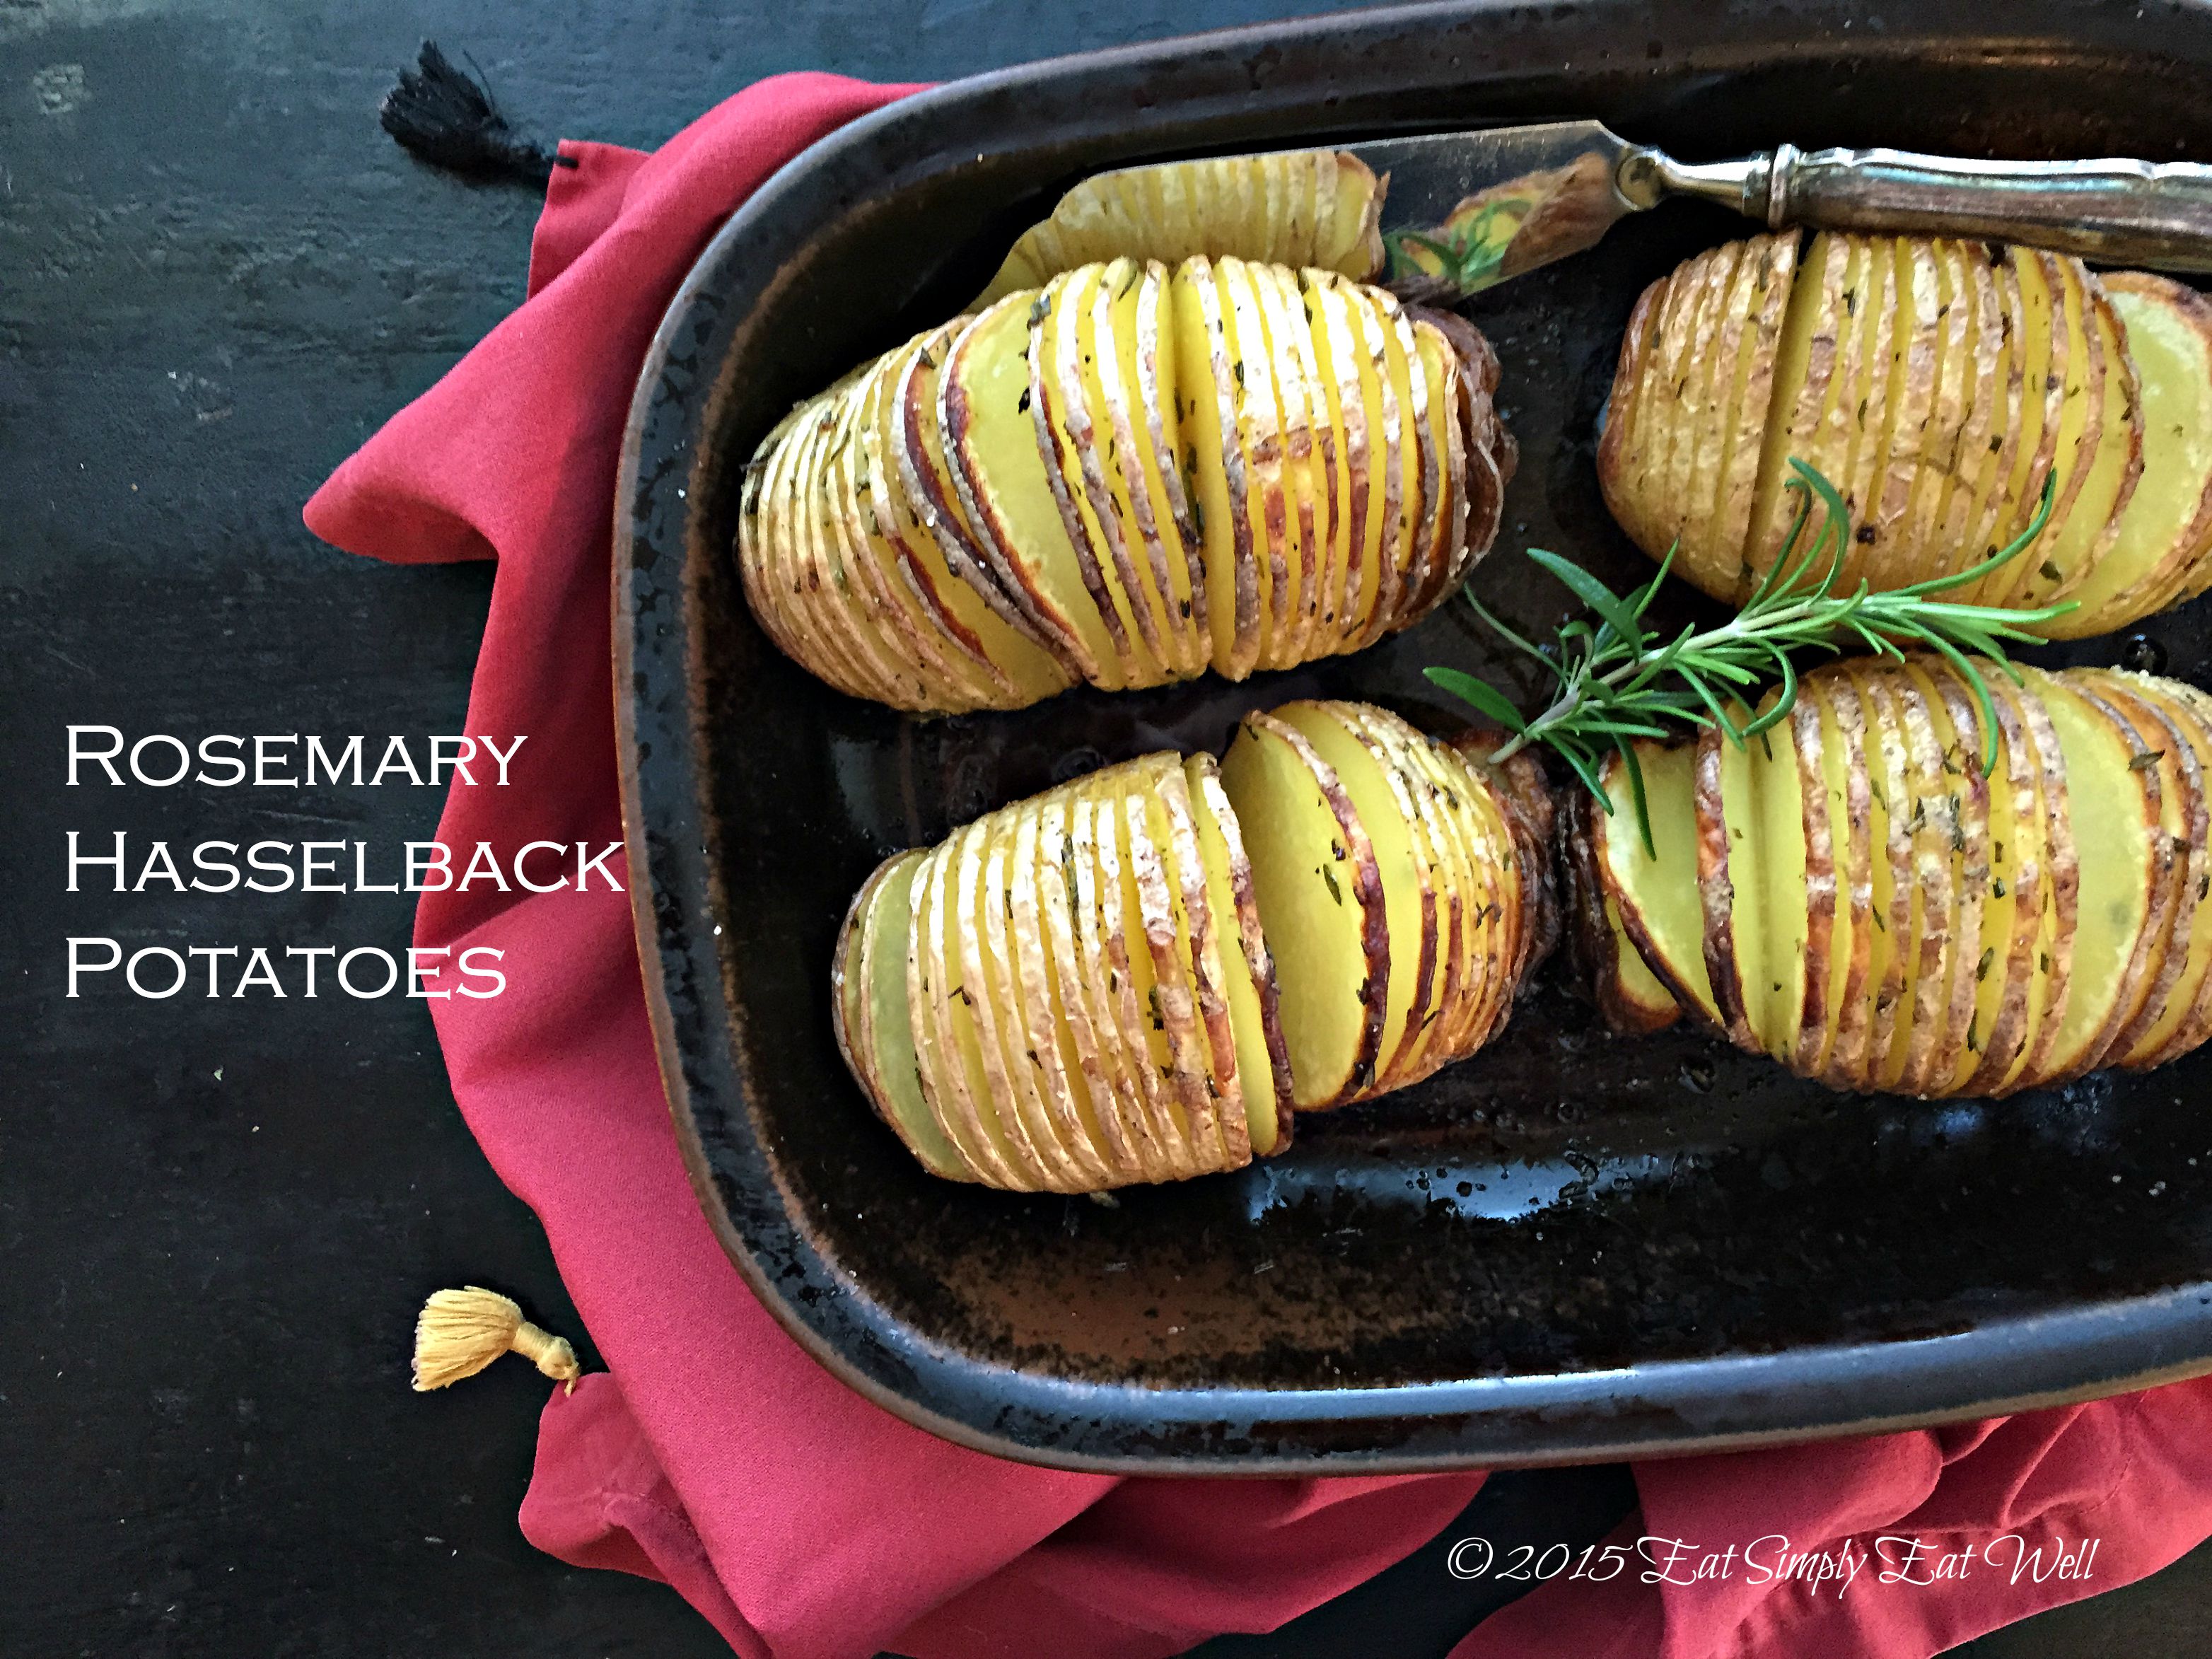
Rosemary Hasselback Potatoes
- 4 large baking potatoes
- 1 large sprig rosemary, leaves picked and finely chopped (about 2 teaspoons)
- 1 teaspoon sea salt
- olive oil
Preheat oven to 190°C/375°F.
Wash and scrub your potatoes to remove all dirt from the skin. Lay a potato on its side, and make thin cuts from one end to the other, cutting down into the potato almost to the bottom, but being careful not to cut all the way through. Place the potato on the baking tray and repeat with remaining potatoes.
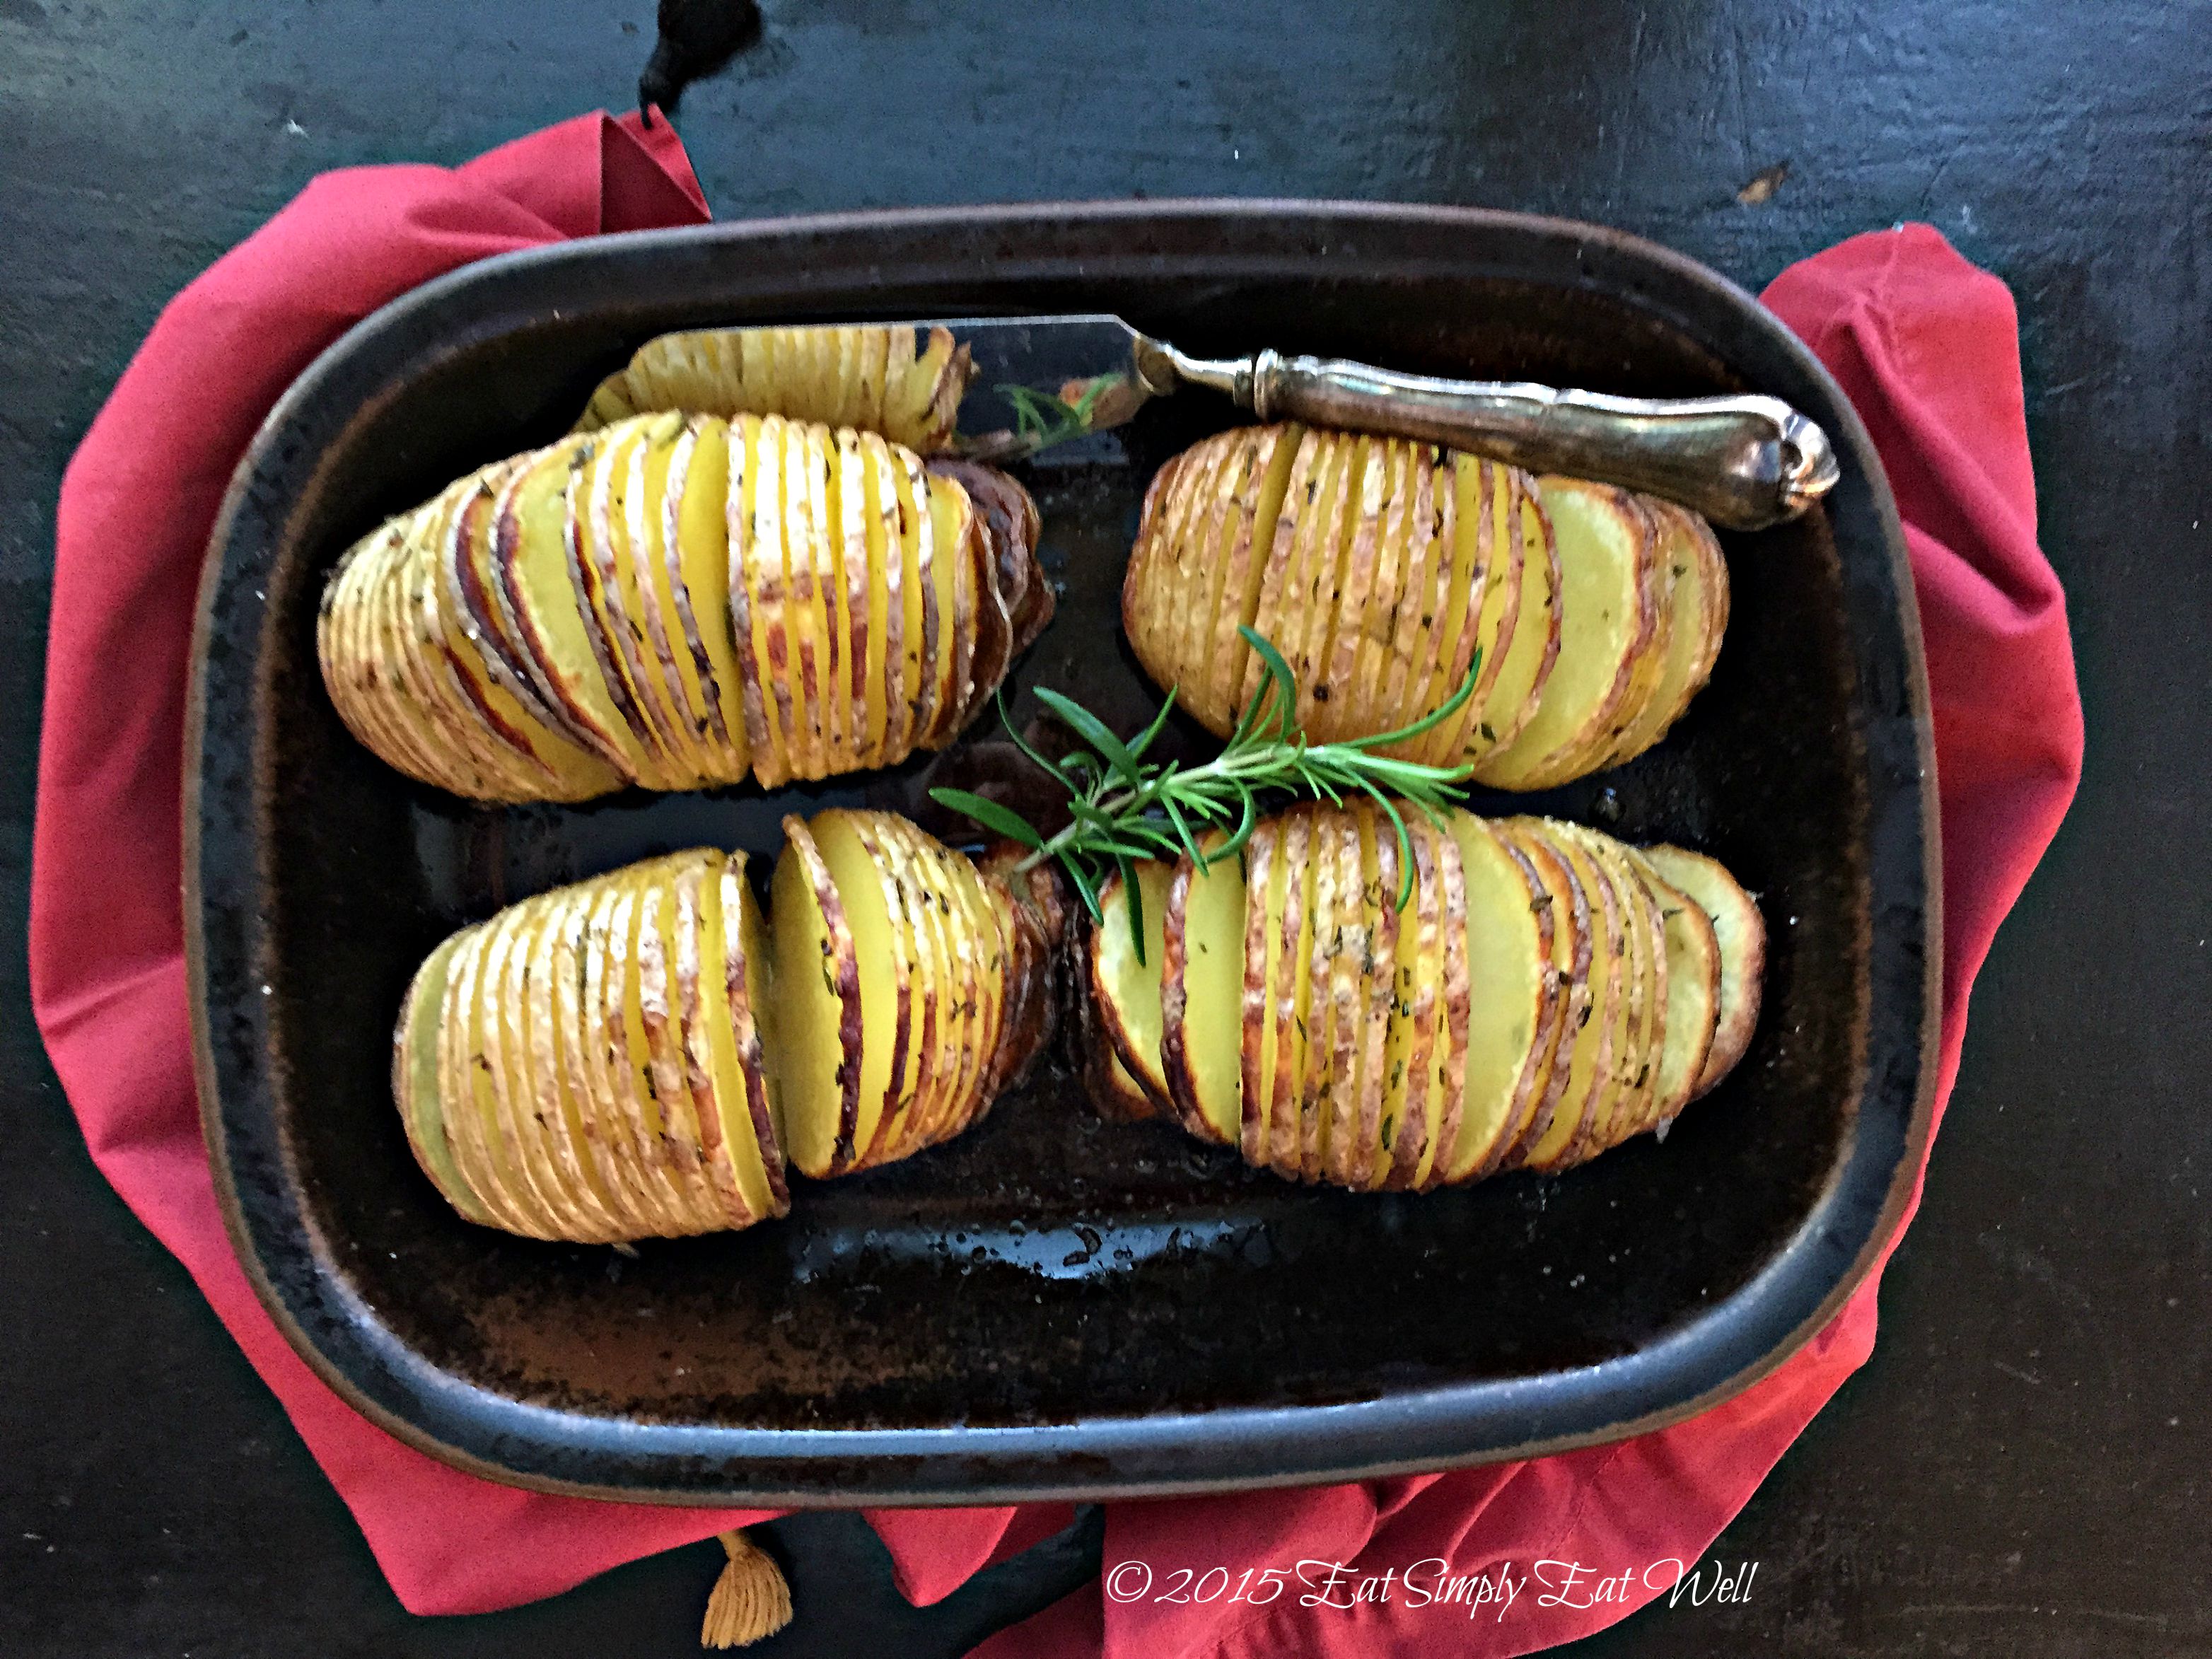
Combine the rosemary and sea salt in a small bowl. Sprinkle a half teaspoon of the mixture over each potato, using your fingers to push it into the cuts a little. Drizzle a thin layer of olive oil over each potato. Place the potatoes into a hot oven and bake for 30 minutes.
Remove the potatoes from oven, and using a basting brush, dip into the oil in the bottom of the pan and brush it over the tops of the potatoes. Return the pan to the oven, increase the heat to 215°C/425°F and continue to bake another 10-15 minutes until the potatoes are golden brown, tender in the center and crispy on top.
Serves 4.