Eat Simply, Eat Well

Healthy recipes & tips to help you live the good life. by Ann Plough

Healthy Baked Oatmeal Porridge

April 18, 2016 by aplough


Baked-Oatmeal_4_20160418

One of the most popular posts on this blog is the Overnight Barley Porridge. I think one of the reasons is the appeal of a one dish meal that basically takes care of itself, provides great flavor and nutrition, works for a crowd, and is super simple to make.

So I decided to make another variation on the theme, using oatmeal.

For this recipe, I used steel cut oats, know as “kaurasuurimot” in Finnish. These are unrefined, unrolled oat grain that have the husk removed, but are not rolled, so that the grain retains its shape when cooked in the same way rice does in a risotto. The texture looks good and is a joy to eat: soft, creamy, smooth and warm. Steel cut oats can be found in most grocery stores nowadays. If you are in Finland, Ruohonjuuri and Stockmann Herkku are good places for these, as are some K-markets. If you can’t find steel-cut oats or kaurasuurimot, use the large old-fashioned oat flakes instead.

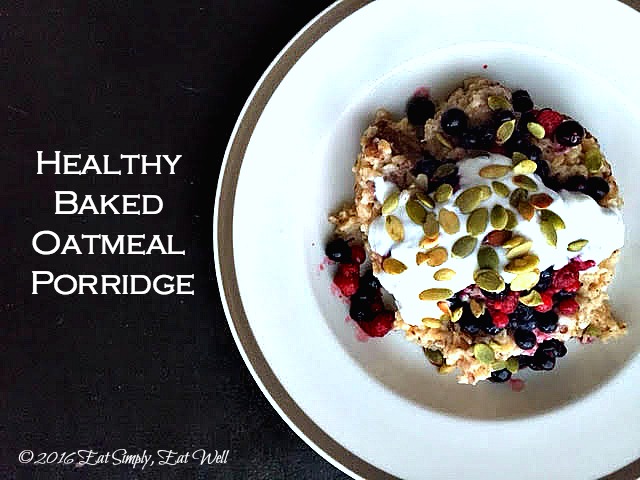
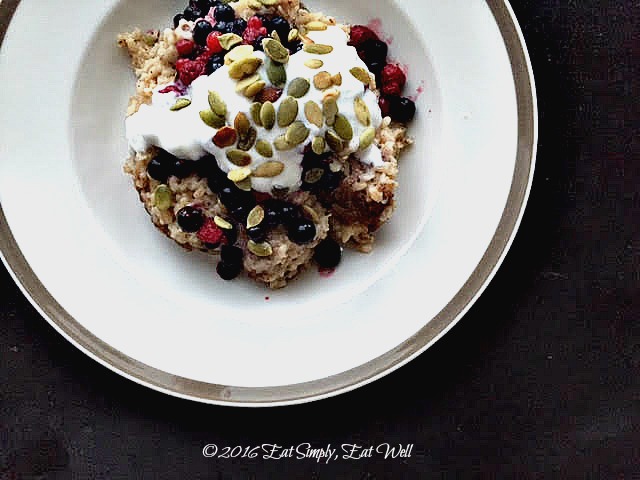
While most baked oatmeals call for using eggs, milk and a LOT of sugar, this one keeps it lean and vegan, using a bit of maple sugar, coconut oil, banana and cinnamon for flavor and sweetness, and flax seeds as a binding agent instead of eggs. I like to top this with berries, a spoonful of yogurt, and toasted nuts or seeds, but I can also imagine this would be amazing with a spoonful of peanut butter and some toasted walnuts, and perhaps a little bit of coconut milk poured over the top.

Oatmeal is a great breakfast, full of healthy heart healthy fiber that keeps you going strong all morning long. Add in a big serving of berries, seeds and yogurt, and you have a well-balanced and healthy breakfast with minimal effort. It’s a win-win.

Baked-Oatmeal_1_20160418

Healthy Baked Oatmeal Porridge

Go ahead and make a big batch. This freezes really well for reheating later, or, if you want to prepare breakfast for the entire week, will hold well in the refrigerator for up to one week.

Make it now; eat happy every single morning, all week long.

Baked-Oatmeal_5_20160418

Healthy Baked Oatmeal Porridge

Healthy Baked Banana Cinnamon Oatmeal Porridge

  • 3 cups/7 dl steel cut oats/kaurasuurimot (you can use old-fashioned oats if necessary)
  • 6 1/2 cups/1.4 l boiling water
  • 3 tablespoons coconut oil
  • 1/4 cup/ 1/2 dl pure maple syrup
  • 2 ripe bananas, grated
  • 1 1/2 teaspoons ground cinnamon
  • 1 teaspoon sea salt
  • 2 tablespoons ground flaxseeds mixed with 6 tablespoons water

Heat the oven to 190°C/375°F.

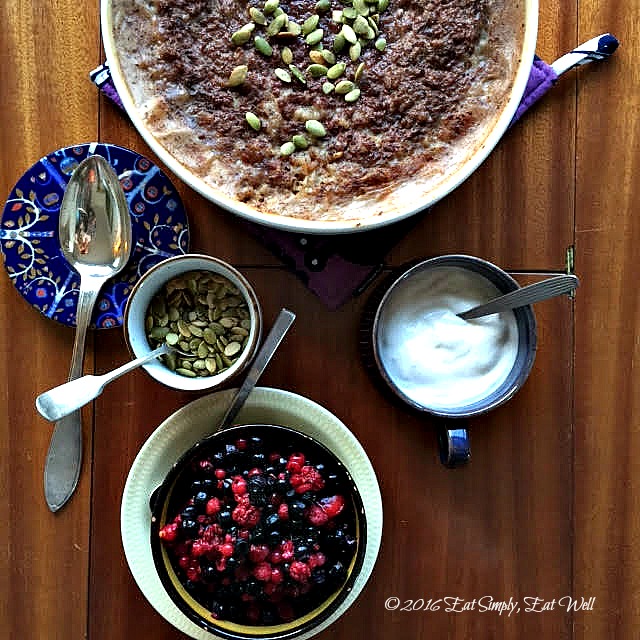
Combine all the ingredients in a 3 liter/3 quart oven-proof ceramic dish. Place the filled dish onto a baking try and place the tray into the hot oven. Bake for 50-60 minutes, or until the top is nicely browned. Removed from the oven and allow the porridge to rest at room temperature for 10 minutes. The porridge will firm up a little during this time.

To serve:

  • greek, soy or coconut yogurt
  • mixed berries
  • toasted nuts or seeds
  • oat milk or coconut milk

Serves 6-8

Eat simply, eat well,

Ann

Do you have other great ideas for easy & healthy breakfasts? Let me know in the comments below.  Did you like this post? Please share it with your friends.

If you haven’t done so already, make sure you sign up for the newsletter so you don’t miss any of the great recipes and tips shared on this blog. Just fill out the form at the top right of this page. 

Filed Under: Breakfast, Dairy-free, Gluten-free, Vegan

Asparagus Soup and a Secret Ingredient

April 13, 2016 by aplough

Asparagus-Soup_title_20160413

Spring has arrived at last. And as I look around me at an awakening world, and I can’t help but think: T.S. Eliot had it all wrong about April. In The Wasteland he writes:

April is the cruellest month, breeding

Lilacs out of the dead land, mixing

Memory and desire, stirring

Dull roots with spring rain.

Winter kept us warm, covering

Earth in forgetful snow, feeding

A little life with dried tubers

Dear poet, I humbly disagree. April is far from cruel.

For those of us who endure Winter’s long months and embrace wholeheartedly the departure of snow and ice – April, with it’s spring rain and sun warming the dull roots to life, coaxing the bright green leaves from beneath the crust of melting snow and into broad daylight; with the return of migrant birds to nest in the waters outside our windows; with newly purchased vegetable and flower seeds for our gardens just waiting to fulfil the potential of their tiny existence – April is a month of hope and renewal.

And, with April comes asparagus.

Asparagus_20160413

Easter came in March this year, and with it, asparagus too early for its time and flown in from too far away from its origins – some farm in Peru. Now, it’s still too early for Finnish asparagus; for that we wait until May. However, our dear European friends in Italy have an abundance of asparagus, thanks to enviable warmer climates, and those slender, bright green spears fill the shelves of local supermarkets right now.

And so it’s asparagus in the morning with eggs; asparagus on toast; asparagus steamed to eat with just a little salt and nothing else, and a simple asparagus soup, like this one.

This asparagus soup has a secret ingredient, though, to add a smoothness and thickness that asparagus lacks on its own: oatmeal. Typically reserved for breakfast, oatmeal can be undervalued as an ingredient in other meals, but I’ve been adding it to soups lately, and the boost of creamy texture, heart-healthy fiber, and blood sugar regulating properties are only further enhanced by the fact that it makes a soup so much more satisfying to eat. You’re going to love it.

Asparagus_soup_plain_20160413

Asparagus is power food. It has:

  • contains high levels of anti-oxidants including vitamin C, beta carotene and vitamin E
  • contains high levels of anti-inflammatory phytonutrients
  • contains high levels of inulin, which is digested in our large intestine where it is used as food by beneficial digestive bacteria Bifidobacteria and Lactobacilli, both of which help with nutrition absorption
  • contains 3 grams of fiber per cup
  • contains 4-5 grams of protein per cup

A few other things to know about asparagus:

  • it has a high respiration rate, the metabolic activity in the plant that breaks down the starch and sugars. This means that asparagus is not a vegetable you want to keep hanging around in your refrigerator for many days after purchase. Try to use asparagus within 48 hours or so after purchase as the quality and level of nutrients start to deteriorate pretty quickly. Eat up and enjoy!
  • Asparagus can be eaten raw, roasted or lightly steamed – but it needs very little cooking time; and in fact, long cooking periods tend to negate much of its nutritional value. The easiest way to cook asparagus is to trip the bottom ends by about 1/2″/1.5 cm. Then place just enough water in a pot to cover the bottom, bring it to a boil, add a small amount of salt, place the asparagus spears in, cover, and steam for one minute. Pour the water out and serve hot, warm or cold.

This asparagus soup is simple, quick and delicious – exactly what you hope for when your moving at full speed the rest of your day. So get this short list of ingredients ready and settle in – your soup will be ready in no time.

Asparagus-soup_cheese_20160413

Asparagus Soup

  • 2 tablespoons olive oil
  • 1 yellow onion, minced
  • 1 leek, white parts only, sliced in half lengthwise and thin into thin half moons
  • 2 garlic cloves, minced
  • 500 g asparagus, 
  • 1 cup cooked oatmeal
  • 5 cups water
  • 1 teaspoons salt
  • parmesan cheese to serve, optional
  • toasted sourdough bread to serve, optional

Prepare the asparagus:  Cut off the bottom 1/2″/1.25 cm of the asparagus and discard. Cut off the tips of the asparagus so that each tip is about 2″/5 cm long. Set aside.  Cut the remaining stalks of asparagus into chunks.

Heat the olive oil in a heavy-bottomed pot over medium heat, then add the onion and leek. Cook slowly until translucent and very tender; about 10 minutes. Add the garlic an cook for one minute more. Add the asparagus chunks, oatmeal, water and salt. Bring to a boil, reduce heat to as simmer, and cook for 5-6 minutes or until asparagus is tender. Remove from heat, and using an immersion blender, puree the soup until smooth. (If you don’t have an immersion blender, transfer the soup in small batches to a heat-proof blender and blend until smooth. Return the soup to the pot and rewarm if necessary).

Place a small pot over the stovetop and pour in 1/2 cup water, or enough to cover the bottom. Add 1/4 teaspoon salt and bring to a boil. Add the reserved asparagus spears, cover with a lid, and steam for one minute. Remove from heat and drain the water.

To serve, divide the asparagus soup evenly between four bowls. Arrange the asparagus spears on the top, and if you wish, grate fresh Parmesan cheese over the top and serve with toasted sourdough bread.

Serves 4.

Do you have other tips to share about how you cook asparagus? Let me know in the comments below! And if you like this recipe, please share it with your friends!

If you haven’t already, be sure to sign up for our newsletter before you go (it’s back up on the right at the top of the page).

To your health & joy.

Ann

Filed Under: Gluten-free, Main Course, Meatless Monday, Soup, Vegan, Vegetarian

Are You Wasting the Best Part of your Squash? Butternut Squash Patties and Tip to Tail Squash Cooking

April 8, 2016 by aplough

Butternut-Squash-Patties-with+_20160408

We’re at that point in the year where the last of the Winter vegetables are bumping up against the first of the Spring vegetables. At least – that’s true here in Helsinki, where the last pieces of ice hug the edge of the shore near the sea, slowly melting away, and where the migrant birds have finally returned to begin nesting in local waters.

There is one Winter vegetable that landed on my table in early Fall, and is still something I pick up pretty much every week, because the flavor is just so good: Butternut Squash. This lovely squash, with its shapely curves and bold orange interior is not only beautiful to look at, it’s easy to cook and has flavor that needs very little tampering with in order to create a healthy and delicious meal.

Butternut-Squash_20160408

Butternut Squash is good for you:

  • contains high doses of antioxidants, and is in fact, a primary source of alpha-carotene and beta-carotene in our diets
  • the form of starch found in butternut squash comes from polysaccharides found in the cell walls – which have been found through research to have anti-inflammatory, anti-oxidant, anti-diabetic and insulin-regulating properties
  • 1 cup/2 dl of of the squash provides 1/3 of the daily recommended amount of Vitamin C!
  • it’s a surprising source of Omega 3 fatty acids: 1 cup of the squash provides 340mg of Omega3; although the squash itself is only about 15% fat. No wonder it tastes so silky smooth.
  • contains good amounts of five B vitamins: B1, B3, B6, pantothenic acid and folate. These are important for blood sugar regulation
  • in addition to the nutrients already mentioned, it is a very good source of fiber, manganese and copper and a good source of potassium, vitamin K,  magnesium, and niacin.
  • Naturally sweet, you can add this squash to any meal to combat sugar cravings, and boost your health in the process. A win-win!

source: whfoods.com

This recipe calls for roasting the squash whole, and then using nearly the entire thing. Consider this a nearly zero-waste food, because with the exception of the stem attached to the squash, literally every other bit and piece of this wonderful vegetable can provide gastronomic joy for you.

To use this “tip to tail” method for butternut squash, make note of these tips:

  1. The whole squash can be baked the day before and refrigerated overnight before proceeding with the recipe.
  2. The seeds are delicious toasted: remove the flesh from the seeds and toast in a lightly oiled pan over medium heat until they just begin to blacken. Remove from heat and cool slightly.
  3. Don’t throw the skin away! Tear it into chip-sized pieces, sprinkle lightly with salt, and fry, in small batches, in a very thin layer of oil in a frying pan until crispy and brown on both side. Woohoo – delicious! You’ll be wondering why you’ve been chucking that skin away your whole life!
  4. To keep the first batch of butternut squash patties warm while you cook the rest, place a plate into the oven and turn the oven onto its lowest setting. Place the patties into the oven until you are ready to serve.

While this meal can be prepared all at once, I highly recommended roasting the squash one day and storing it in the refrigerator to use on a subsequent day. Nowadays, I usually roast two at a time as it takes an hour either way, and I can always find a use for it! (salads, smoothies, made into a dip, or…)

Butternut-Squash-Patties-Main_20160408

Butternut Squash Patties

  • 1 Butternut squash
  • 1/4 teaspoon freshly ground nutmeg
  • 1/8 teaspoon cayenne pepper
  • 1/2 teaspoon salt
  • 1/4 teaspoon black pepper
  • 7 sage leaves, finely chopped
  • 2 teaspoons fresh thyme leaves, finely chopped
  • 1 egg
  • 1/3 cup chickpea flour
  • 1/2 cup greek yogurt
  • 12 small sage leaves or thyme sprigs for serving, optional

Preheat oven to 200°C/400°F. Wash the squash to remove any dirt or residue. Lay a whole butternut squash onto a parchment lined baking pan, pierce the top several times with a fork, and place the pan in the oven. Bake for 50 – 60 minutes, or until squash begins to collapse and is very soft when pierced with a fork.  Remove the squash from the oven, cut in half lengthwise, leave on the pan and allow to cool to room temperature.

Once the squash has cooled, remove the seeds with a spoon and set aside. Scoop the flesh away from the skin, reserving the skin for later use (they make seriously good chips when fried in a little oil in a pan, then salted). Place the squash in a bowl and add the nutmeg, cayenne pepper, salt, pepper, thyme and sage. Using a fork or potato masher, mash until smooth. Taste the squash and adjust seasonings to your liking. Add the egg and the chickpea flour and mix until completely smooth.

Heat a heavy-bottomed frying pan over medium-high heat. Add 1 tablespoon of olive oil to coat the bottom of the pan. Allow the oil to heat up briefly, then spoon 2-tablespoon sized scoopfuls of the squash mix into the pan and flatten them down into patties. Fry 3-4 minutes per side, allowing each side to cook until golden brown and crispy.

Makes 8 patties.

To serve:

Make a simple green salad:

  • 6 cups of dark greens of choice – I really like either Savoy cabbage or Lollo Rosso with this
  • 1 cucumber, chopped into cubes
  • 1/2 cup alfalfa sprouts (other sprouts work well too)
  • 6 radishes, thinly sliced
  • pinch of salt
  • 6-8 grinds of fresh black pepper
  • 1 tablespoon balsamic vinegar
  • 1 tablespoon extra virgin olive oil

Combine all ingredients in a large bowl, and using your hands, mix well to coat the vegetables evenly with the dressing.

Divide the salad between 4 plates. Arrange the patties on top of the salad, overlapping slightly. Add a spoonful of yogurt to the top, and sprinkle a few sage leaves or thyme sprigs over the top.

Serves 4.

Butternut-Squash-patties-1_20160408

Did you like this recipe post? Let me know in the comments below, and please share it with your friends. 

Eat simply, eat well!

Ann


Filed Under: Gluten-free, Main Course, Meatless Monday, Salad, Tips and Tricks

  • « Previous Page
  • 1
  • 2
  • 3
  • 4
  • 5
  • Next Page »

Find me on social media

  • Bloglovin
  • Facebook
  • Instagram
  • Pinterest
  • Twitter

Looking for something?

Eat Simply, Eat Well 's gallery on Punk Domestics
  • Bloglovin
  • Facebook
  • Instagram
  • Pinterest
  • Twitter

Copyright © 2025 · Foodie Pro Theme by Shay Bocks · Built on the Genesis Framework · Powered by WordPress