|
| I’m game for this meal anytime! |
When I was growing up, in Seattle, WA, we talked about reindeer and Santa Claus in the same sentence: as in the eight pulling the fat, white-bearded, red-suited man’s sleigh: “on Dasher, on Dancer, on Prancer on Vixen. On Donner, on Cupid, on Bonner and Blitzen…and the most famous of all…Rudolph, the Red-nosed Reindeer!” The light from Rudolph’s bright red nose was Santa’s way of finding the chimney attached to your house above your stocking on Christmas eve. He definitely wasn’t dinner.
But it’s not Christmas, Santa won’t be making an appearance for a while, and living in Finland, I’ve enjoyed my share of reindeer meat. There are reindeer herders in the north of Finland who raise the animals as people do cattle or lamb in other countries. There is a season for fresh reindeer, which is nearly over now that the Spring is fast approaching, so it’s time to buy it now and eat up. The most typical form is a shredded reindeer, stewed for a long time in it’s own juices with pepper, salt, bay leaf and served up with mashed potatoes and lingonberries, which grow all over in the Finnish forests in late August and early September. My freezer is full of lingonberries I picked myself. I haven’t, however, adopted the habit of shooting my own reindeer, so alas, my home food supply is seriously lacking in that department.
You can get good quality reindeer from local markets here – from beautiful reindeer center cut roasts, cooked to medium rare and served with roasted potatoes and green beens, to the shredded reindeer mentioned above, to a small packet of freshly ground reindeer on demand at the Hakaniemi market, picked up by a good friend on her way to your house to concoct a dinner with you. That, my friends, is the best kind.
 |
| Reindeer from Finnish Lapland (full disclosure: not my photo) |
Now I understand if you’re living in a place where reindeer is not readily available. Don’t let that stop you from enjoying the recipe you’ll see at the bottom of this post. If you know someone (yourself, your husband, brother, friend, neighbor, work mate) who likes to hunt, barter a few pounds of ground game: that deer he/she is proud of, make the burgers on this page, and invite that person over for dinner. You’ll all be happy about it, trust me. At least about the burgers, that is. I make no guarantees about your dinner company.
These burgers, called Lindström burgers (pihvit) are something I’d only had once before. When Johanna suggested we make them with wild game meat, I was all ready to try it. Hirvi (moose in Finnish) was not to be found but Poro (reindeer) was, and I have to say that of all the times I’ve enjoyed a meal with reindeer, this one was the best. The beets and vinegar with the capers and potato mellowed the “gaminess” of the meat to create the perfect blend of flavors. Those of you who eat game know what I mean.
Serve the Lindström burgers without a bun. Instead try a combination of quinoa and amaranth combined with chives, salt and pepper, or cook up some mashed potatoes to go with it. Traditionally these are served with a creamy mushroom sauce, but we amped up the meal by serving them with fresh Tzatziki, and I could have eaten this again and again. Rosemary, Hazelnut Green Beans on the side made for the perfect meal. Finished off with this Lemon Tart, there were no complaints around my table. There won’t be around yours either, I dare say.
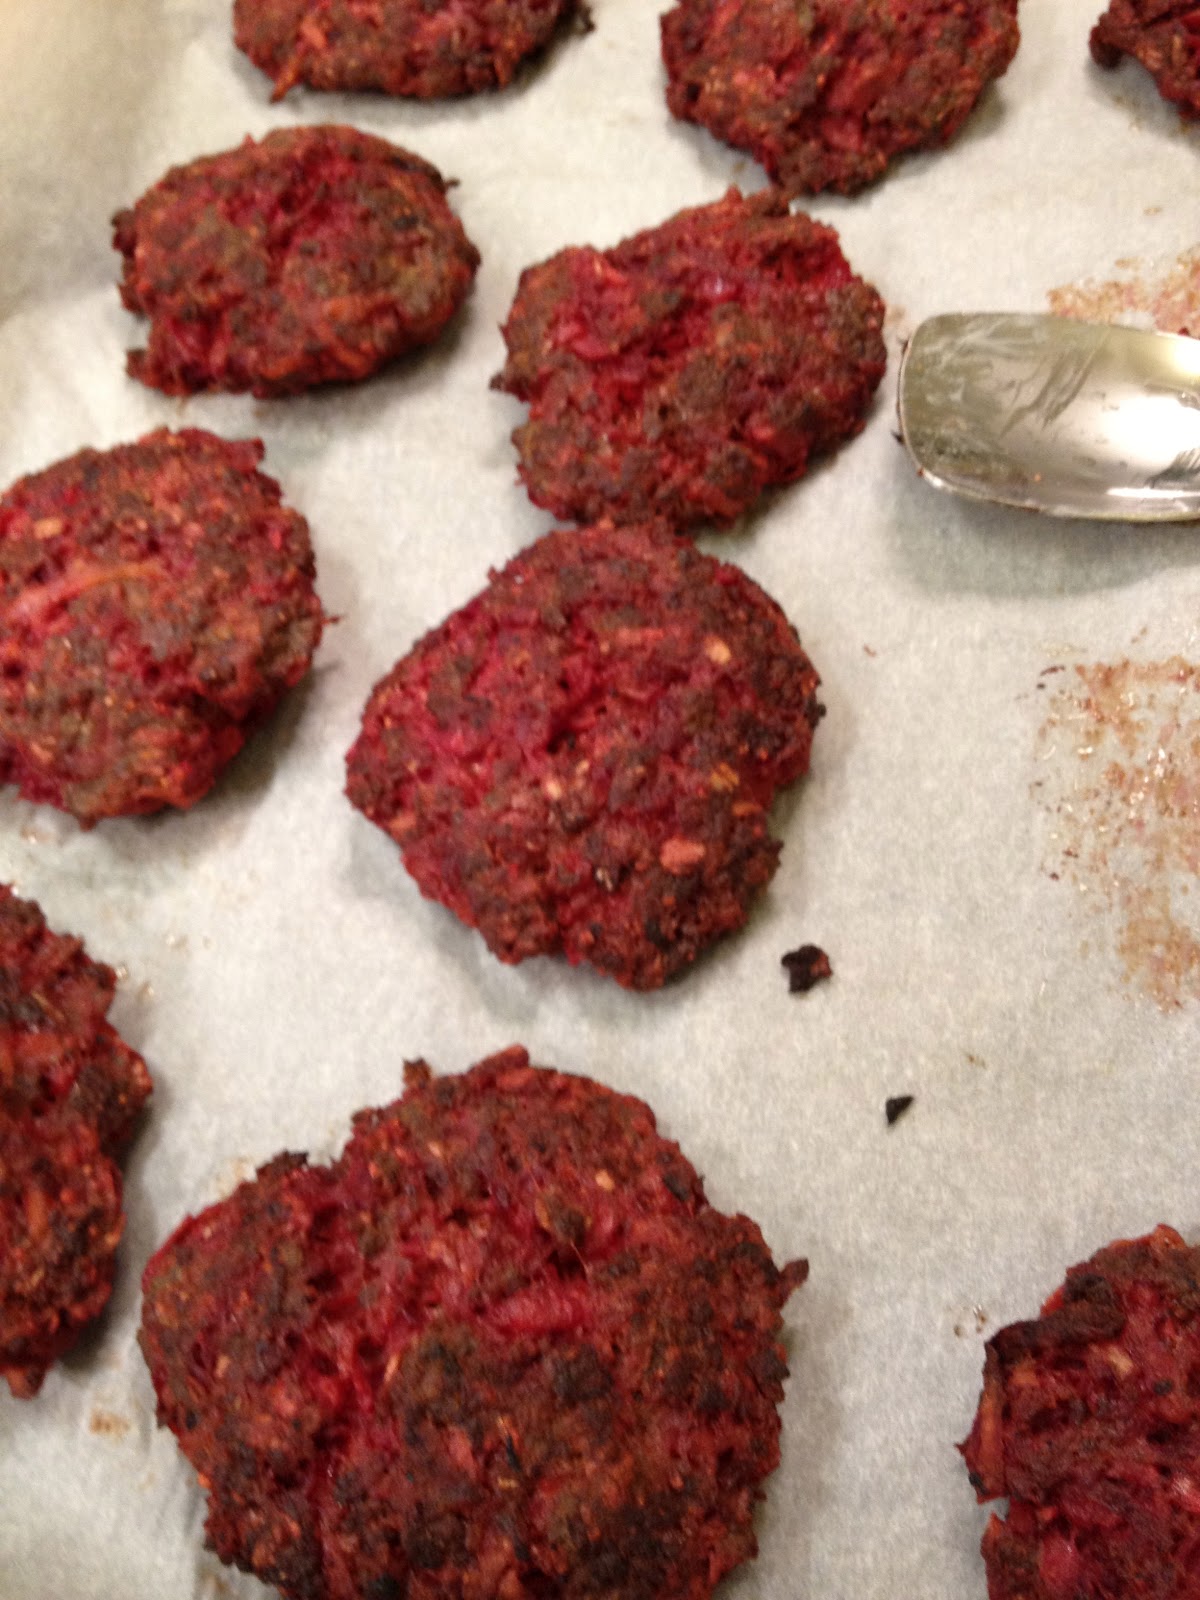 |
| Reindeer Lindström Burgers |
The original recipe came from Soppakellari‘s blog, who had adapted a recipe by Polkkapossu (the food blog world is a beautiful for thing for sharing and adapting and passing good food along. Thanks to both!). She made hers with ground beef and served them with mushroom sauce, and didn’t use oatmeal – I am sure they were delicious! So if you don’t have a side of deer in your freezer, no worries, you can still enjoy these at home with another type of ground meat.
So here they are Soppakellari’s Lindström pihvit made Polkkapossu’s way and adapted to give us a new way to enjoy reindeer:
Reindeer Lindström Burgers
450g / 1 pound ground reindeer meat
1 medium size yellow onion
15 small capers
3 raw beets, peeled, grated, and pan cooked in 3 Tablespoons of red wine vinegar
2 small potatoes, peeled and shredded
2 eggs
3/4 dl ruokakermaa/ 3/8 cup half&half (sorry! the conversion is a little weird – can’t we all just use metric?)
1/4 teaspoon fresh ground black pepper
1 1/2 teaspoon sea salt
1 1/2 dl / 3/4 cup oatmeal
In a blender or a food processor, combine the onion, capers, beets and potatoes and combine until the mixture is roughly chopped (it should be a bit chunky – you don’t want it to be smooth at all, more like a salsa texture). Transfer the mixture to a medium-sized bowl and add the reindeer meat, eggs, cream, salt and pepper and the oatmeal. Mix all ingredients together with your hands until just thoroughly combined. Do not over mix.
Heat the oven to 225°C/425°F. While the oven heats, let the mixture rest for at least 10 minutes to allow the oatmeal to absorb the moisture from the other ingredients and for the flavors to combine. Line an oven pan or cookie sheet with parchment paper and set aside.
Divide the mixture into 12 equally sized balls. Heat a frying pan over medium high heat. Flatten each ball into a patty like a burger and fry on each side until they are slightly browned. Place all of the reindeer burgers onto the parchment covered pan, and cook them in the oven for 15 minutes.
While the burgers cook, make your Quinoa & Amaranth Pilaf, Rosemary & Toasted Hazelnut Green Beans, and Tzatziki.
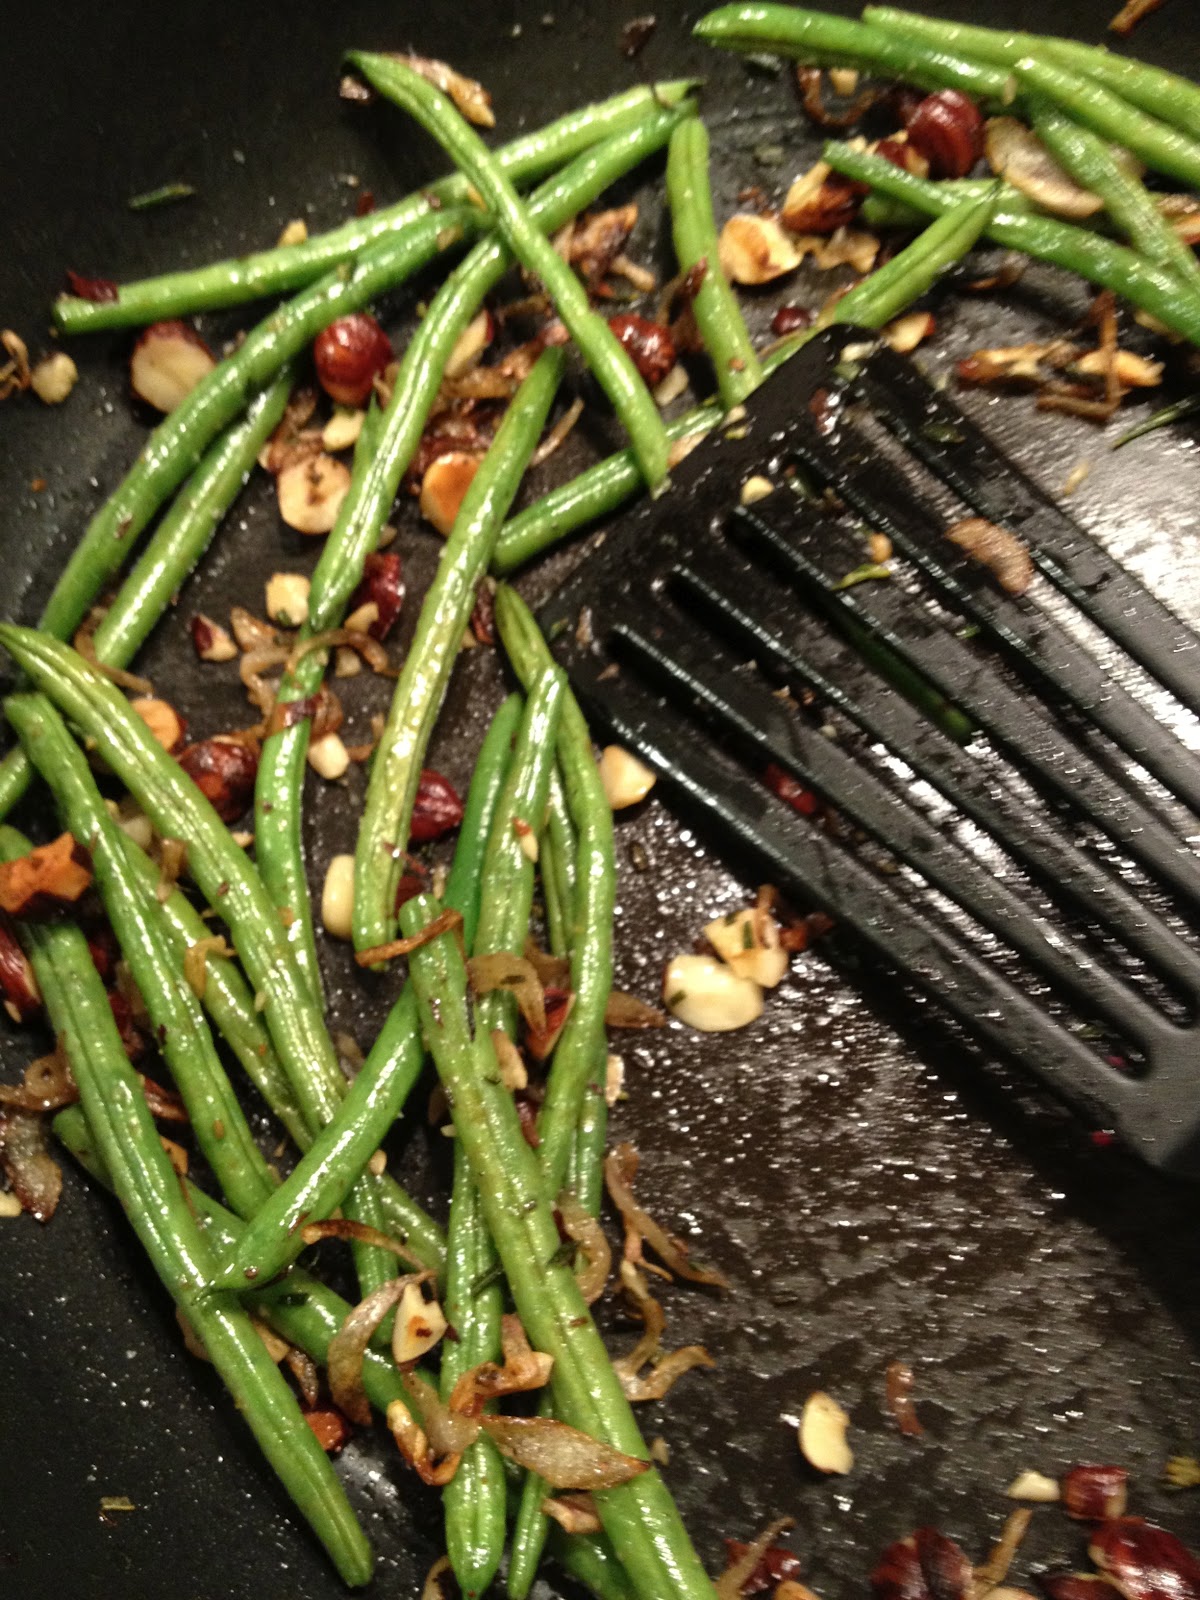 |
| Rosemary, Roasted Hazelnut Green Beans |
Tzatziki
can be made ahead – the flavors taste better if they are combined together and then refrigerated for at least an hour
1 cup Greek yogurt
1 cup shredded cucumber, skin on, preferably organic
2 Tablespoons of fresh mint leaves, chopped
1 garlic clove, minced
1 Tablespoon grated lemon peel
1/4 teaspoon salt
1/8 teaspoon black pepper
Place all ingredients together in a small bowl and mix with a spoon to combine thoroughly
Rosemary & Toasted Hazelnut Green Beans
250g / 1/2 pound green beans, ends trimmed
2 shallots, sliced thinly
2 Tablespoons olive oil
2 Tablespoons fresh rosemary, roughly chopped
1/2 cup hazelnuts, roughly chopped
Heat a frying pan over medium heat. Add 1/2 cup of warm water and bring it to a simmer. Add the beans to the pan and cook, stirring slightly, until they are a bright green. Remove beans from the pan and set aside on a plate. Pour out the leftover water.
Return the frying pan to the stovetop over medium heat. Add the olive oil to the pan, allow it to heat up for a few seconds, and add the shallots. Cook the shallots 2-3 minutes until the begin to soften, the add the hazelnuts and rosemary. Stir the mixture until the hazelnuts are toasted a nice golden brown. Add the beans back to the pan and toss to coat.
Quinoa & Amaranth pilaf
1 dl / 1/2 cup dried quinoa
1 dl / 1/2 cup dried amaranth (if you don’t have it, use all quinoa)
2 Tablespoons freshly chopped chives or 1 Tablespoon dried
1/2 teaspoon salt
1/4 teaspoon fresh ground black pepper
5 dl / 2 1/2 cups cold water
Combine all ingredients in a small pot. Place over high heat, bring to a boil, reduce heat to low, cover, and let simmer for 15 minutes. Toss the mixture with a fork to fluff.
The dinner serves 4