|
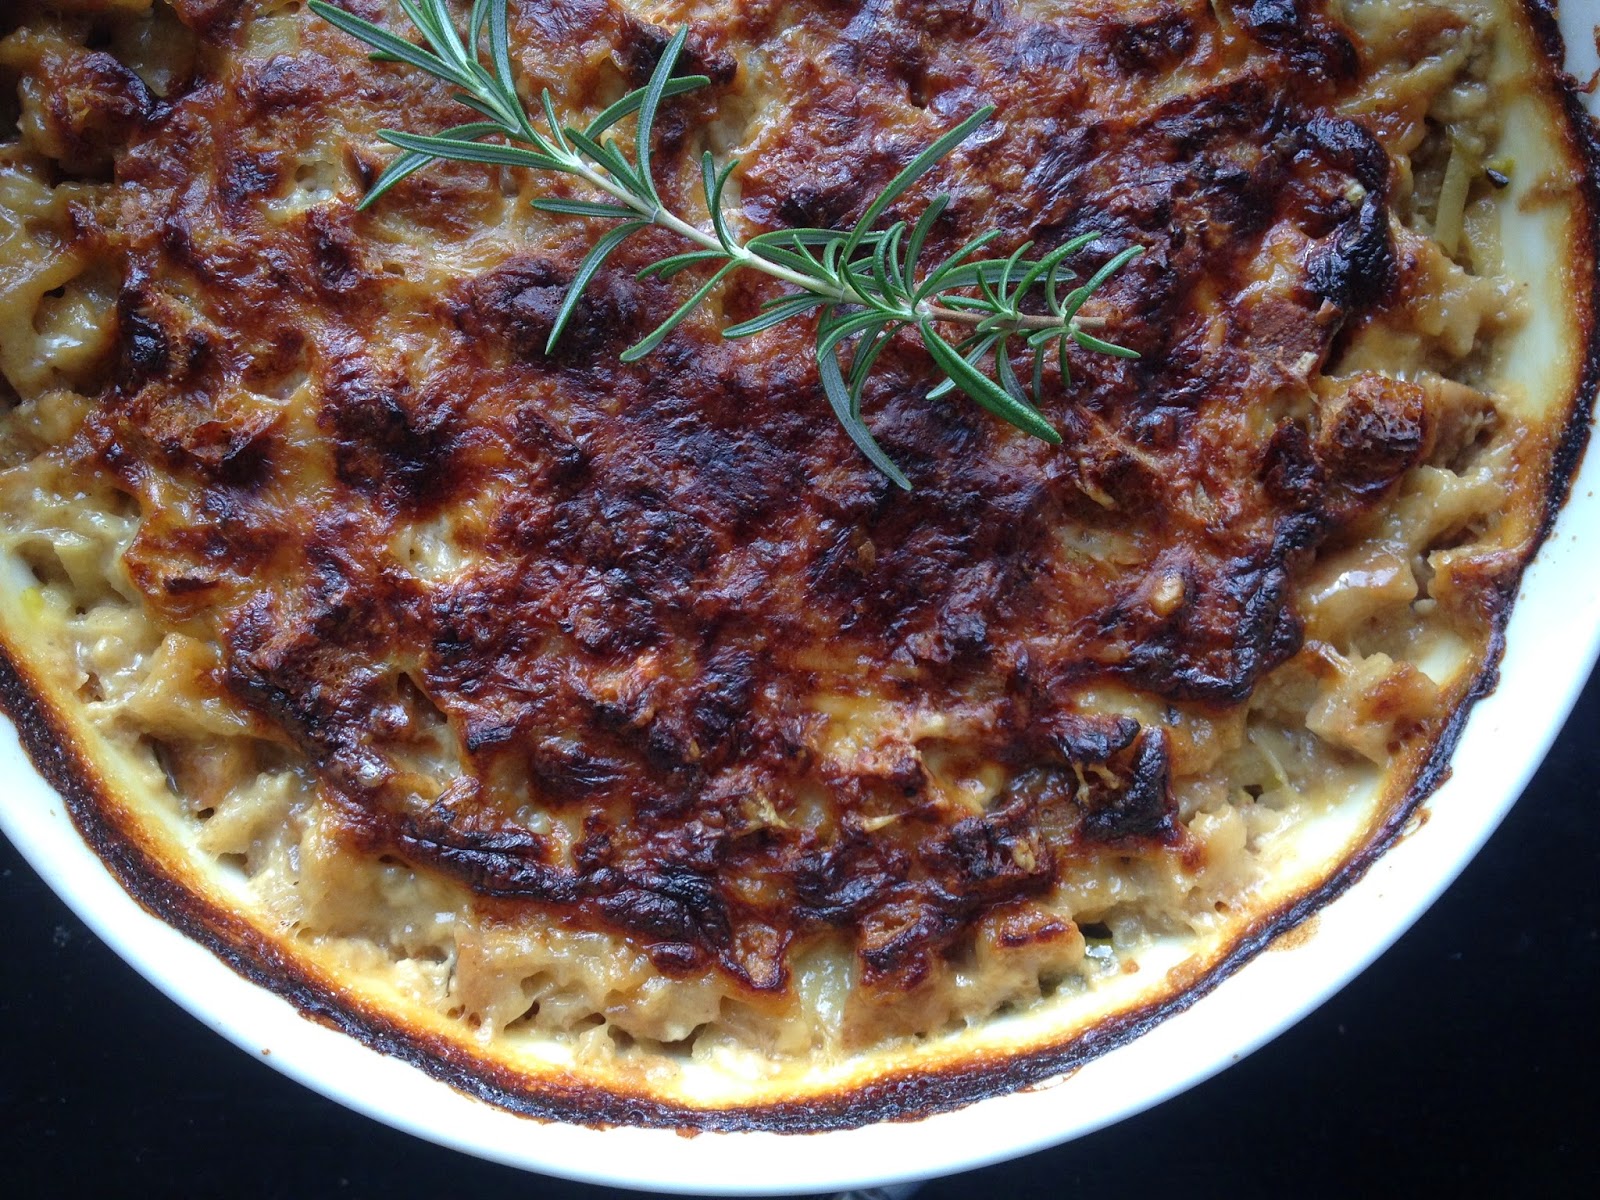
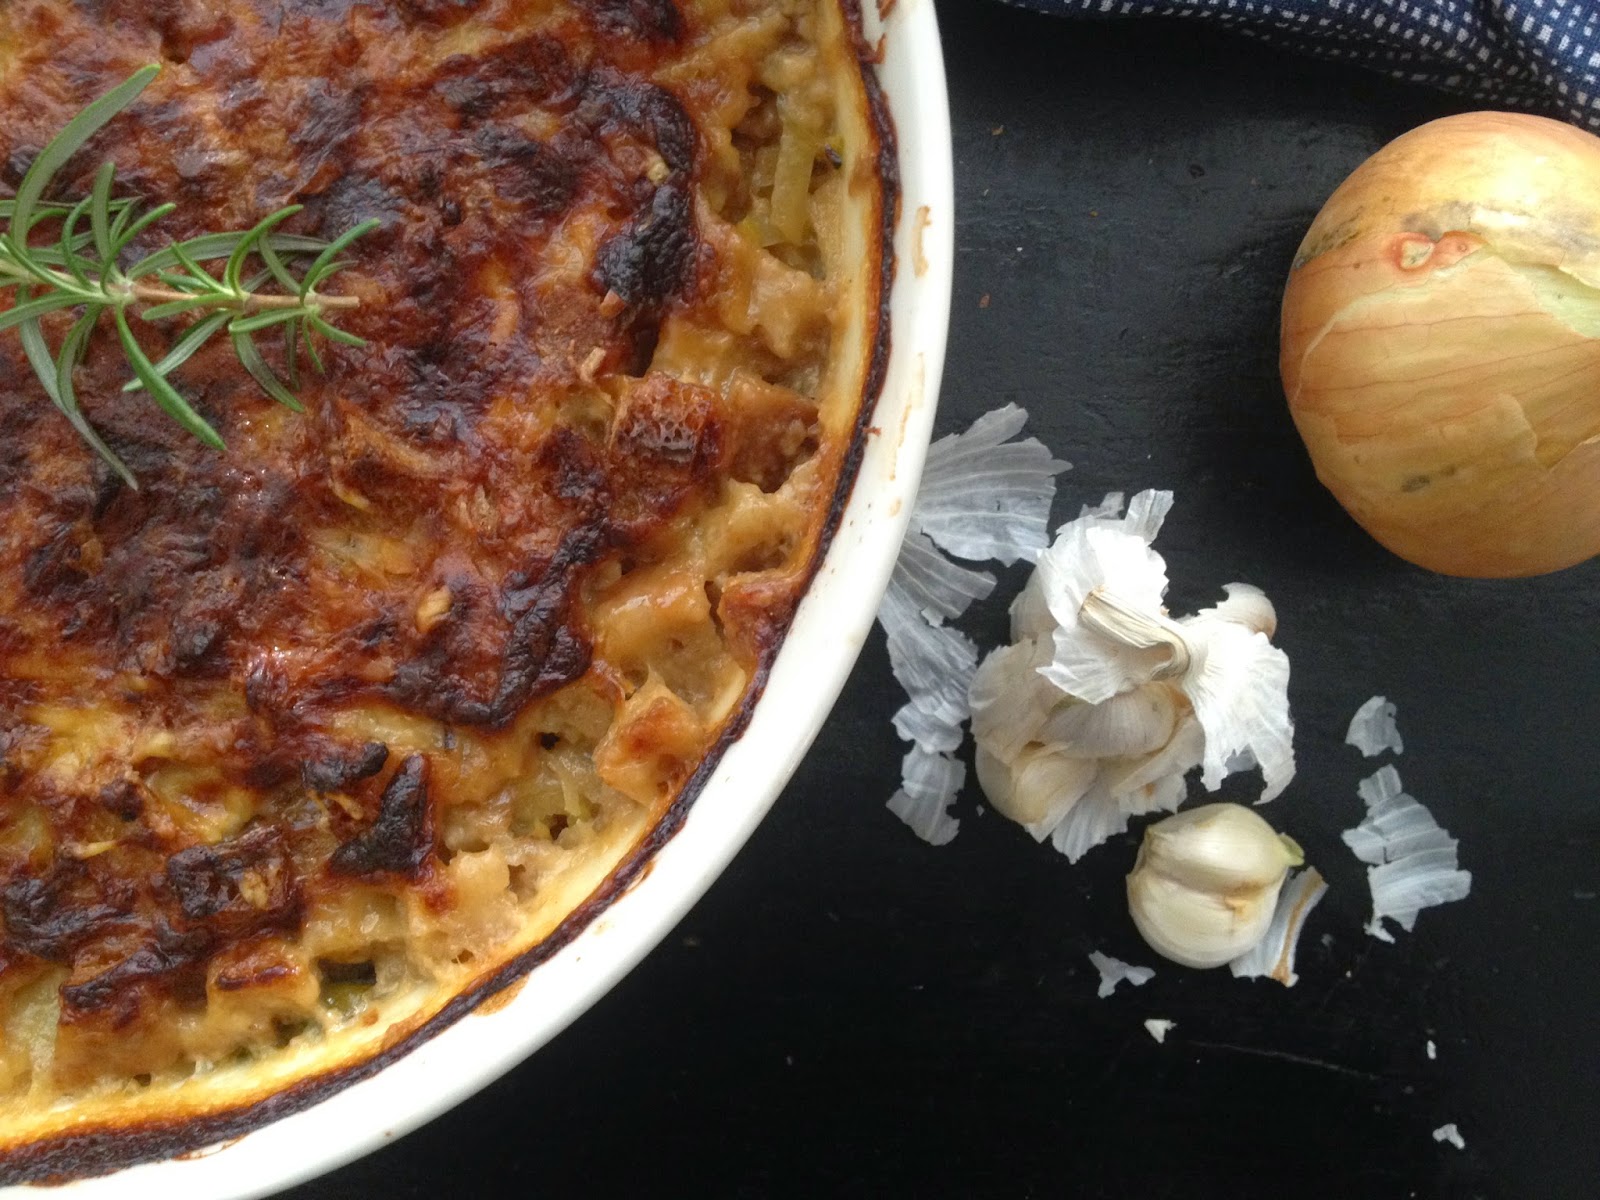
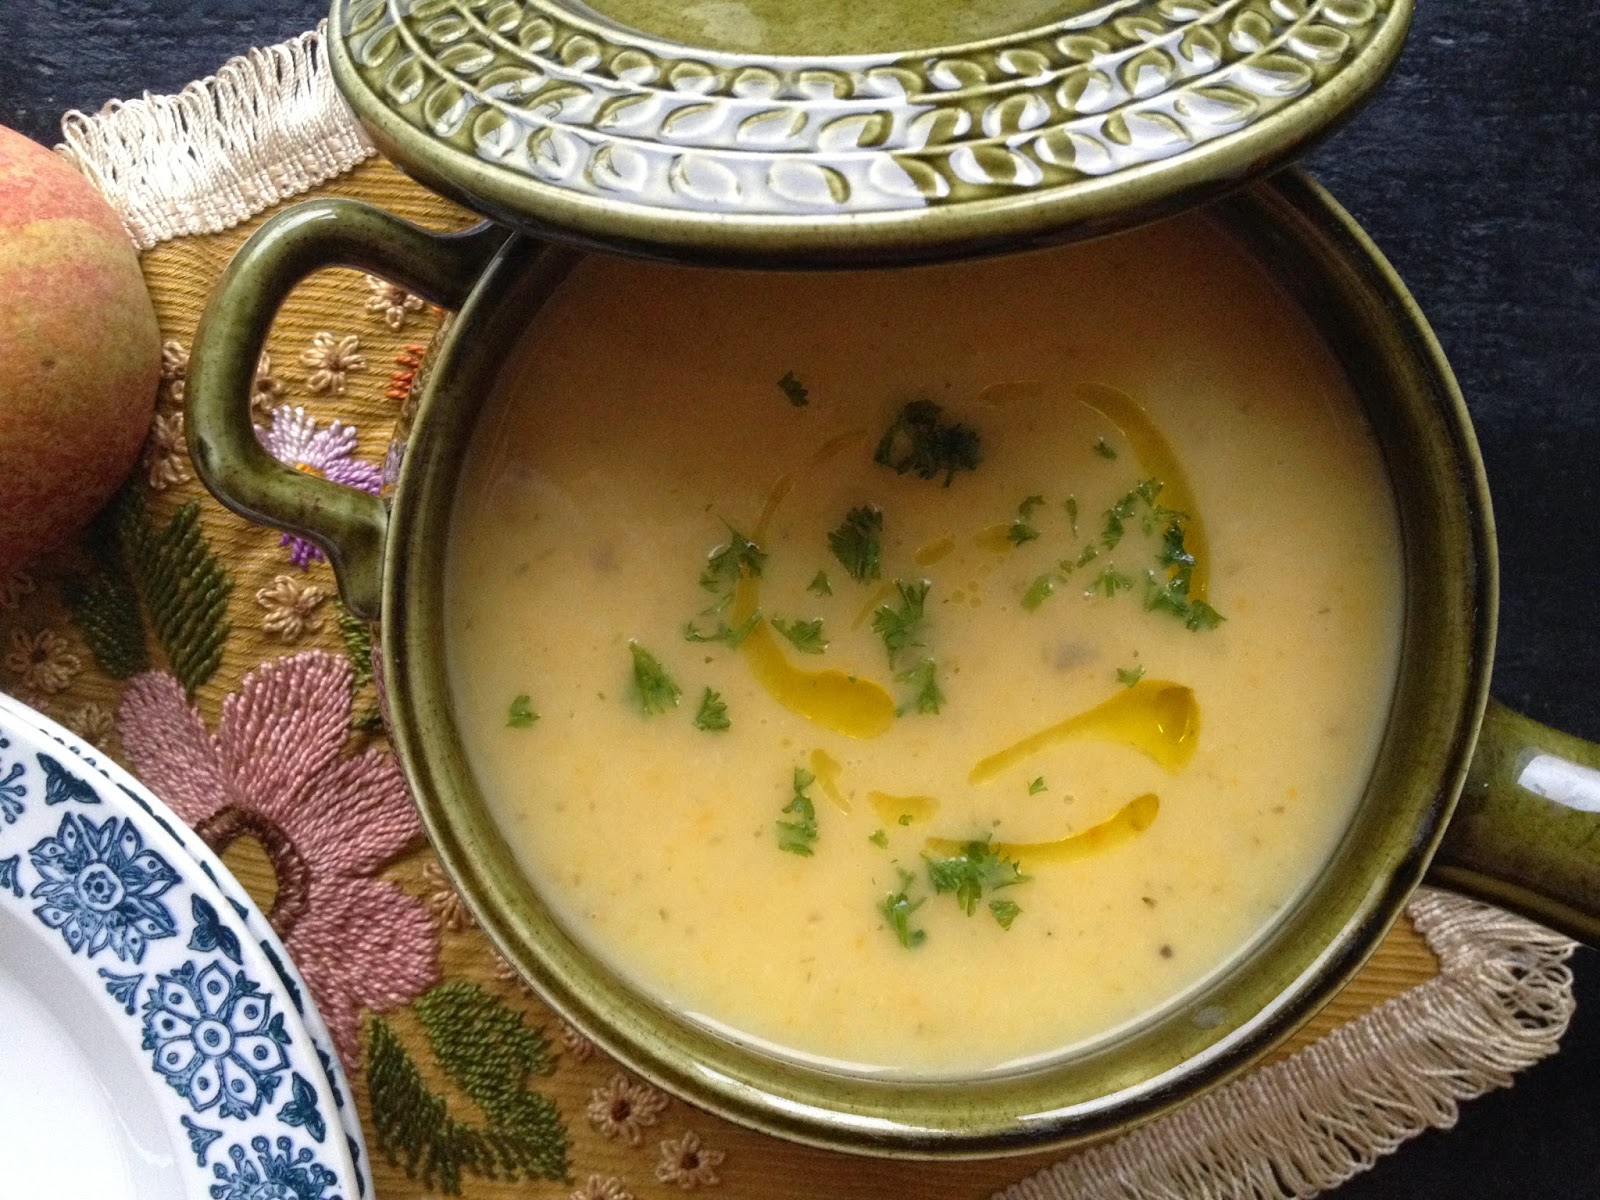
| Celeriac, Apple and Tarragon Soup |
With the wind howling outside the window, and the fog settled heavily across the landscape today, I am reminded of the simple masterpiece of one of my favorite poets, American Carl Sandburg:
Fog
The fog comes
on little cat feet.
It sits looking
over the harbor and city
on silent haunches
and then moves on.
– Carl Sandburg, first published in Chicago Poems, 1916
Here’s a simple soup for a foggy day like this one, or to make at any moment during the chilly months ahead when you need warmth from the inside out. While the celeriac is the dominant flavor in this soup, it is sweetened by the apple and well complemented by the mild licorice flavor of the tarragon. You can leave the cream out if you wish as it doesn’t impact the flavor one way or the other; however it does provide a nice, creamy finish for a pleasant texture in the mouth. Serve with a hearty wholegrain bread for the perfect meal.
 |
| Celeriac, Apple and Tarragon Soup |
Celeriac, Apple and Tarragon Soup
2 tablespoons cooking oil
1/2 yellow onion, diced
1/2 cup peeled, diced carrot
2 garlic cloves, peeled and minced
1 bay leaf
2 cups / 200g celeriac root cut into a large dice
1 large potato, diced
1 medium sized apple, piled and sliced
3 cups / 750 ml water
1.5 teaspoons dried tarragon or 2 tablespoons fresh tarragon
2 teaspoons minced, fresh Parsley
1 teaspoon salt
1/4 teaspoon fresh ground black pepper
4 tablespoons half-and-half or kahvi kerma (coffee cream)
In a heavy pot over medium-low heat, pour in the oil, add the onion, carrot, garlic and bay leaf and simmer for 10 minutes so that the vegetables soften and the flavors deepen, caramelizing slightly. Meanwhile, prepare the celery root, potato and apple.
Once the the onion mixture has cooked, add the vegetables, pour over the water and stir in the tarragon, parsley, salt and pepper. Bring the mixture to a boil, lower to a simmer, cover with a lid and cook for 15 minutes. Turn off the heat and either blend with an immersion blender in the pot, or transfer to a heat-proof blender and blend until completely smooth. Pour the soup mixture back into the pot and add the cream. Stir to combine completely. Taste and adjust the seasonings, adding salt and pepper to taste, as needed. Finish with a drizzle of good quality extra virgin olive oil and a sprinkling of parsley or tarragon.
Serves 4.