Eat Simply, Eat Well

Healthy recipes & tips to help you live the good life. by Ann Plough

Braised Beef: Oxtail and Bone-in Beef Scraps

November 5, 2014 by aplough

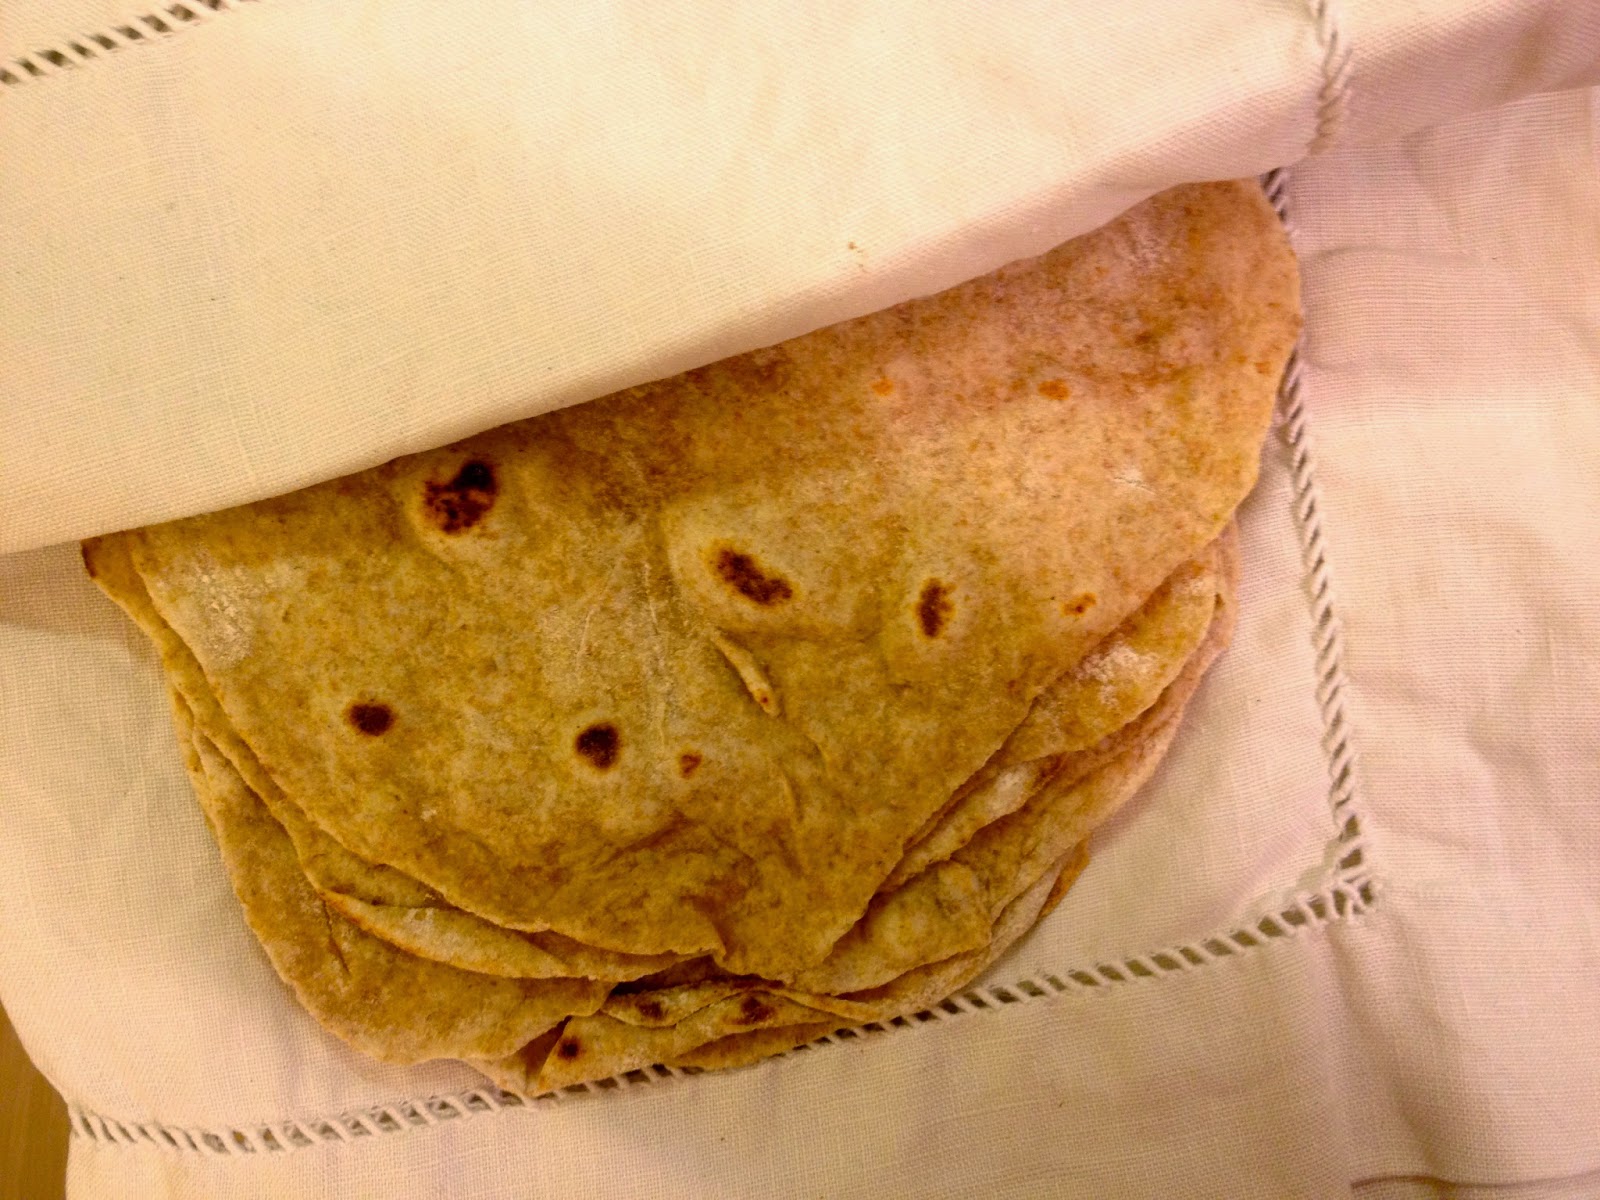
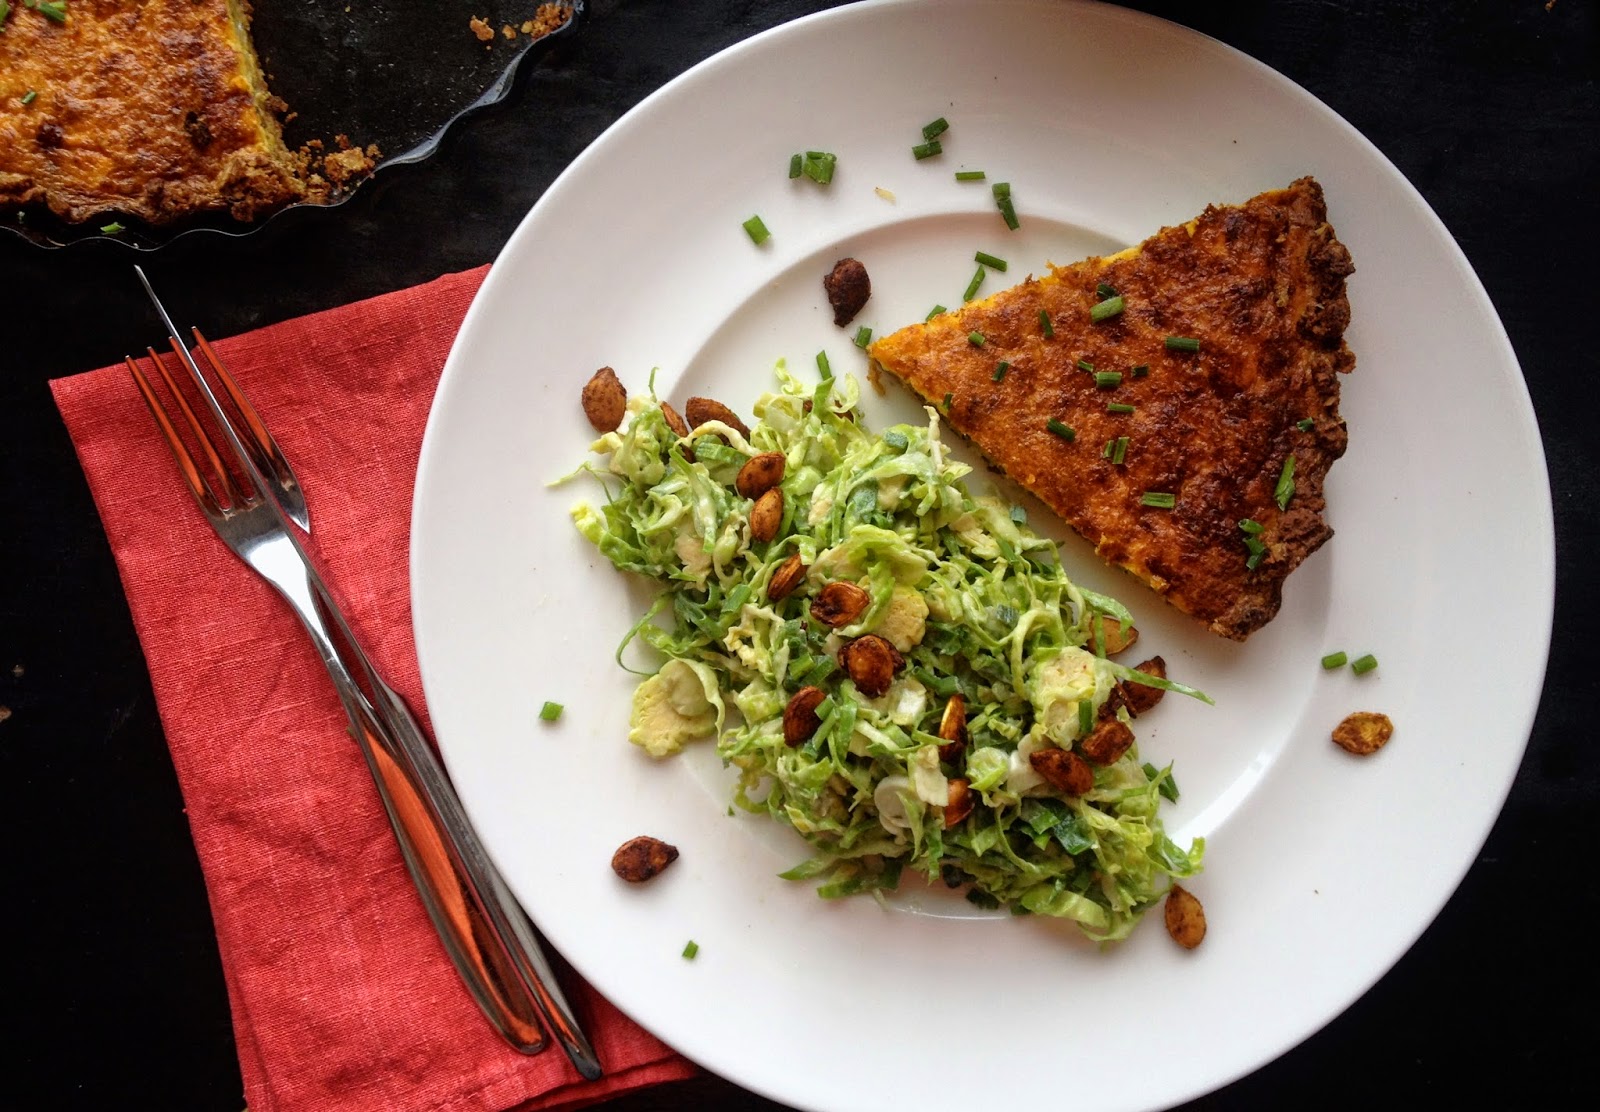
Braised Beef served with Walnut Cranberry Coleslaw, Cranberry Sauce and whole grain bread

I have had it in mind to experiment with the lesser cuts of meat – the ones that get rejected as we look for shoulder roast, and prime rib, and beef tenderloin.  These prime cuts are delicious and easy: You can toss a prime rib on a searing hot grill, grill it briefly on each side, and walk away with a beautiful piece of meat to enjoy in a very short period of time.  Off-cuts, or the sub primal groups of meat – the ones left over after the “choice cuts” have been taken, are a different story.  You won’t find these in all the pictures of a cow broken down into its edible parts.  Instead, these “left-behind” pieces of meat require a bit more patience. Try cooking the gelatinous oxtail the way you would a T-bone steak, and you’ll be gnawing and chewing and grumbling as you try to get your teeth down into the available meat.  But take the same gnarly cut of scrap beef and simmer it for several hours and you’ll discover that it completely transforms into a tender, flavorful morsel that can then be eaten as is, along with any vegetables you’ve chosen to cook it with, or used in other recipes later.

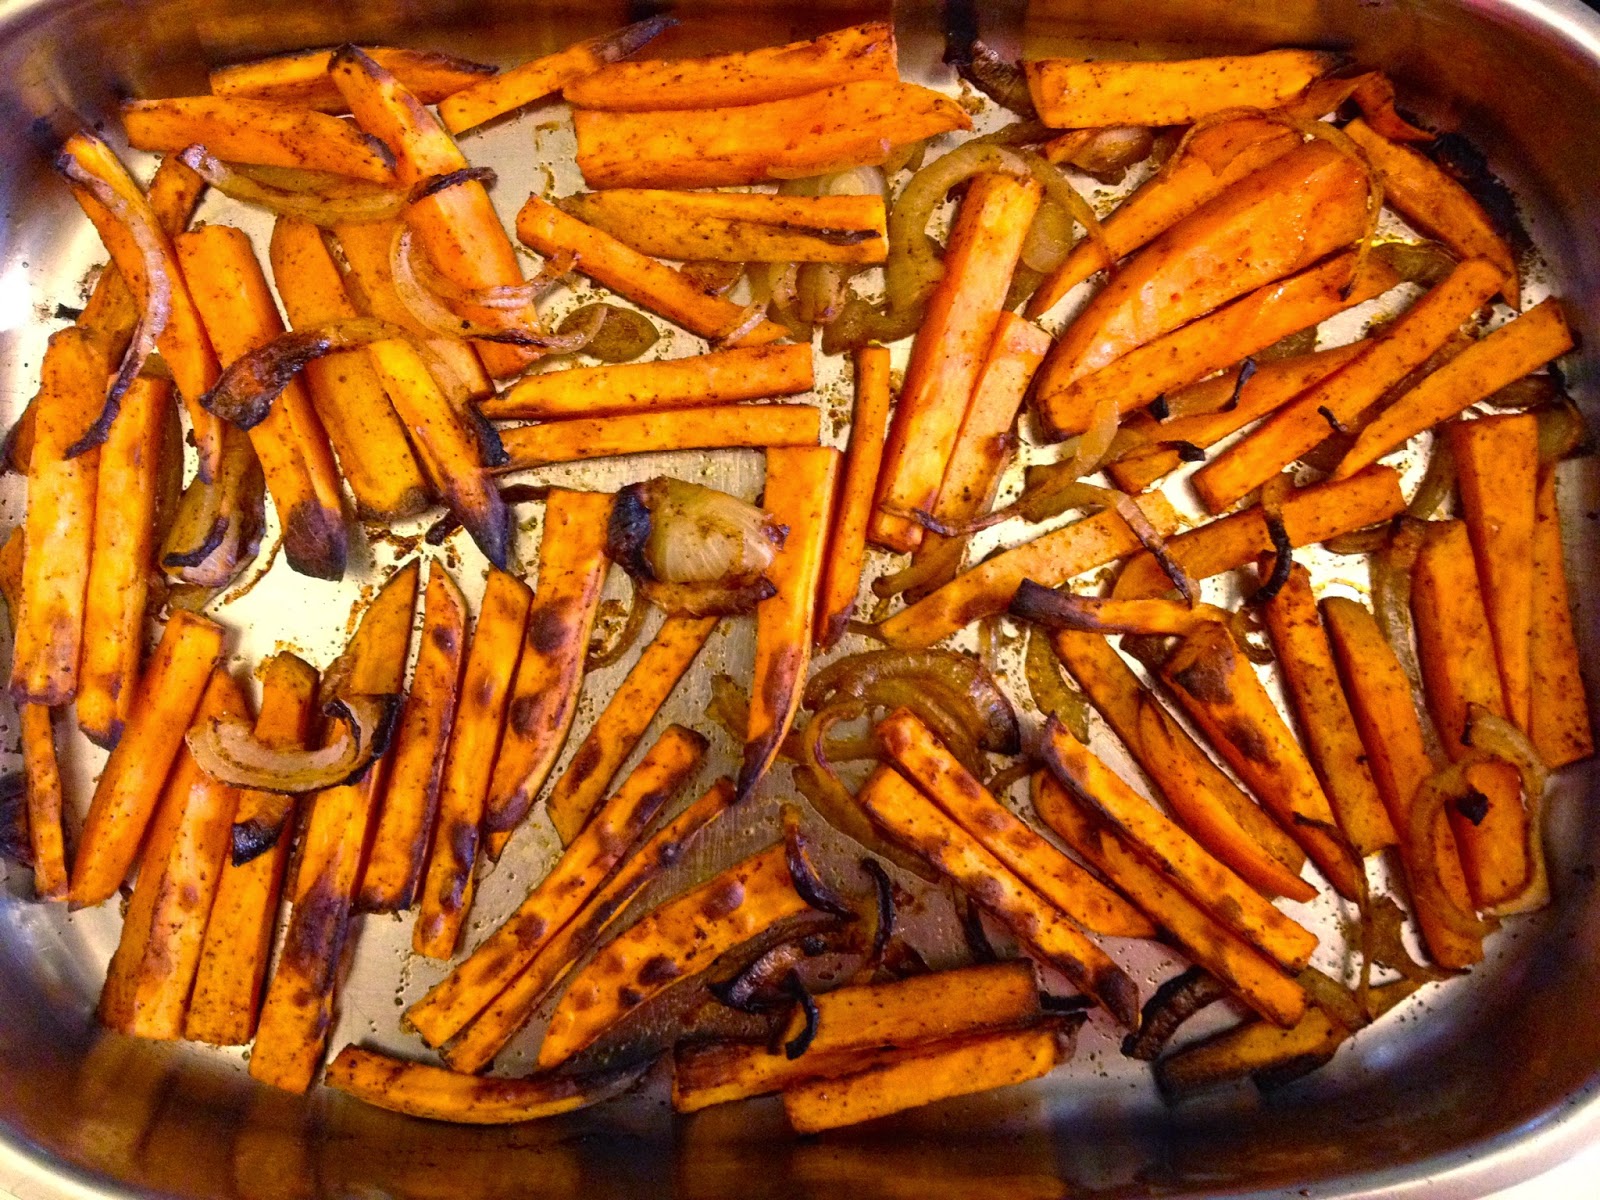
The first step in making beef this way is to pre-roast the vegetables and meat to create a richer flavor.  Some people recommend pan-frying the beef, but I find that pan frying creates a huge mess with oil splattering everywhere and multiple dirty dishes, and since the oven is already heating up so you can cook the food for several hours, you might as well take advantage of this.

Ready for the oven, meat cut into chunks by my butcher

30 minutes later…

Now I’m going to show you how to cook these meats to their mouth-watering edge, and then I’ll post a couple of recipes that you can make with the leftovers, if there are any.  It’s worth cooking as much as your oven-safe pot will hold, because believe me, you will be wanting leftovers to play with once you taste these.

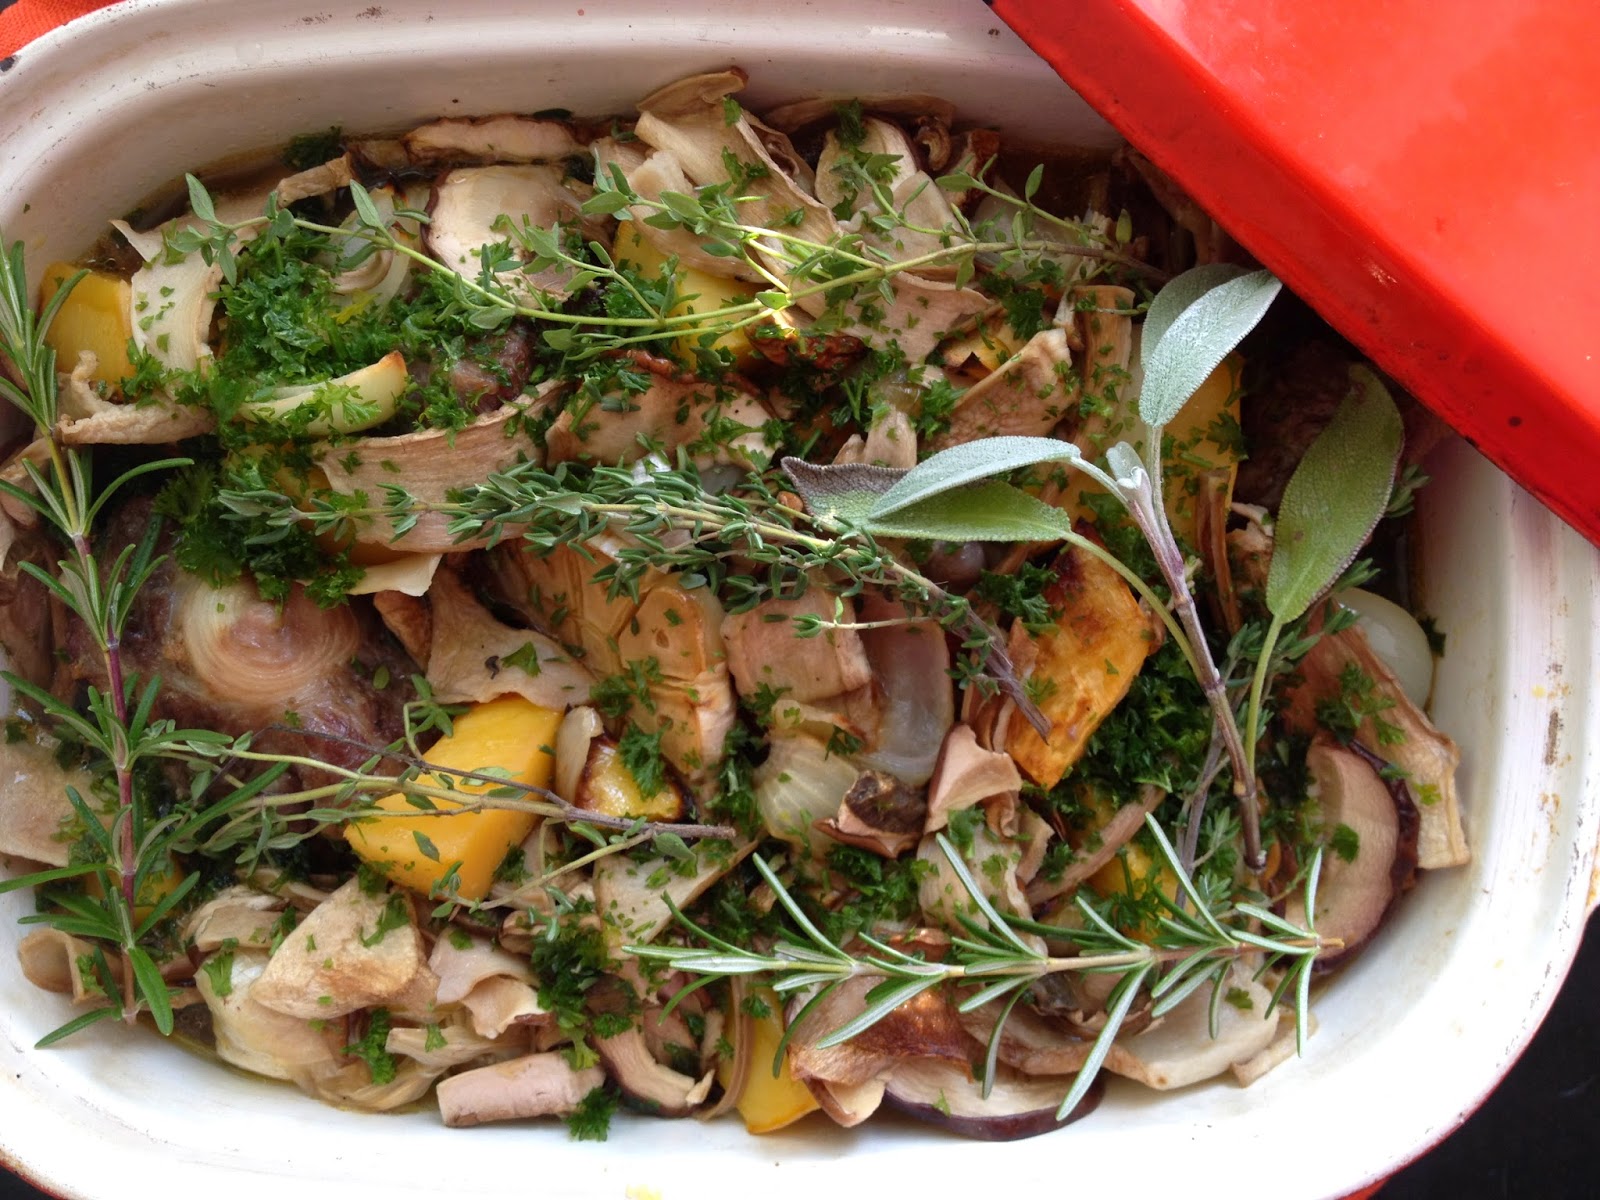
All dressed up and ready to simmer for a nice, long while in the oven

Don’t feel limited to the ingredients I list in the recipe below.  I used rutabaga; you could use carrots instead, or use both.  I use celery leaves; you could use celery stalks or celeriac.  I used rosemary, thyme and sage, because that is what was left in my garden.  You can use dried versions of these herbs; only one of these herbs, or use oregano or marjoram or a ready made Italian spice/pizza spice mix.  You can use only onions, or add in a leek, if you wish.  You can use all oxtail, or add other cuts of meat as well, as I did here because the butcher didn’t have quite 2 kilos of oxtail the day I bought these. If you do this, the bone-in is better than just plan meat scraps as the marrow in the bones adds excellent flavor to the finished dish.  Don’t be scared off by the long detailed recipe below.  It’s really quite easy, and most of the time, you are sitting around smelling the delicious meat as it cooks. Let’s dig in.

Tender, succulent, and ready to serve

Braised Beef: Oxtail & Bone-in Meat Scraps

Step 1:  Preheat your oven to 200°C/400°F.  Line a large oven pan with parchment paper.
Note:  have your butcher cut the meat into 2″/5 cm chunks.

Step 2:  Roast meat cuts and vegetables
2 kg/ 4.4 lbs oxtail or 1 kg/2.2lbs oxtail and 1 kg/2.2 kgs bone-on beef scraps (see note 1 below)
2 onions, peeled and cut into large chunks
1 small rutabaga, peeled and cut into sticks
1 head of garlic, cut in half
2 teaspoons of salt
1/4 teaspoon fresh ground black pepper

Combine the salt and pepper in a small bowl.  Sprinkle evenly over the meat and bones.  Spread the meat, bones and vegetables evenly onto the parchment-lined oven pan.  Roast for 30 minutes.

Note 1:  have your butcher cut the meat into 2″/5 cm chunks when you buy it.

Step 3:  Soak the mushrooms (if you don’t have mushrooms, you can still make this as the other ingredients add plenty of flavor.  I happen to have loads of dried porcini after a great mushroom season, but feel free to leave these out or substitute with other dried mushrooms.
1 oz / 30 g dried porcini (herkkutatti) 
1 cup boiling water

Place the porcini into a heat-proof bowl and pour the water over.  Allow to soak while you prepare the rest of the dish.

Step 4:  Prepare the oven-safe pot (dutch oven)
2 tablespoons olive oil
5 sprigs fresh parsley
1/4 cup celery leaves or one celery stalk cut into large chunks
2 bay leaves
12 whole black peppercorns
6 whole allspice
2 tablespoons tomato paste or 1/2 cup/1 dl oven roasted tomatoes
1 cup/2 dl hot water

In a large oven-safe pot with a lid (enameled cast iron is perfect for this), pour 2 tablespoons of olive oil and spread it out across the bottom and up the sides of the pot (this makes it easier to clean later).  Add the parsley, celery, bay leaves, peppercorns and allspice.  Combine the tomato paste and water in a bowl.  Pour over the ingredients in the pot.

Step 5:  Combine and braise
Transfer the roasted meats and vegetables from the pan into the oven-safe pot/dutch oven.  Pour the porcini, if using, and its soaking water evenly over the meat and vegetables.  Pour water over enough fresh water to just to cover the meat and vegetables.  Add:
3 sprigs fresh thyme
2 sprigs fresh rosemary
1 sprig fresh sage

Place the lid on the oven dish and place the dish into the hot oven.  Cook for 3 – 4 hours, testing after 3 hours to check if the meat is done.  You’ll know the meat is done when it is fork tender and falls apart easily away from the bone.

Step 6:  Serve
Remove the pan from the oven and allow to rest for 10 minutes. Serve big chunks of the meat alongside the vegetables, and add a nice Cranberry Walnut Coleslaw, Cranberry or Lingonberry sauce, and a nice whole grain bread to soak up all those lovely juices.

Serves 8.

Note 2:  If you have leftovers, save these. To do this, remove the meat from the bones and discard the bones.  Cut the meat and vegetables into small pieces, pouring over any remaining juice.  Measure this out into 2 cup quantities and freeze.  You can use these later to make Oxtail Stew or Oxtail Cabbage Rolls.

Filed Under: Uncategorized

Chipotle Sweet Potato, Black Bean and Guacamole Soft Tacos

October 30, 2014 by aplough

Chipotle Sweet Potato, Black Bean and Guacamole Soft Tacos

Savory black beans, roasted sweet potato, fresh guacamole on whole wheat tortillas: these are the makings of a good lunch or dinner right here.  Especially if you add ground chipotle to your sweet potato and make your own tortillas.

Before we get down to roasting sweet potatoes, I want to tell you about these tortillas.  If you are anything like me, chances are good that you grab a bag of ready-made tortillas from the store whenever you are in the mood to make a soft taco or burrito at home.  The thing is, those store bought tortillas are never really that great.  They are tolerable, but not awesome, and after all the love I put into preparing what goes into or onto the tortilla, let me tell you, awesome is definitely what I am hoping for.  So I did what I always do when I start my search for some needed information these days: I googled it.

Fresh, homemade whole wheat tortillas
After scrolling through several recipes, I came across one titled “Best Ever Homemade Flour Tortillas”.  It’s a bold claim, but after reading the post and reviewing the recipe, this felt like something I could get behind.  I made them for dinner that night according the recipe.  AMAZING.  I made them a week or so later, substituting 2 cups of wheat flour for the white and olive oil for the cooking oil.  Really awesome, and I liked that I was able to sneak in some of the whole grains that make me happy.  And now?  I make them every single time I need a flour tortilla for a quick soft taco, use them as a pizza crust if I am too lazy to make it separately, fill them with eggs and salsa for a Good Morning Huevos Rancheros. Seriously people.  You need to make yourself a batch of these.  They freeze well and any leftovers can be reheated in a frying pan in a matter of seconds (dry, hot pan; no oil).  So thank you Chris for sharing this recipe.  They really are the best ever.

Now with that out of the way, let’s get down to talking about sweet potatoes.  Roasting a sweet potato is a simple, straight-forward affair:

Peel it
Slice it
Add seasonings & onion, then roast

As the sweet potatoes roast, simmer your beans, make your guacamole, and even your own tortillas, and in 45 minutes, you’ll be staring down at this:

Chipotle Sweet Potato, Black Bean and Guacamole Soft Tacos 

Chipotle Sweet Potato, Black Bean and Guacamole Soft Tacos

1 sweet potato
2 tablespoons olive oil
1/2 teaspoon salt
1/2 teaspoon ground chipotle powder (can sub 1/4 teaspoon cayenne pepper)
1 yellow onion, cut in half and then into slices
1 cup cooked black beans
1 tablespoon olive oil
1 garlic clove, minced
1/8 teaspoon cayenne pepper
1/4 red onion, minced
1 Haas avocado
1/4 red onion, minced
1/4 teaspoon salt
1 teaspoon fresh lime juice
4 whole wheat tortillas, homemade or store bought

Preheat the oven to 200°C/400°F.

Peel the sweet potato, cut it into half, slice it, and then cut into matchsticks.  In a medium size bowl, combine the sweet potato, onion, 2 tablespoons olive oil, chipotle powder and salt.  Spread out in a single layer on a baking sheet.  Put the sweet potatoes into the hot oven and bake for 30 minutes until fork tender and slightly crispy.

While the sweet potatoes bake, prepare your beans and guacamole.

In a small saucepan, heat 1 tablespoon olive oil.  Add the onion and simmer for 5 minutes until the onion is soft.  Add the garlic and cook for one more minute.  Add the black beans, water, and cayenne pepper.  Heat the beans to a boil; then reduce to a simmer and cook for 10 minutes.  After 10 minutes, mash the beans slightly with the back of a fork.  Turn off the heat and cover.

Make the guacamole:  Scoop the avocado flesh into a small bowl.  Add 1/4 red onion, 1/4 teaspoon salt, and lime juice.  Stir to thoroughly combine, taste and adjust lime juice and salt to your preference.  Set aside.

Once the sweet potatoes are done, pull them out of the oven to rest briefly.  Spread the tortillas out across the oven rack to warm for 1-2 minutes.

To assemble, lay the tortillas out on plates.  Spoon 1/4 of the bean mixture onto the center of each tortilla.  Top with sweet potato-onion mixture (you may not need all of it, depending on the size of your sweet potato), and then divide the guacamole over the top of the sweet potato on each tortilla.

Serves 4, or if you are really hungry, 2.

Filed Under: Uncategorized

Savory Pumpkin Sage Tart (Pie, if you must)

October 29, 2014 by aplough

Savory Pumpkin Sage Tart
I’ve realized we eat a lot of pie around here.  That can’t be a bad thing.  They are not the sweet kind, usually (though mind you, I’m not opposed to a good, sweet pie), but a whole lot of savory ones.  Yes, I often disguise “pie” as “tart” when I write about it in this blog – mainly because the pan I cook it in is generally a tart pan, not a pie pan.  But the reality remains:  I’m cooking up pie/tart for dinner on a regular basis. 


You see, there are so many great things about pie.  First, if you don’t get too fussy with the crust (and if you leave the top crust off altogether, you can make it really quickly.  Second, the medium lends itself to a wild variety of variations (and some tame ones too), meaning you can pretty much make a pie out of whatever it is you have on hand, as long as the ingredients comprise a few basic components.


The Crust


A good pie needs a good crust.  A bad crust can ruin what could otherwise be a delicious filling, and you definitely don’t want your crust going all soggy on you under the beautiful filling you create to put in it.  But that crust can be a basic one that gets mixed up all at once, at room temperature, in one bowl, no filling, gets pressed into the pan and then bakes while you make the rest of it.  You can combine different flours and whole grains; add a vegetable or herb if you wish, and get the crust in and out of the oven in less than 15 minutes.  I nearly always use rolled oat, spelt or quinoa flakes when making my crust.  It makes a healthier, better tasting pie.

Baked Pie Shell
The Filling
Here’s where the rest of the magic happens and where your creativity can really light up your dinner.  I almost always start by sautéing an onion when I make a savory pie.  Then I add the herbs, either fresh or dried, and any vegetables or meat I may want to add.  The only limits here are your imagination and your sense of what makes good flavor.

Add the Onions and Cheese
While the onion & other chosen ingredients are happily sizzling in the frying pan, I put together the part of the pie that connects all the pieces:  eggs and some kind of liquid.  The liquid is often, but doesn’t have to be, some form of dairy.  I’ve successfully made savory pies with oat milk and loved the flavor.

Pour in the liquids
The last element of the filling is nearly always come kind of cheese that adds to the over all flavor of the pie – take your pick of the type of cheese that has the flavor profile you want, and run with it.


Take it with you because Everybody loves Pie


Which brings us to the Third great thing about pie:  pies are really portable and the Fourth: they are crowd pleasers.  I mean, who doesn’t love a pie?  Two friends of mine and I once bought a beautiful berry pie from PCC in Issaquah, WA on our way to the cabin for the weekend.  As I recall, we set our bags down inside the cabin, put the pie in the center of the dinner table, grabbed three forks, and got to work on the pie.  This is where my memory really begins to dim as I can’t recall if we finished it then (probably), or who did the lions share of the work to make sure we wouldn’t be bothered with leftovers later.  (Ahem.  Thanks KP & BT!)  We were mighty pleased.  And if there had been a crowd, we might have shared.  But probably, we would have bought a second pie.


When I have pie for dessert, I serve it with ice cream or vanilla sauce.  When I have pie with dinner, I serve it with a big salad.  In the summer, that means fluffy green salads with lots of fresh garden produce.  In the winter, it means cabbage salads and root vegetable salads or a combination of both.  Pie can be eaten year-round, for any occasion.  It crosses cultural boundaries and knows no age limit.


I’m getting hungry thinking about this.  I think I’ll go cut another slice.


Pumpkin Sage Tart and Brussel Sprouts Avocado Salad
Savory Pumpkin Sage Tart (Pie, if you must)

Preheat oven to 225°C/435°F


1.  Make the crust:


1 cup/2.5 dl spelt flakes (for gluten-free, substitute oat flakes)
1/2 cup/ 125g corn flour (GMO-free, organic; may substitute another whole-grain flour)
1/4 cup olive oil
1/4 cup Greek or Turkish yogurt
1 teaspoon salt
1 teaspoon baking powder


Combine the spelt flakes, corn flour, salt and baking powder in a medium-sized bowl.  Add the oil and yogurt and stir together to form a uniform dough.  Press the dough into the bottom and up the sides of a tart pan.  Bake for 10 minutes, until golden brown.


Reduce the oven heat to 200°C/400°F.


2.  Make the filling:


2 tablespoons olive oil
1 onion, diced
1 teaspoon dried sage
2 eggs
1 cup pumpkin puree
1/2 cup creme fraiche (to make your own, click here)
1 teaspoon salt
1/2 teaspoon ground nutmeg
1/3 cup grated parmesan cheese


Heat the oil in a frying pan over medium heat.  Add the onions and sage.  Cook until onions are soft and translucent, about five minutes.  Remove from heat.


In the same bowl you used for the crust, beat the eggs and add the pumpkin puree, creme fraiche, salt and nutmeg.  Beat to combine.


3. Assemble:


Spread the onions evenly over the bottom of the pie crust and top with the parmesan cheese, saving 2 tablespoons of cheese for the top.  Pour the filling over the onions and cheese.  Sprinkle with the remaining parmesan cheese.  Make sure you’ve reduced your oven temperature to 200°C/400°F.


Bake for 30 minutes.  Remove from oven and cool for 10 minutes.


Serves 4-6.

Filed Under: Uncategorized

  • « Previous Page
  • 1
  • …
  • 35
  • 36
  • 37
  • 38
  • 39
  • …
  • 79
  • Next Page »

Find me on social media

  • Bloglovin
  • Facebook
  • Instagram
  • Pinterest
  • Twitter

Looking for something?

Eat Simply, Eat Well 's gallery on Punk Domestics
  • Bloglovin
  • Facebook
  • Instagram
  • Pinterest
  • Twitter

Copyright © 2025 · Foodie Pro Theme by Shay Bocks · Built on the Genesis Framework · Powered by WordPress