Eat Simply, Eat Well

Healthy recipes & tips to help you live the good life. by Ann Plough

Make it yourself: Oat Milk

September 15, 2015 by aplough

Oat_Milk_20140914

There are certain recipes that I make nearly every week. I make them so often that I hardly even think about it anymore: the whole process goes on auto-pilot to the point where these staple items become something that just fit into everything else I have going on, and are as normal to include in my day as brushing my teeth and exercising. These include Granola, sourdough bread, and various kinds of non-dairy milk, including Oat Milk.

Oat Milk is definitely a staple item. Some of you may have recently given up dairy and are looking for ways to make your own version of the non-dairy milk you can buy in stores, while some of you may still consume dairy milk and are looking for ways to consume a little less, have a non-dairy alternative for a friend or family member, or simply interested in trying something new. Whatever the case, oat milk is a great non-dairy milk to begin with.

There are so many benefits to making your own:

  • Low cost. Unlike nut and seed milks which can be slightly more expensive, oat milk, because its main ingredient is oats, costs literally pennies to make.
  • You know exactly what’s in it. The vast majority of store-bought milks contain additives and stabilizers in order to extend the shelf life and to maintain the consistency of the milk. Many of these, such as carrageenan, have been under scrutiny for their links to cancer and inflammation in the body (see this link for more information). When you make your own, you can have as few as two ingredients: oats and water. I usually add a date or two for sweetness and a pinch of sea salt for added mineral content, but that’s up to you and not essential.
  • It’s simple. All you need to do is soak oats in water, preferably overnight, rinse, blend, strain, drink.
  • It’s fast. If you are in a hurry and need oat milk for a recipe right now – you can literally make it in 20 minutes starting with boiling water, letting it soak 20 minutes, and then following the instructions on rinsing and straining before proceeding. I like to drink the milk “raw” so I soak them at least 4 hours but again, if you need oat milk immediately, the boiling water method is still a good option.

Note: Some of you may remember that I’ve posted on Oat Milk once before. After making it over and over again, decided to post this updated version because it’s evolved and improved along the way. I hope you enjoy!
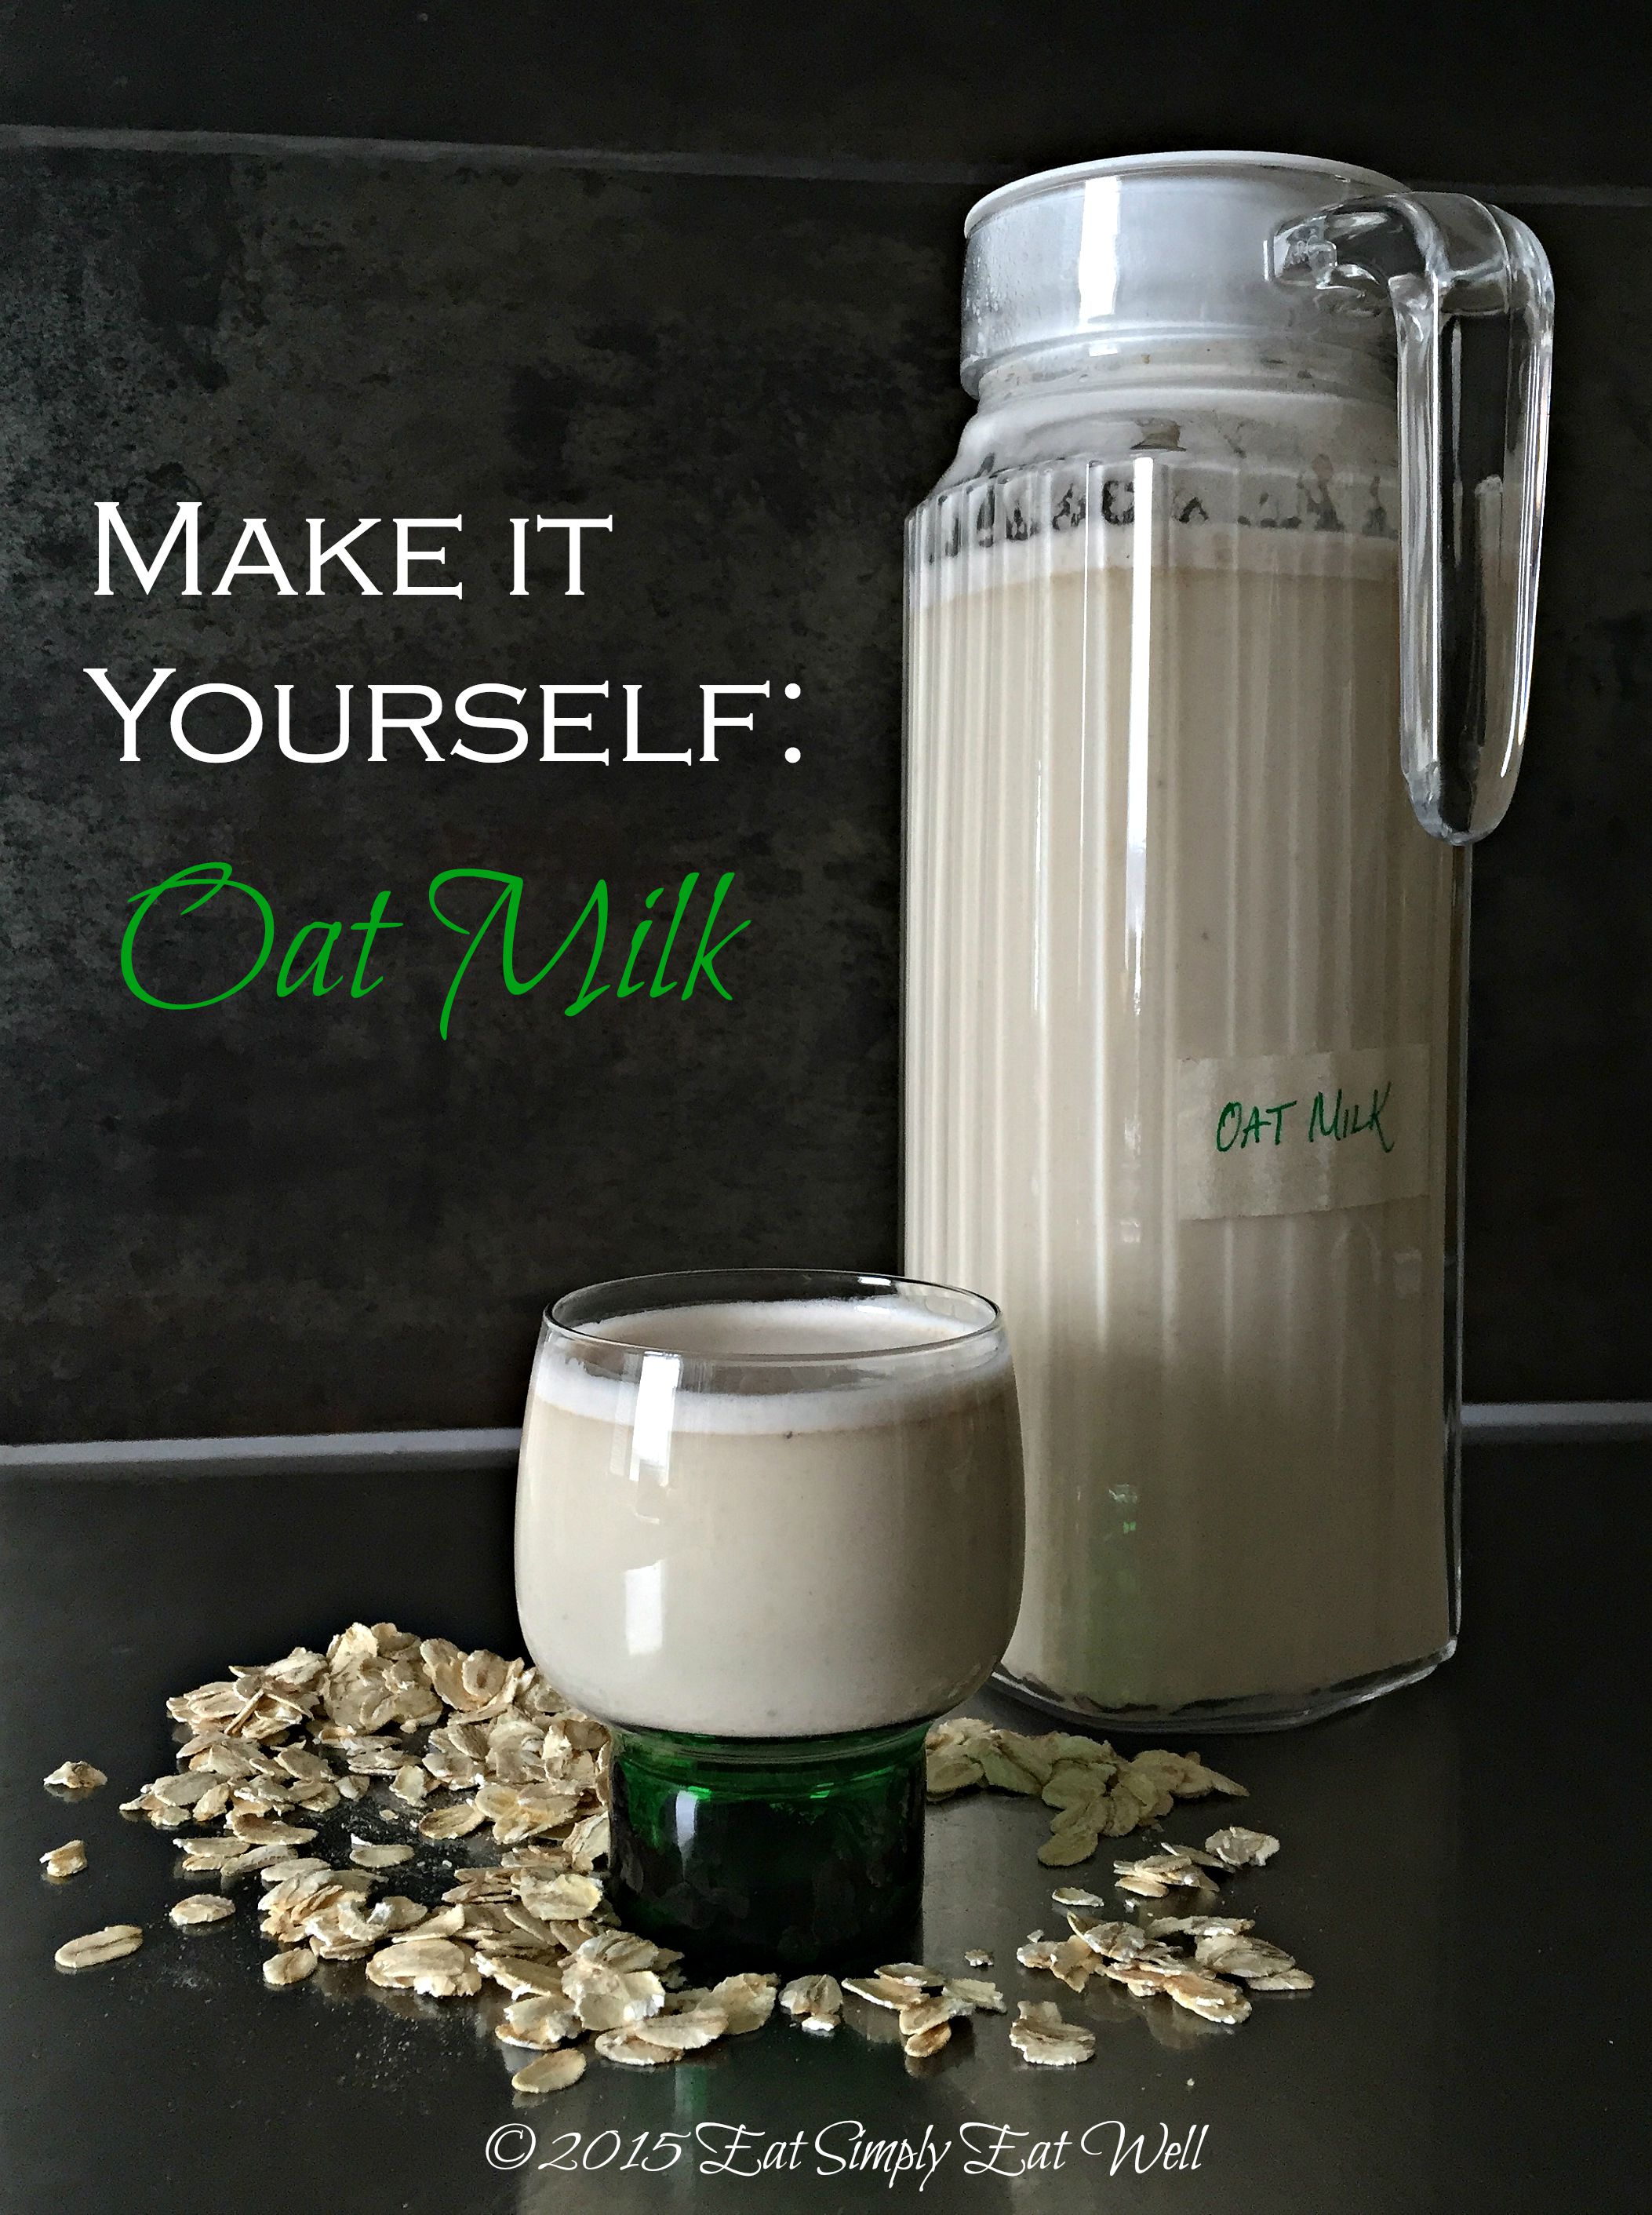
Oat Milk

  • 1 cup / 2.5 dl oatmeal, preferably large flakes or whole oat groats
  • 2 cups water to soak
  • 4 cups cool water for blending (preferably bottled or Spring water, especially if your tap water contains chlorine)
  • 1-2 fresh dates, pits removed, optional
  • pinch of sea salt, optional

Pour the oats into a large bowl or container. Pour 2 cups of cold water over the top, cover, and allow to soak at least 4 hours or overnight.

When you are ready to make the oat milk, pour the soaked oats through a fine mesh strainer to drain away the soaking water. Rinse the oats with cold water in order to remove any “slime” that has developed. Transfer the strained oats to a blender. Pour 4 cups / 1 liter of cool water over the top. Add the dates and salt. Blend on high for 1 minute.

Pour the oat mixture through a fine mesh sieve into a bowl. Use immediately, or store in the refrigerator for up to 3 days. Stir well before pouring as it tends to settle.

Makes approximately 4 cups / 1 liter.

Did you like this post? Do you make your own oat milk or other milks? How are you using them? We’d love to hear from you in the comments below. 


Filed Under: Drinkable, Make it yourself, Vegan

Salmon Stock

September 11, 2015 by aplough

Salmon_Stock_bottled_20150911

Have you ever wondered if there is anything you can do with leftover salmon or other fish carcasses? Have you been buying store-made fish stock and wondered how you could make great fish stock yourself?

Today I want to share with you how to make an easy salmon (or other fish) stock in less than an hour.

I remember going to pick up salmon from the fish counter of my local grocery store many years ago when I was still living in Seattle. They had run out of the pre-cut filets, so the gentleman at the fish counter kindly filleted the whole salmon I’d purchased, for me. As he wrapped up the fish, he asked “do you want the fish head and bones, as well?” I replied, “No thanks – what in the world would I do with them?” I didn’t have a clue.

Nowadays, the answer to that question is always, “Yes, of course!”, because I know a secret that I didn’t know then: those previously unwanted scraps make some of the best fish stock a person could hope for, and from there, you can launch hundreds of recipes into a completely new flavor arena without spending all day at the stove trying to find the depth of flavor you’re dreaming of.

A few days ago, I visited my local market in Hakaniemi, a neighborhood of Helsinki, for the specific reason that I wanted to buy a kilogram of the fish bones in order to make salmon stock. Today I want to share my method with you, because once you know how to do this, you have the beginnings of really delicious, savory, seafood dishes.

Salmon_carcass_20150911

A few notes:

  • Fish bones aren’t always for sale, but if you ask, most fish counters will be willing to sell or give them to you, since they are otherwise scrap that they have to get rid of at the end of the day. At Hakaniemi market hall, I paid €3 for one kilogram of fish bones.
  • You can freeze the bones and heads from fish you catch yourself, and make the stock later if you don’t have time to make it immediately.
  • Most fish will work for this stock – if you have other fish carcasses on hand, feel free to use them instead, keeping the amount of bones around 1 kilogram/2.2 pounds for this recipe.
  • Include the head too – there is a lot of flavor in the head (and the cheeks, once cooked in the broth, are a delicious cook’s treat). Just make sure to remove the gills before adding the head to the stock pot.
  • Rinse the fish parts to remove all leftover blood and viscera – it’ll create scum on the top of your broth. Don’t worry if there is a little left – it’ll rise to the top of the broth during the early stages of cooking, and you can simply skim it off.
  • If you have used leeks recently in a recipe, save the leek tops and add them to this stock, or other stock recipes. They add a really nice flavor that complements the onion. Also, you can replace one onion with one whole leek, including the greens, if that is what you have on hand.
  • Stocks are a great way to use up vegetable scraps: when I’m peeling carrots I save the peel; when I cut up celery stalks I save the leaves; when I use the white part of the leek I save the greens – and pretty soon, you have all the ingredients you need for making a great stock. All of the above freeze well, so you can keep a ziplock bag in the freezer, and add to it until the day you want to make stock.
  • If you don’t have whole peppercorns or whole allspice, you can sub in 1/2 teaspoon ground black pepper and 1/4 teaspoon ground allspice.
  • This fish stock freezes really well. I typically freeze it in labeled, 2 cup / half-liter portions so I can quickly add it to risottos, soups, or use as poaching liquid.

Salmon_Stock_strained_20150911

Salmon Stock

  • 2.2 pounds / 1 kg salmon bones, including head (gills removed), rinsed
  • 10 cups / 2.5 liters cold water
  • 2 yellow onions, peeled and cut into 4-6 pieces
  • 2 cloves garlic, peeled and halved
  • 2 medium carrots, washed and cut into 6 pieces each
  • 1 stalk celery, cut into pieces
  • 2 bay leaves
  • 8 sprigs fresh thyme or 1 teaspoon dried thyme
  • 3 tablespoons fresh or frozen parsley
  • 1/4 teaspoon fennel seeds
  • 10 black peppercorns, crushed with a mortar and pestle or the back of a knife
  • 5 whole allspice, crushed with a mortar and pestle or the back of a knife

Place all ingredients in a large, heavy-bottomed stockpot. Bring to a full boil over high heat; then reduce heat to medium so the stock continues to cook at a low, gentle boil. You want it to be just barely bubbling. With a spoon, remove an scum that has risen to the top of the stock and discard. Continue to cook, uncovered, for 45 minutes.

Add 1.5 teaspoons salt, and allow the mixture to boil for an additional 5 minutes.

Remove from heat. Place a large stainless steel colander over a large bowl, and pour the broth mixture through the colander in order to catch all of the solids. Discard the solids (some people like to save the carrots, and remove the fish still attached to the bones for another use; it’s up to you). If you want a stock with no residue, strain the stock one more time through a fine mesh colander into another bowl.

You can use the stock immediately, refrigerate for up to 3 days, or freeze for up to 2 months.

Makes approximately 8 cups/2 liters.

Salmon_Stock_inpot_20150911


Did you like this post? Have you made salmon or other fish stock? Do you have any questions about the process? I’d love to hear from you in the comments below!

Filed Under: Make it yourself, Sauces and Broths, Soup, Tips and Tricks

How to never run out of Lemon Zest again

September 8, 2015 by aplough

LemonZest_20140908

You know how it is: you’re browsing through cookbooks, food magazines, or blogs, and you find a beautiful recipe you can’t wait to try. You have nearly every ingredient except…lemon zest. Maybe lemons are something you don’t normally keep in the house. Or maybe, as has happened so often with me, you’ve juiced the last of your lemons for dinner the night before and tossed the remains into the compost without a second thought. And now? That unused lemon peel is something you wish you had available. There’s a way to make it happen.

Lemons are one of the most versatile ingredients in my kitchen, so I keep them on hand all of the time. High in Vitamin C and a good source of folate, they also add incredible flavor to nearly any type of food. Whenever a dish needs a little more zip or a little more flavor or the balance of acid, I cut off a wedge of lemon and squeeze a bit of juice over the top of whatever I’m making – even a simple egg is elevated with a drizzle of fresh lemon juice!

Lemon zest, I’ve discovered, is equally valuable as a taste-changer. This morning, I sprinkled a bit of zest over the zucchini I’d sautéed to go with my morning eggs: glorious! They went from being just OK, to tasting really, really great. I add lemon zest to pilaf. I toss lemon zest into Greek yogurt to use as a dip or sauce with fish, lamb, baked eggplant, add it to zucchini bread, toss it in muffins, add it to Raspberry Scones – you name it. 

This is one place where it pays to buy organic. Why? Because you want to be able to use the entire thing without being concerned about the pesticides that lurk on the skins of nonorganic lemons. Also, conventionally grown lemons are usually waxed before shipping in order to keep the skin from bruising. These are usually plant, insect or petroleum based waxes to which have been added either ethanol, milk caseins or soap for consistency – delicious, huh? Yeah – no. The bottom line is, you never know what’s in there. If your lemon isn’t organic, please don’t use the zest.

Organic lemons are a much better option, but are also more expensive therefore you won’t want to waste anything.

Here’s the trick to getting the most value for your money: before cutting open a lemon to juice it, wash the whole lemon, dry it off, zest it with a Microplane, and freeze the zest in a little labeled container in the freezer for use whenever you need it. You can do the same thing with oranges and limes.

And just like that, you feel like a genius: you’ll never be without lemon zest again.

One organic lemon provides:

  • 1 tablespoon zest
  • 3 tablespoons juice

How do you use your lemon zest and juice? Let us know in the comments below!


Filed Under: Make it yourself, Tips and Tricks

  • « Previous Page
  • 1
  • 2
  • 3
  • Next Page »

Find me on social media

  • Bloglovin
  • Facebook
  • Instagram
  • Pinterest
  • Twitter

Looking for something?

Eat Simply, Eat Well 's gallery on Punk Domestics
  • Bloglovin
  • Facebook
  • Instagram
  • Pinterest
  • Twitter

Copyright © 2025 · Foodie Pro Theme by Shay Bocks · Built on the Genesis Framework · Powered by WordPress