Eat Simply, Eat Well

Healthy recipes & tips to help you live the good life. by Ann Plough

Preserving Tomatoes: Roast & Freeze

July 21, 2013 by aplough

In the Winter we can only dream of this.

My house smells like tomatoes.  Roasted tomatoes, to be exact.

For the past week, fresh, ripe, sweet tomatoes have followed me around.  From the farmer’s markets in Kotka and Hamina to the local grocery store; from favorite blogs to cookbooks; in my own garden – I’ve had tomatoes on my mind.  So when I came across fresh Finnish tomatoes being sold for €1.29 per kilo, and discovered that they were selling them in 5 kg boxes, I gleefully grabbed one and marched on home, dreaming of canning and jamming and stewing them for sauces and salsas and spreads.

All great ideas to be sure, but there is something much easier and so tasty, that the the first 5 kg box was quickly followed by another 5 kg box, marching steadily down the same path via the oven and into the freezer.

Roasted Tomatoes.  

I have talked about these before.  It’s what I do with tomatoes in the winter – when I desperately want the flavor of tomato, but the watery, flavorless versions that grace supermarket shelves in the winters just simply don’t satisfy. Somehow the roasting takes away the sad blandness of a winter tomato and transforms it into something that elevates the recipe into which it’s being added.

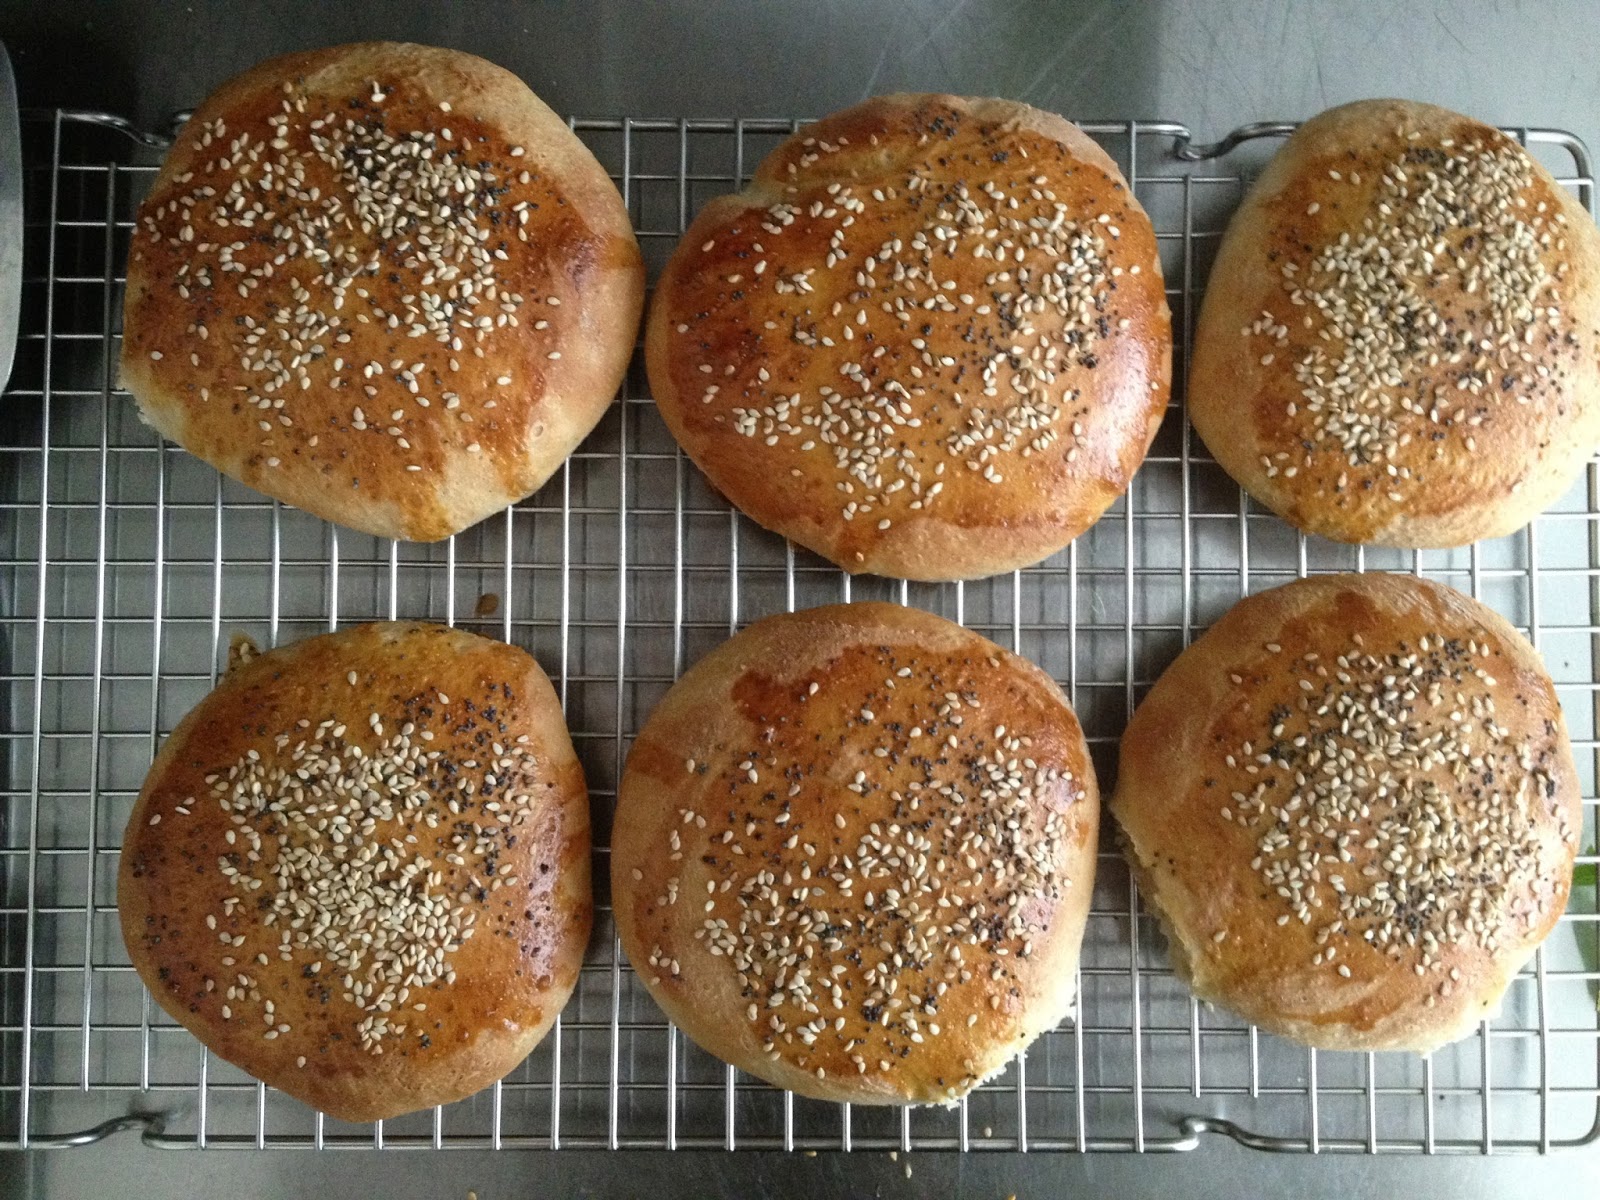
Slice.  Salt.  Oil.  Roast.  

And then:  I started researching for those salsas & sauces.  Inevitably, Google led me to Food in Jars, that wonderful website for all things that can be preserved in a glass receptacle with a lid.  Marissa shared that one of her favorite ways to preserve tomatoes is to Roast and Freeze!  Why hadn’t I thought of this before?  The recipe is so easy it’s hardly a recipe at all.  But it needs to be here, because the next few posts on this blog are going to include recipes using roasted tomatoes, so we’ll be needing them soon.  Marissa suggests an overnight method:  cut the tomatoes, and salt and oil, put them in the oven overnight at 200°F/95°C and wake up to something glorious.

So that’s what I did.  With 10 kg of tomatoes.  That’s a lot of tomatoes.  They are finally done.  I have now opened all of the windows to let the warm summer breezes take care of the lingering perfume of roasted tomatoes.  As for the tomatoes themselves, we’ll be working through those in the dark months of winter.

It’ll be no problem – you see, I’ve been practicing already. The first thing that happened was J ate a handful directly off of the pan.  That’s a good sign that we’re moving in the right direction.  The next 10 or so went into omelettes, snuggled up next to goat cheese (recipe to follow – sorry to tease!).  Then a shy cup tossed into a risotto with fresh mozzarella (another recipe coming).   Then I start to dream of putting them in sandwiches. Toasting a fresh slice of ciabatta and topping it with a slice of good cheese and these tomatoes.  Making a tart and layering these tomatoes over the top just before it goes into the oven.  Tossing them into pasta with a little fresh parmesan and some chopped fresh herbs.

I’m getting hungry.  I think I’m gonna need another 10 kg of beautiful summer tomatoes.

Early morning sunlight.  Roasted Tomatoes.  Happy Day.

Roasted Tomatoes for Preserving
based on the method suggested in Food in Jars.

Tomatoes in your desired or available quantity
Salt
Olive Oil

Heat your oven to 200°F/95°C.  Slice the tomatoes into quarters, or if they are small, in half.  Arrange them cut side up on a parchment-lined oven tray.  Sprinkle them lightly with salt and drizzle olive oil over the top.  Put them in the oven, shut the door.  Go to bed.  Sleep well.  Wake up to the most wonderful smell of roasting tomatoes.

The best thing to do is put these in the oven right after dinner – say 6:00 or 7:00.  That way, 10 – 12 hours later (yes, that’s how long it takes, but remember – you’ll be sleeping through most of it) when you are waking up, they’ll be done and you won’t spend the day peeking into the oven to check their progress and driving yourself crazy.

Once the tomatoes are done, remove them from the oven and allow them to cool on the countertop.  Once they are cool – transfer them to large plates or trays, or if your freezer is large enough, place the pans into your freezer to allow the tomatoes to partially freeze (or thoroughly if you have something else to do and need to come back to them later).  Transfer the semi-frozen or frozen tomatoes to labeled Ziplock / MiniGrip bags and return to the freezer.  The reason I do this is to prevent the tomatoes from freezing together in one solid mass.  This way, I can take 2 or 20 out of the freezer as suits my recipe without needing to thaw a whole bag.

5 kg of tomatoes yields 3 one-liter / -quart bags.

Filed Under: Uncategorized

Grilled Zucchini & Eggplant with Lemon Mint Yogurt Dip

July 20, 2013 by aplough

Grilled Zucchini & Eggplant with Lemon Mint Yogurt Dip

It’s Zucchini time!

If you have a garden and you haven’t already been overrun by heavily producing zucchini plant, you soon will be, I’ll bet.  If you don’t have a garden but have a friend who does, it won’t be long before you’ll be receiving offers of free zucchini.  The beauty of zucchini is that once the plant starts producing, it produces with abundance.  One day you’ll go to the garden and the zucchini fruits will be smaller than your pinky finger.  One or two days later, with sufficient water and warmth, and you’ll find that they have grown to the length of your forearm and if you don’t do something, you’ll literally be overwhelmed.  A few days later, the yield will go from one or two to 5-10, and increases from there.  They just keep growing.

This is a good problem.  Embrace it.  Grab those zucchinis before they get too large:  I like to pick mine when they are 6″ – 8″ long or  3″ – 4″ round if it’s a ball zucchini.  The skin is still nice and tender at this point so there is no need to peel them.  You can just slice, dice or shred to suit your recipe and put them in everything from soup to cake.

Grilled Zucchini & Eggplant with Lemon Mint Yogurt Dip

Today, we grilled them along with slices of eggplant and served them up as an afternoon snack along with a simple Lemon Mint Yogurt Dip.  I tossed the sliced vegetables in a dressing of olive oil, vinegar and Za’atar that I had made following this recipe from 101 Cookbooks.  If you don’t have or can’t find Za’atar, use 1 tablespoon of black or white unhulled sesame seeds, 1 teaspoon dried thyme and 1 teaspoon of sumac.  If you don’t have sumac, substitute one teaspoon of fresh grated lemon zest. It won’t be quite as good as the sumac version, but then you won’t need to grocery shopping before you get started on this either.  The sesame seeds toast as the vegetables grill giving a nice crisp, nutty flavor.

Grilled Zucchini and Eggplant

1 medium zucchini, sliced into 1/4″ slices
1 medium eggplant, sliced into 1/4″ slices
4 tablespoons olive oil
2 tablespoons red wine vinegar
1 teaspoon salt
1 tablespoon Za’atar
1/4 teaspoon fresh ground black pepper

Combine the oil, vinegar, salt, pepper and Za’atar in a large bowl.  Add the sliced vegetables all at once and use your hands to toss them with the dressing so they are well coated.

Heat your grill or grill pan so it’s smoking hot.  Grill the vegetable slices until they are slightly charred on both sides, about 2 minutes per side.  Arrange on a serving platter and continue grilling until all the vegetables are done.  Serve with Lemon Mint Yogurt Dip.

Lemon Mint Yogurt Dip

1 cup / 2 dl Greek yogurt
zest of 1/2 lemon
1 teaspoon salt
2 tablespoons fresh mint, minced

Stir all ingredients together in a small bowl.  Serve with grilled vegetables.

Filed Under: Uncategorized

Meal in a Hamburger Bun: Egg & Yellow Pepper Breakfast Sandwich and Chorizo Red Pepper Sauerkraut Mustard Sandwich

July 14, 2013 by aplough

Chorizo Roasted Red Pepper Sauerkraut Mustard Sandwich: up close an personal

Ever since I made these hamburger buns from Not Without Salt, I’ve been thinking about the idea of food on a bun.  After all, one batch made 20 buns, and it takes a long time for two people to work their way through a pile like that.  It’s a good problem to have.

Hamburger buns – these freeze well.  Just slice them in half first so you can pop in a toaster to thaw.

There are hamburgers, of course.  And I’ve had both grilled chicken breast and grilled salmon filet on buns.   There are always Sloppy Joes, but I don’t actually like them, so I only eat them when I am somewhere where good manners require that I consume at least one.

Hamburger buns, with their stable but soft structure, make a great foundation for all kinds of sandwiches.  My experiments this week led me to two:  one for breakfast and one for lunch.

Breakfast Sandwich with grilled nectarines and sparkling Strawberry Hull Juice

For breakfast, I made a version of an English Muffin egg sandwich, and used a softly scrambled eggs that were mixed with chopped chives, topped with shredded cheddar, and pushed into a shape that loosely resembled a burger patty.  I toasted the buns in the toaster, buttered them lightly, placed the egg round, some sautéed yellow peppers, a generous bunch of lettuce, and spread the top of the bun with a generous spoonful of Kicked-up Ketchup.  Ooh la la!  I’ll be making that one again.  Probably during some upcoming camping trip.  And don’t forget the ketchup.  You need the ketchup here – though salsa might work in a pinch, or else Tomato Jam.

Cherry Red Grill Pan.  Great Sizzle.  Love those grill marks.

For lunch, I grilled up Chorizo sausages and sweet red pepper halves up on my new kitchen toy:  a Le Creuset Soleil Grill Pan that I picked up at the local thrift store for €7 when I was shopping for beat up pots and pans for our camping trip.  We can’t have a grill on our apartment balcony, so I’ve been dreaming of some viable alternative.  Excellent.  Here we go: I’m going to be grilling everything.  Fish!  Nectarines! Watermelon!  Sweet Peppers! Eggplant!  Seriously.  Summer food is just a little bit better with grill marks, is it not?  So get yourself one of those.  You’ll be making up excuses to cook on it.

But back to the sandwich.  Toasted bun.  1/2 grilled red pepper.  Sausages: 1 1/2 per sandwich.  Sauerkraut.  Whole grain mustard with a hint of tarragon (I’ll need to post a recipe on this one later – too good to be true – you’ll be layering it on everything.  But until then, the recipe I made is roughly based on this one).  This was Fusion Cuisine at it’s finest – I wonder with the French, Spanish and the Germans would think of their flavors cuddling up on a bun like that?  It worked like a champ.  So much flavor, great match of textures, and the little bit of charring from the grill added extra charm.

What kind of meals are you making on a bun?

Not the most perfect looking egg round, but put the two halves together and nobody will know…

We took breakfast outside after all – the lettuce looking a quite exuberant here…

Egg & Yellow Pepper Breakfast Sandwich 

1/2 yellow pepper, sliced into strips
1 tablespoon of butter
2 tablespoons fresh chives
3 eggs 
pinch of salt
2 slices of cheddar cheese or 1/4 cup shredded cheddar cheese
2 large lettuce leaves
Kicked-up ketchup
2 hamburger buns

Heat a frying pan over medium heat.  Add the yellow pepper slices and fry until the just begin to soften, about two minutes.  Take the pepper slices out of the pan and put them aside on a plate.

Toast your hamburger buns; set aside.

Melt the butter in the pan and add the chives.  Allow them to cook for a few minutes.  Beat the eggs and salt in a small bowl.  Pour them into the pan with the butter and chives.  Stir gently until the eggs are nearly cooked through.  Divide the egg mixture in half and use your spatula to form them into patties.  Flip once, and then put the cheese on top the egg rounds.  Let it melt.

Place an egg round on the bottom of each hamburger bun.  Top with a lettuce leaf and half of the yellow peppers per bun.  Spread Kicked-up ketchup on the top half of the bun.  Place on top of the rest of the sandwich.  Sit down and enjoy.

Serves 2.

Lunch!  Chorizo sandwich and a nice garden summer salad.

Chorizo Roasted Red Pepper Sauerkraut Mustard Sandwich

3 Fresh Chorizo Sausages, 
1 red pepper
1/4 cup / 1/2 dl sauerkraut
2 tablespoons whole grain mustard
2 hamburger buns

Grill or pan fry the Chorizo sausages until they are cooked through and slighly charred – 15 to 20 minutes.

While the Chorizo is cooking, Slice off two opposite sides of the red pepper so you have a large, slightly rounded slice.  Place these on the grill with the Chorizo and cook until both sides of the pepper are nicely charred, about 10 minutes.  Remove the red pepper from the grill to a plate, cover with a bowl, and let it sweat and cool for 5 minutes.  Remove as much of the peel as you can.  Don’t worry if there is some left, it won’t hurt the flavor.

Toast two buns, either on the grill, grill pan, or in your toaster.  Once the sausages are done cooking, slice each one in half.  Place one slice of grilled pepper, three sausage halves and half of the sauerkraut, in that order, on the bottom bun.  Spread mustard on the top of the bun and place it as a lid on the sandwich.  Enjoy with a large green salad.

Serves 2.

Can’t you almost taste this?  You should.  Go make one!

Filed Under: Uncategorized

  • « Previous Page
  • 1
  • …
  • 49
  • 50
  • 51
  • 52
  • 53
  • …
  • 79
  • Next Page »

Find me on social media

  • Bloglovin
  • Facebook
  • Instagram
  • Pinterest
  • Twitter

Looking for something?

Eat Simply, Eat Well 's gallery on Punk Domestics
  • Bloglovin
  • Facebook
  • Instagram
  • Pinterest
  • Twitter

Copyright © 2025 · Foodie Pro Theme by Shay Bocks · Built on the Genesis Framework · Powered by WordPress